MADE OF STEEL
01/07/2021
It 's being quite a while since last i wrote some update into that blog.
Apologizes for that. I'll try to go through all the important event that happens since the end of the winter and now mid summer.
For this post I'll focus on the keel construction and all the building process.
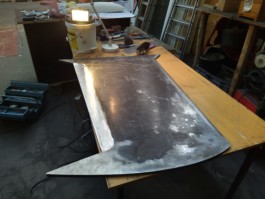
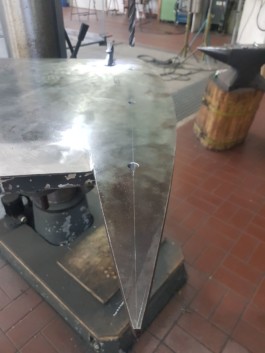
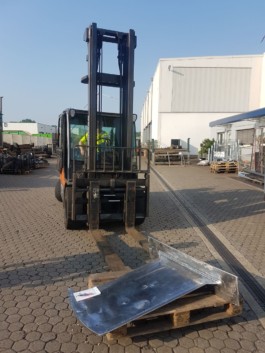
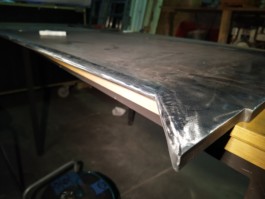
The first step was to get this quite and heavy 10mm metal sheet cut on to shape. for this the plasma cutter was very efficient. Later we used for the 8mm top plate a laser cutter and this was way more accurate and precise. The problem with the plasma is that it is not as fast as the laser method so the steel start to melt a little. Not much just a bit. especially on the corner at the tip of the bottom of the keel, where the 2 half bulb are going to be mount. because the machine had to do some turn the heat was more high in the metal at that spot and the cut is not as clean as on the long flat side. Not a big deal, but just to mention it.
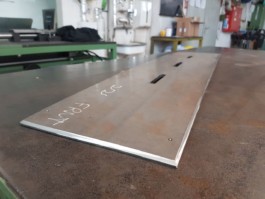
The 8mm steel plate as said earlier was cut that time with an laser cutter. Very incredible machine. It took only a couple of second to perfectly cut the plate. After that we did a couple of pass in a plate bender. to get the right camber of the hull.
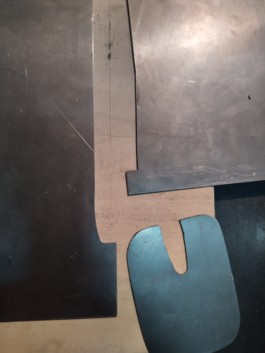
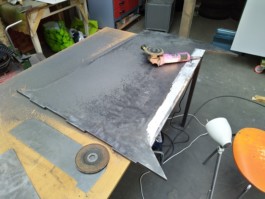
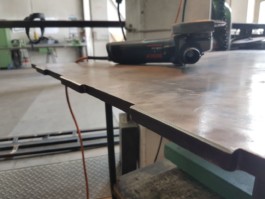
Some minor grinding of the 3 metal teeth were needed to fit the two parts together.
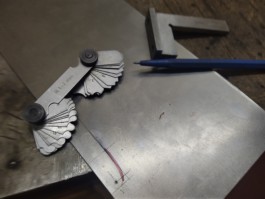
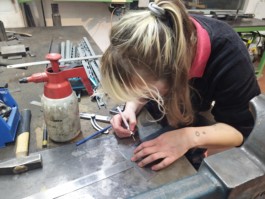
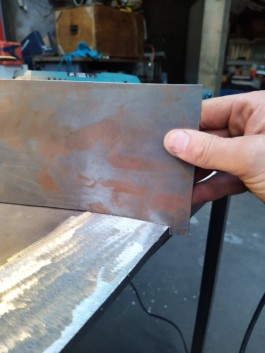
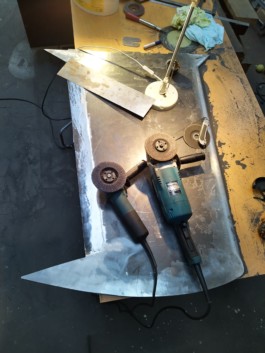
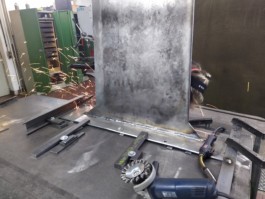
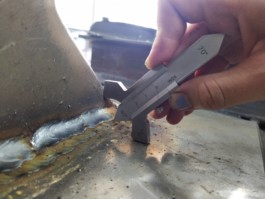
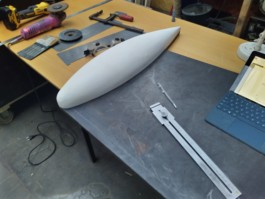
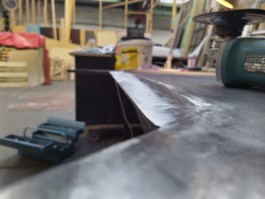
After that it took me couple of half days to sand or grind down the massive plate into a nice hydrodynamic profile. For that we created some template of the both edge of the plate. the leading edge and trailing edge. We cut them out in some very thin metal plate, sheet. And so it was quite easy to slide the stencil on the edge i was working at the time to check how much steel i was still needing to grind off.
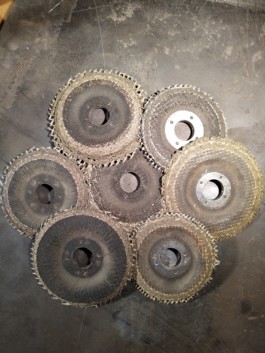
I used a lot of grinding disc, a grinder almost took fire into my hands, and lots of patience. Every evening i was covered with micro steel dust and that particular smell of steel.
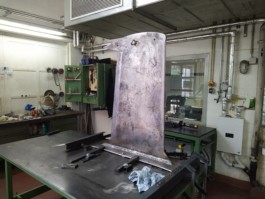
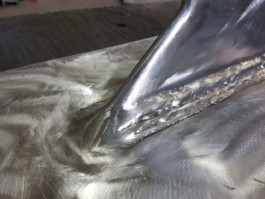
Couple of months later it was finally time to process to the welding of the keel. The two parts where solidly installed on the working table. And half a day later and couple of liter of sweet the welder completed the connection of the two pieces. It took 10 passes to realize the 14mm required weld thickness.
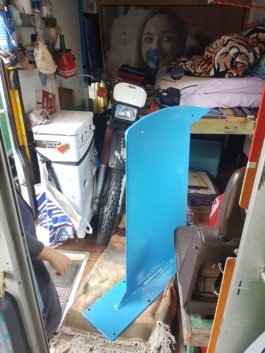
The keel was weight (102.8 KG)and next step was a trip to the zinc factory. Got a protective coat of zinc and a hot epoxy hot pulverize coating. Not sure exactly how it work. I will have to get more details how they did.
Anyway, job is done and she looks beautiful in her see blue wardrobe.
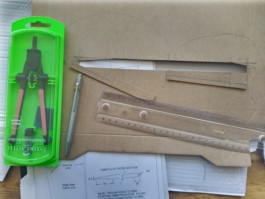
Now she is somewhere in a truck between north Germany and Switzerland and should be dry mounted next to double check all the alignment. This also was done when the boat was still upside down and I used a thin plywood template when i drill the holes to know exactly where the holes should be drill into the 8mm top keel plate. In Germany they used it to drill exactly the hole into the top plate and now it should be perfect. cross finger.
Can't wait to mount the keel underneath the boat.
