
Frames X8 and stringers
26/11/2020
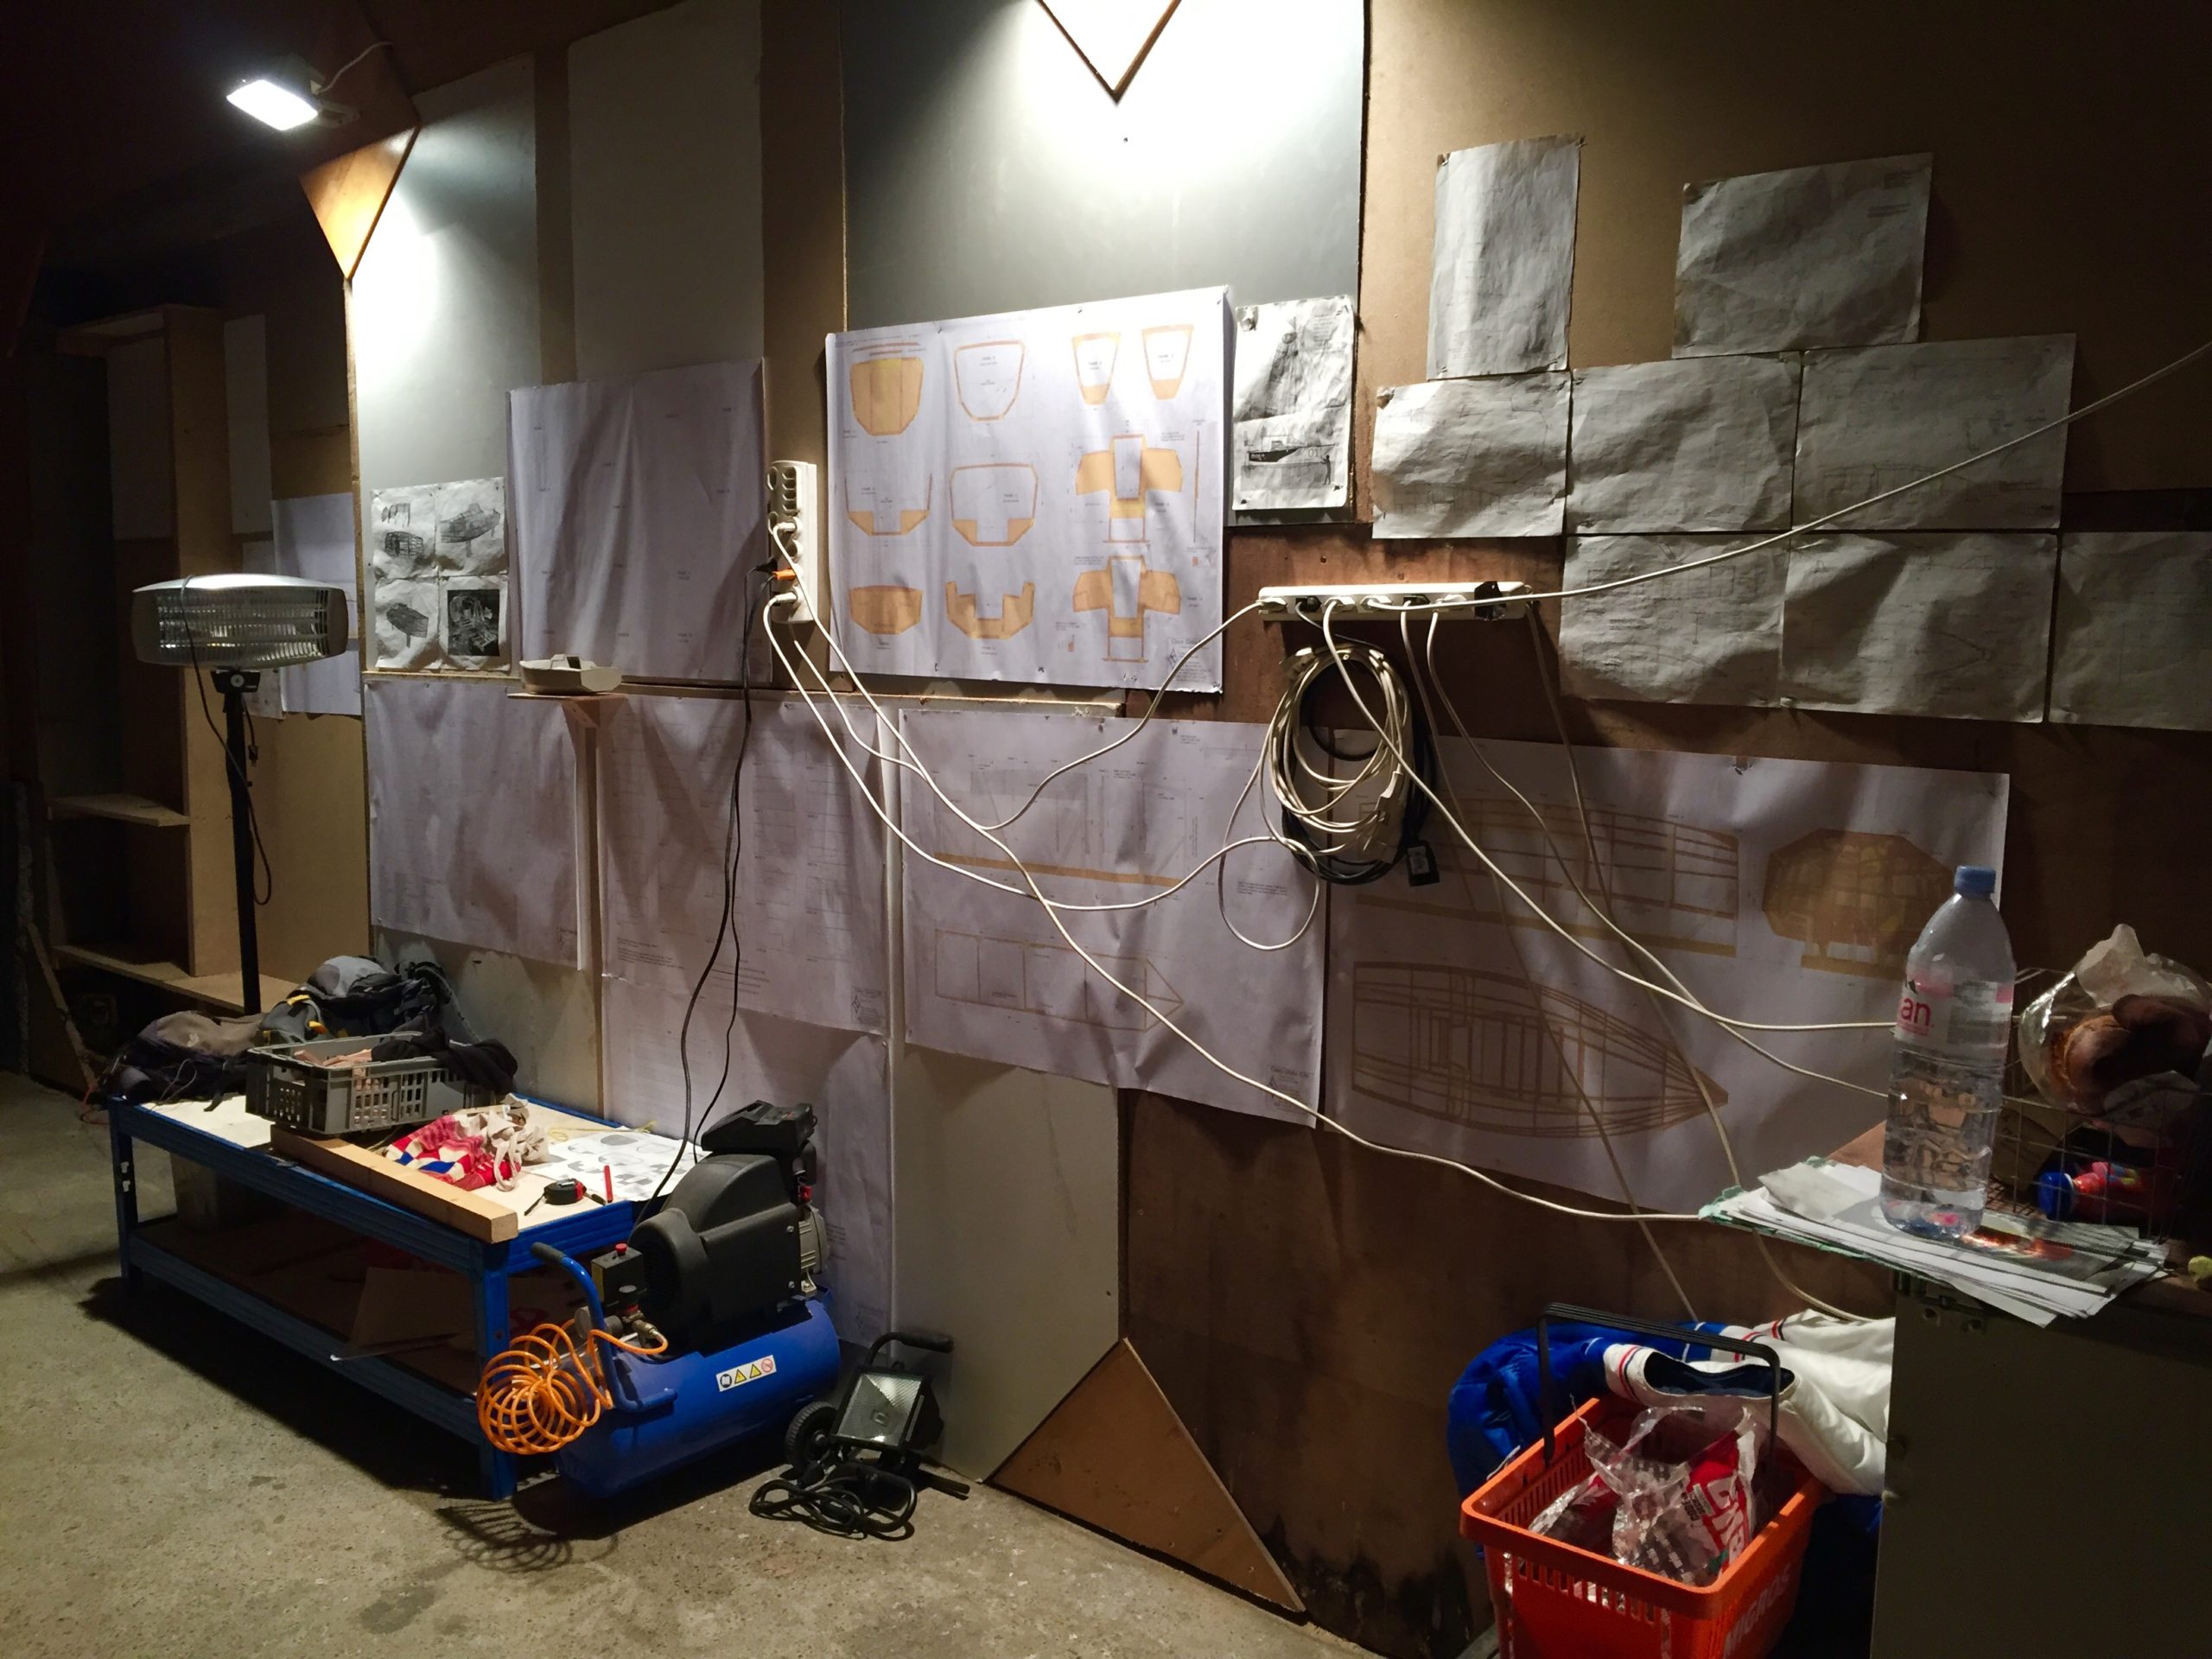
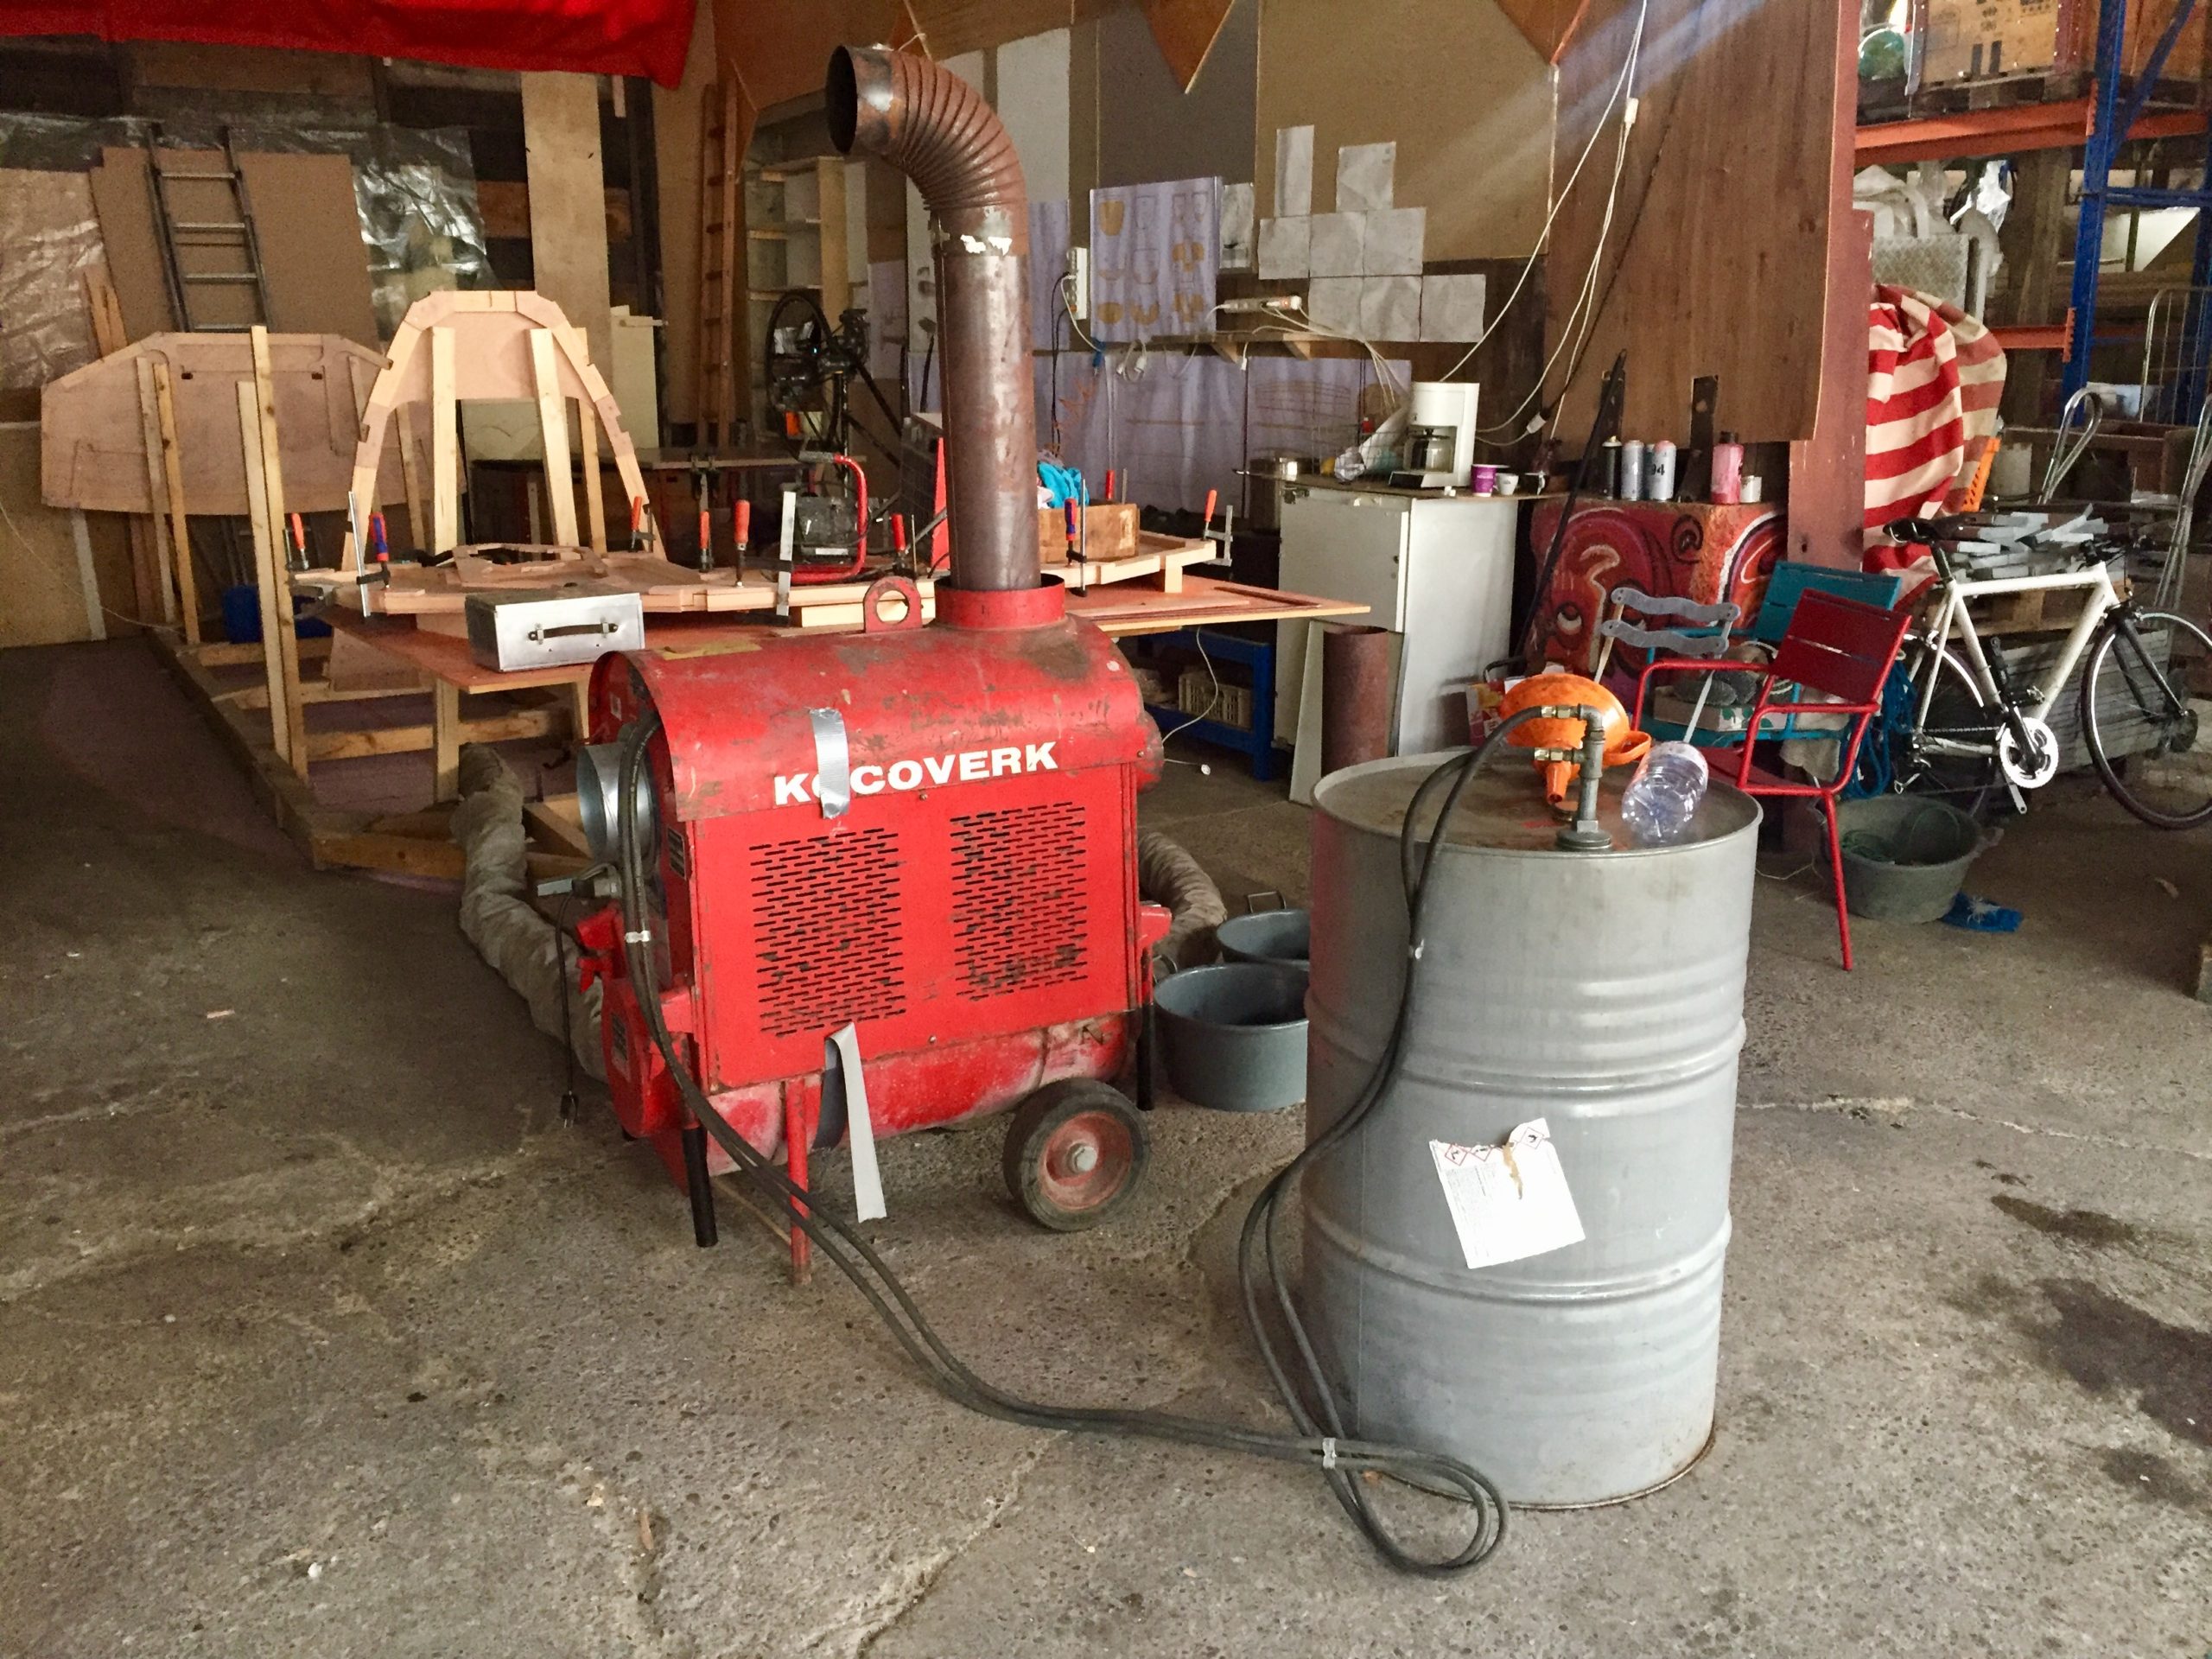
The cold conditions of the start of the winter here in Switzerland did not help me lately. And it doesn’t look like it is going to improve before long. . Because I’m not building inside a heated building the challenge is quite bigger. The epoxy I’m using need at least 10°C to start curing. So that ‘s why I had to install this white and blue tent so I could assemble all the frames and let them cure for 48H in a heated chamber. I did try different heating system but at the end the most simple is the basic electric heater. And to be fair with my fellow friends sharing the space, i did install a power counter. So I know exactly how many kilowatts I’m using and can pay for it. This sound quite easy but the installation of all the working space took me quite a while. Power cable, lights, tables, organizing tools all around, bulding a separation wall.etc…

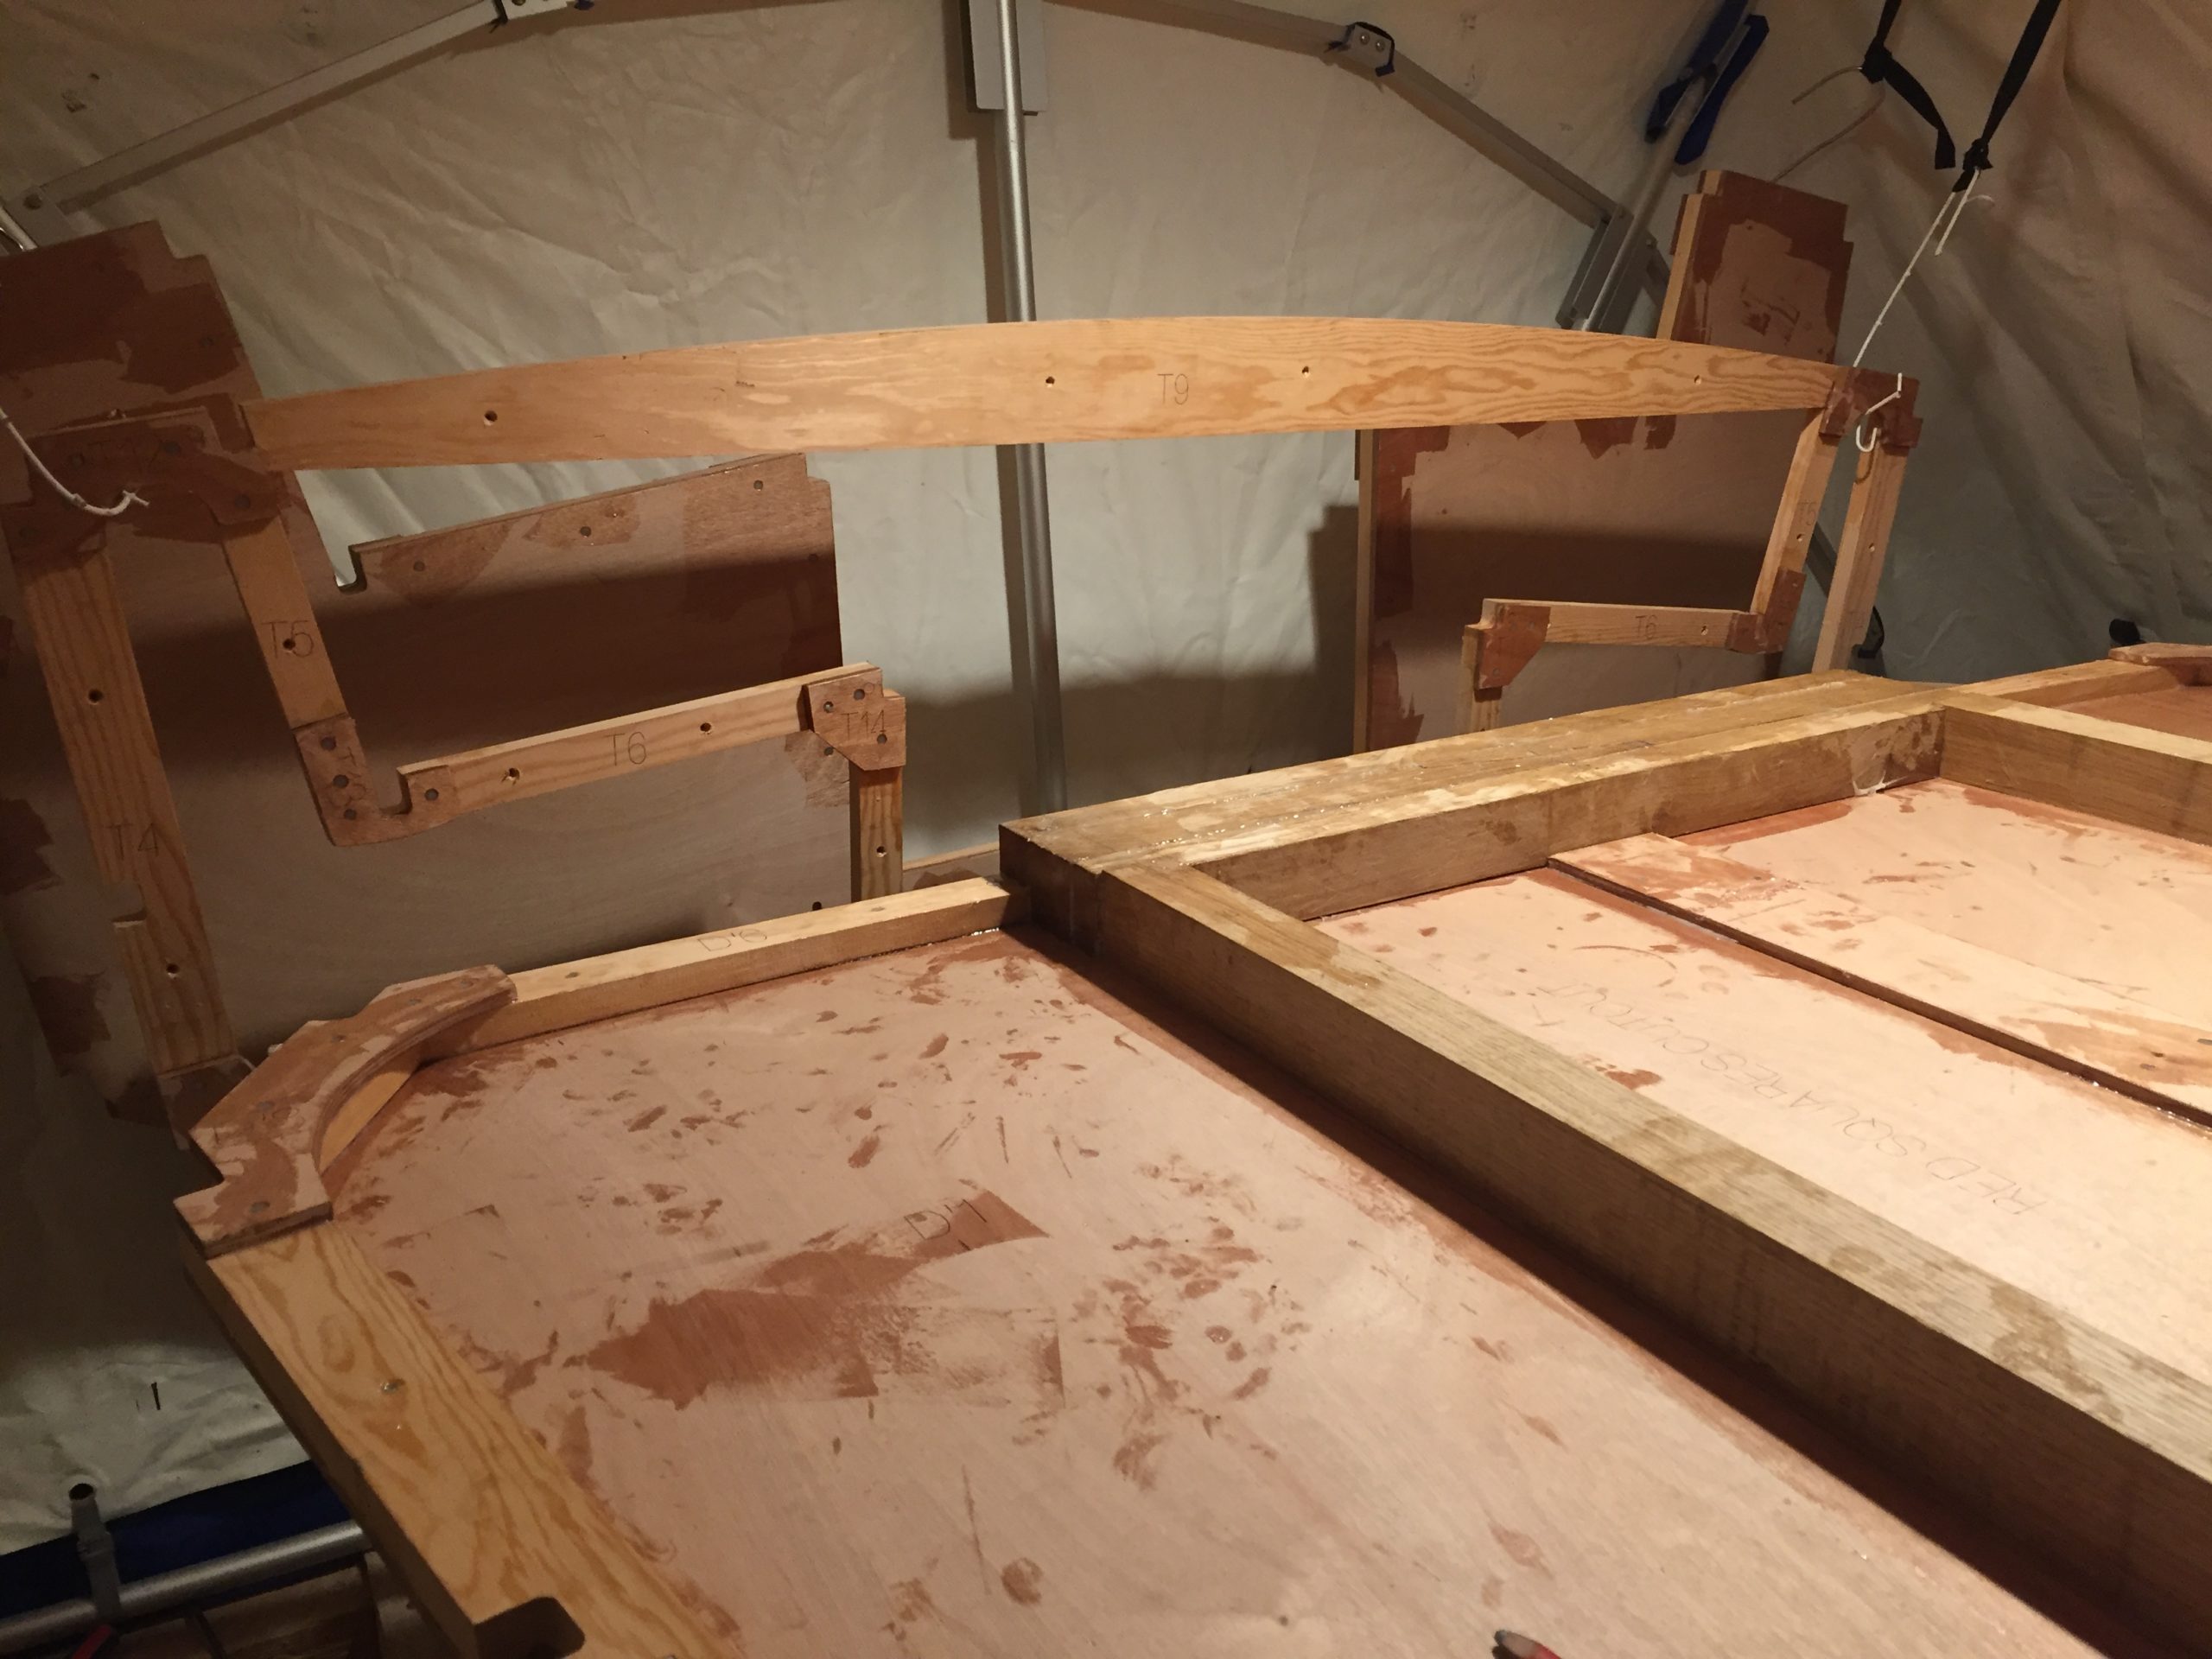
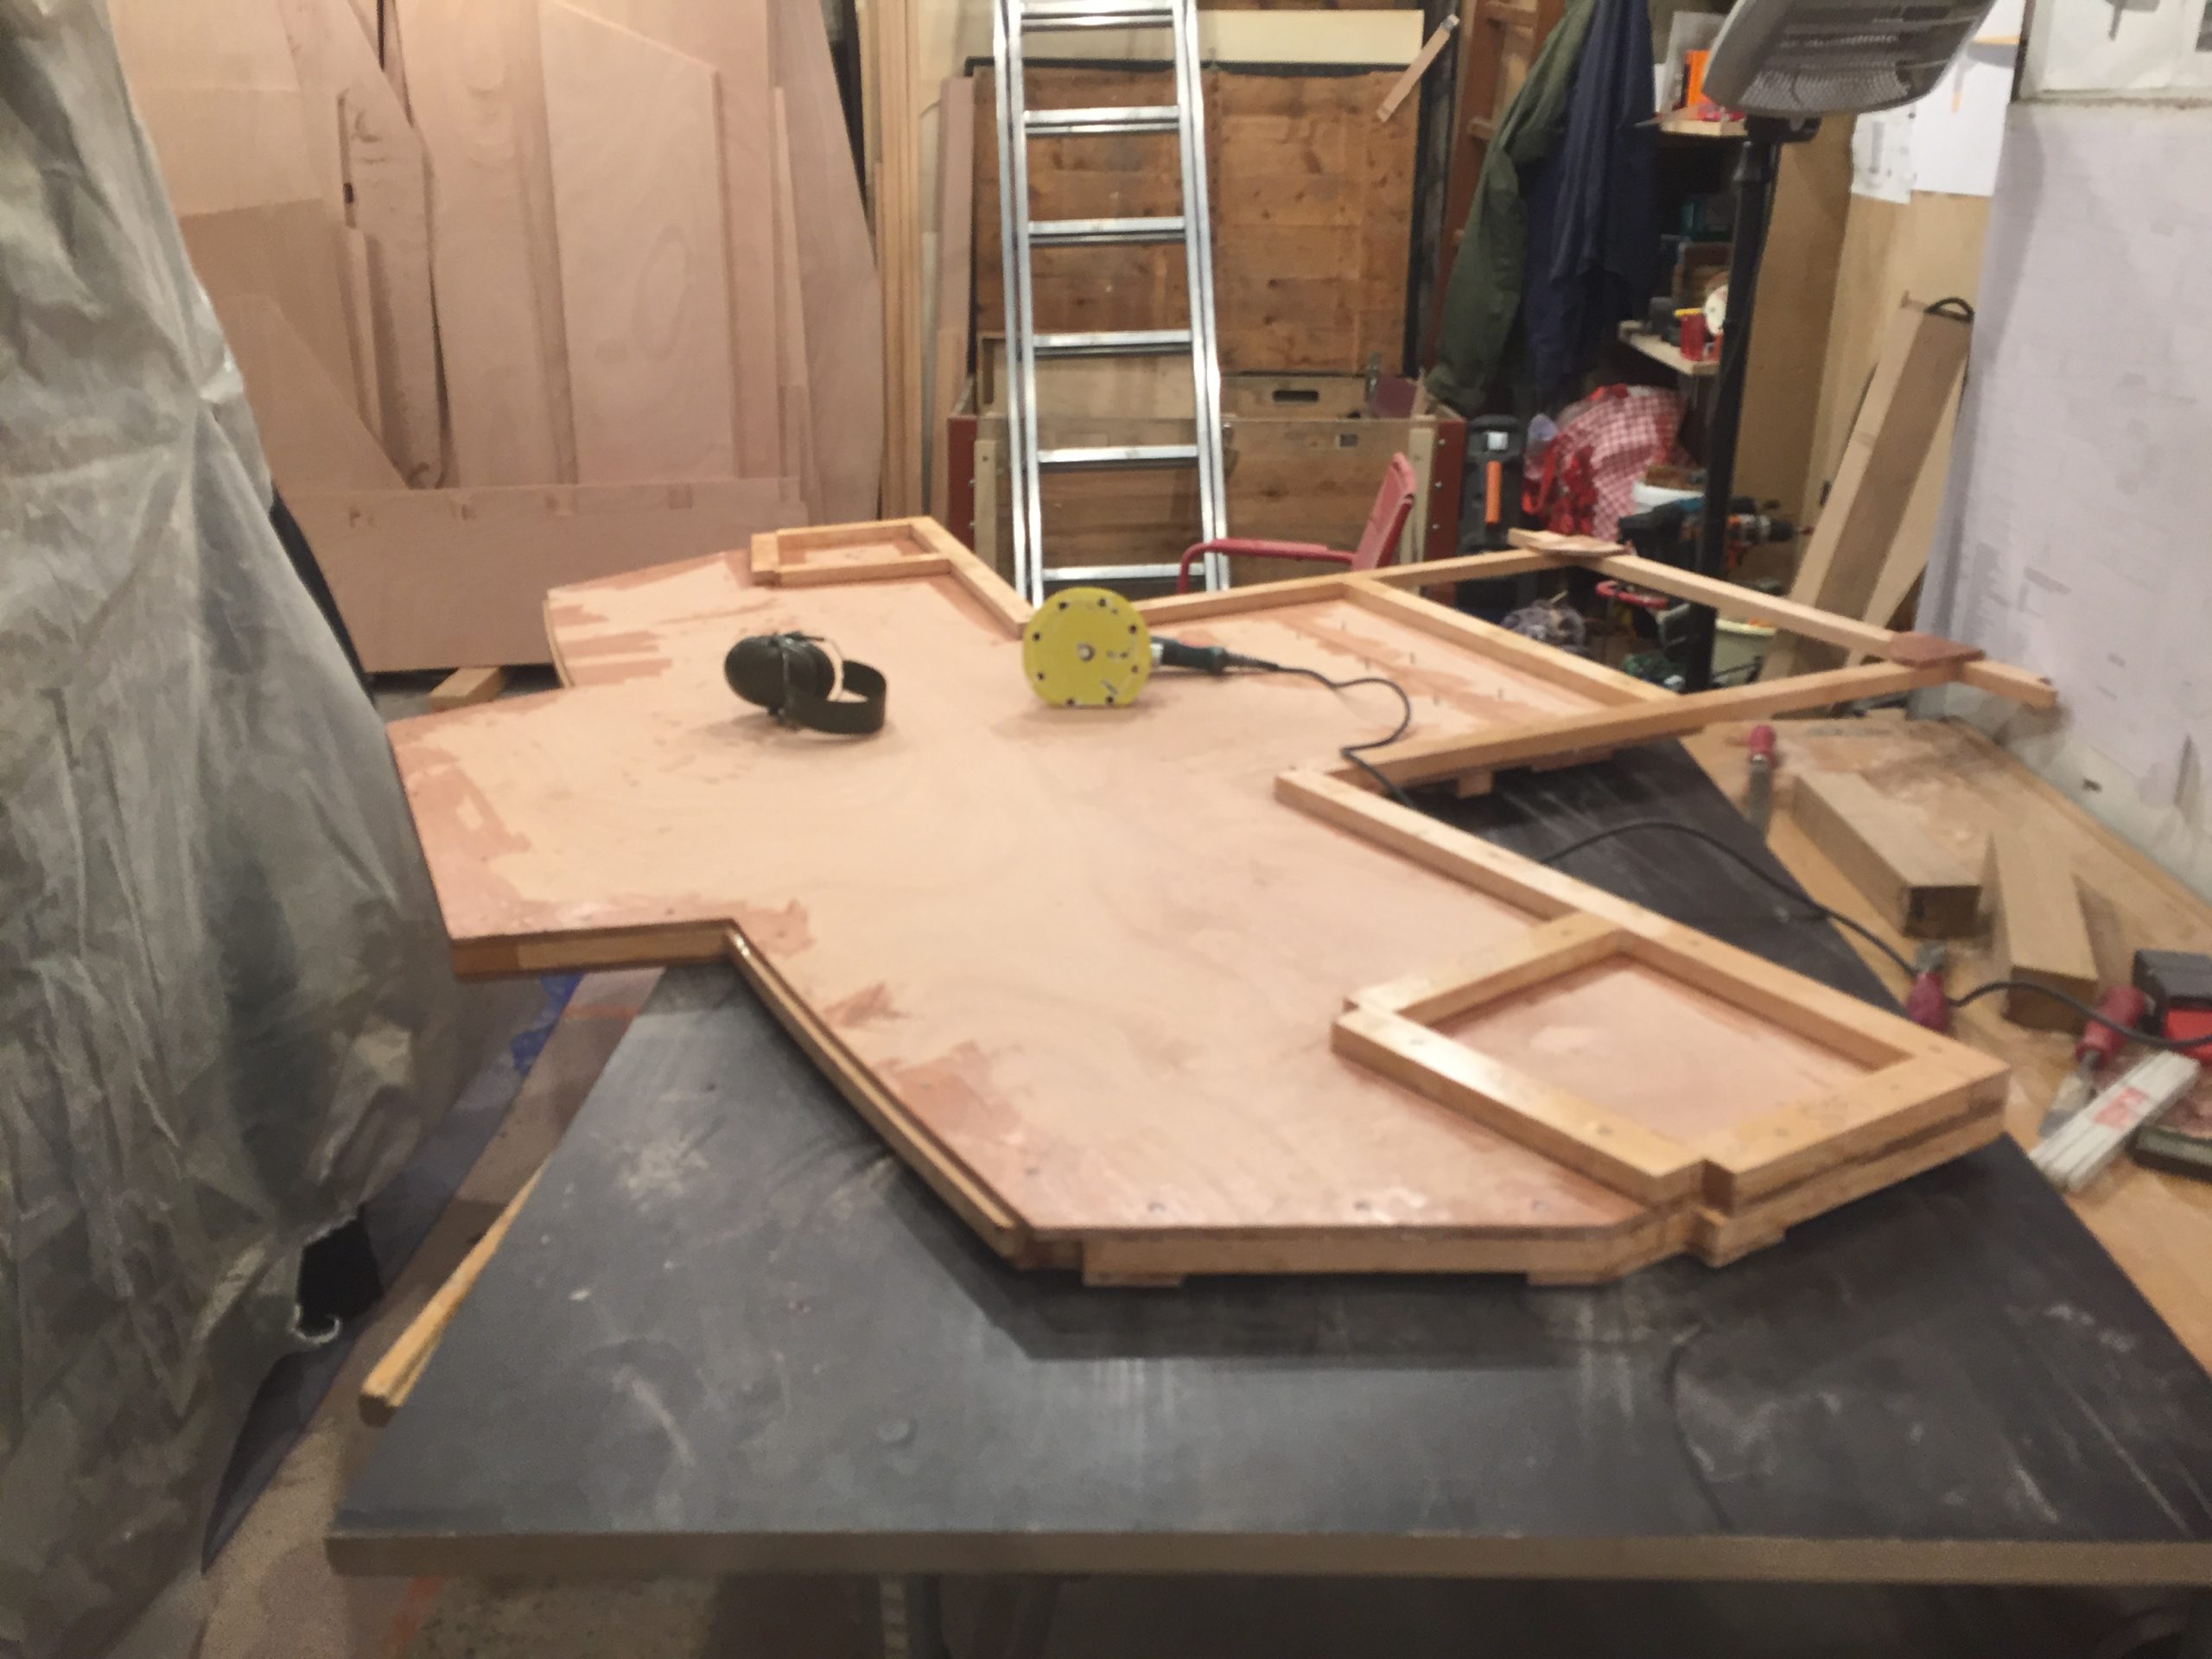
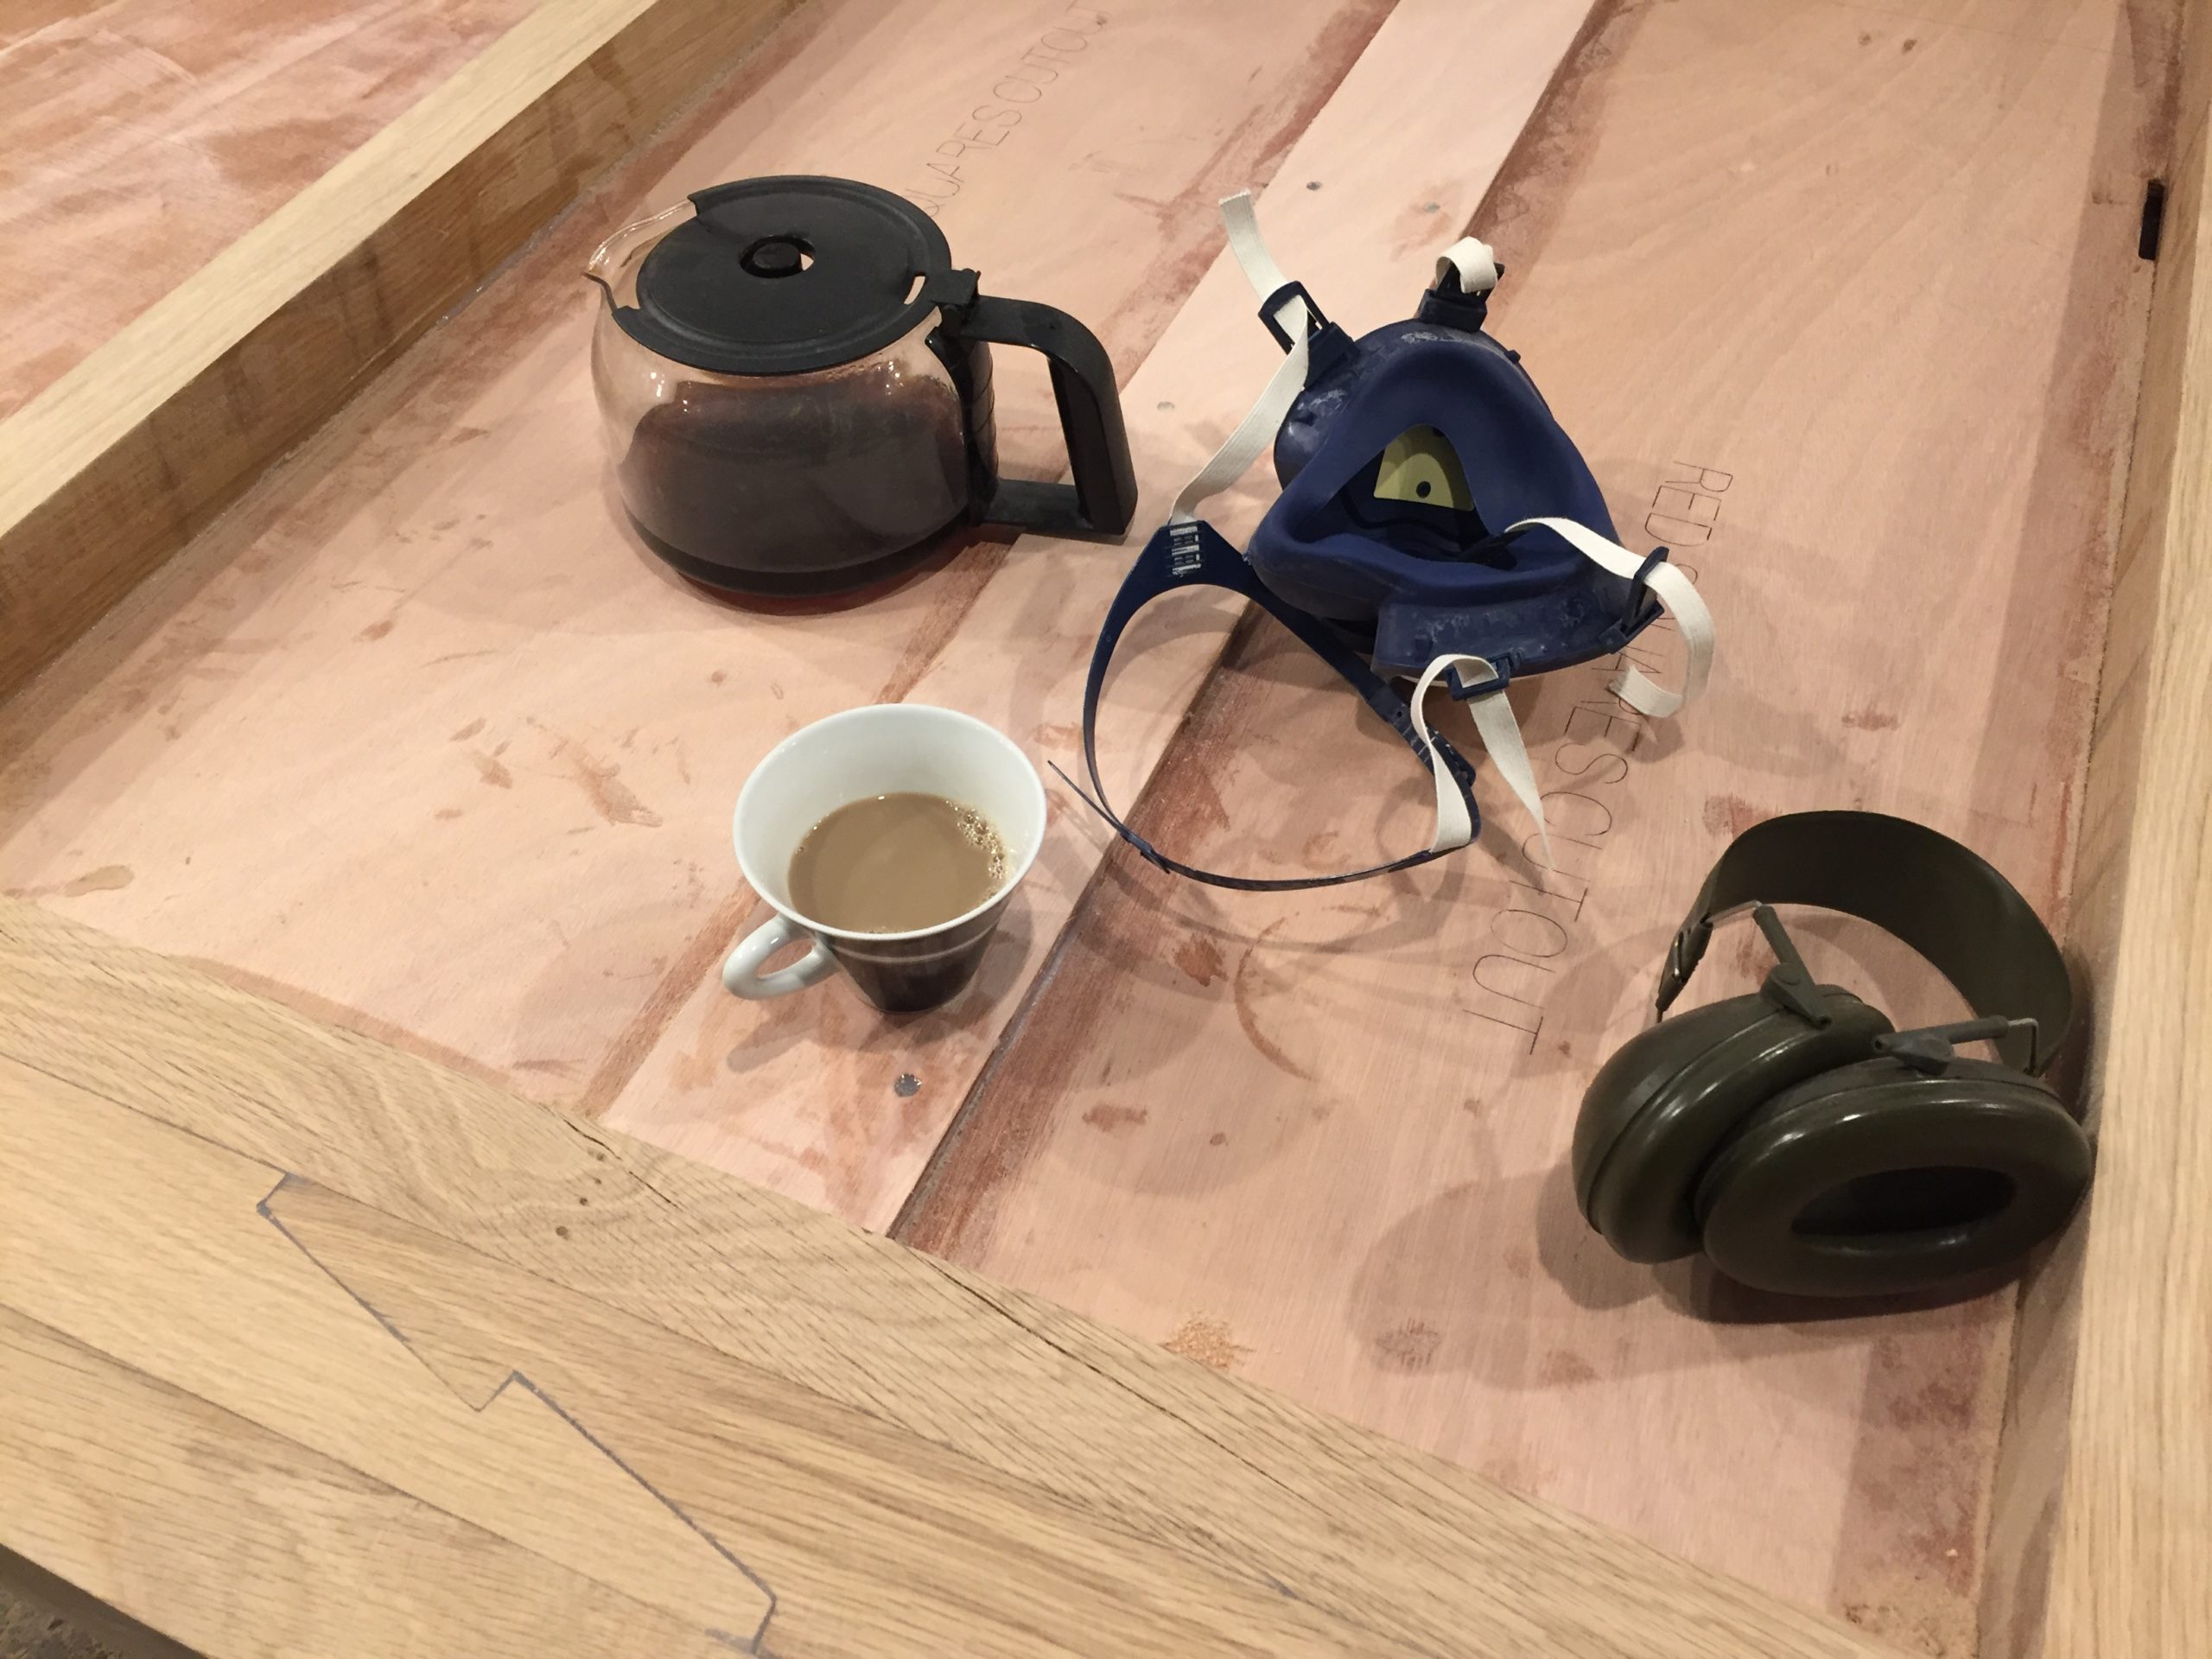
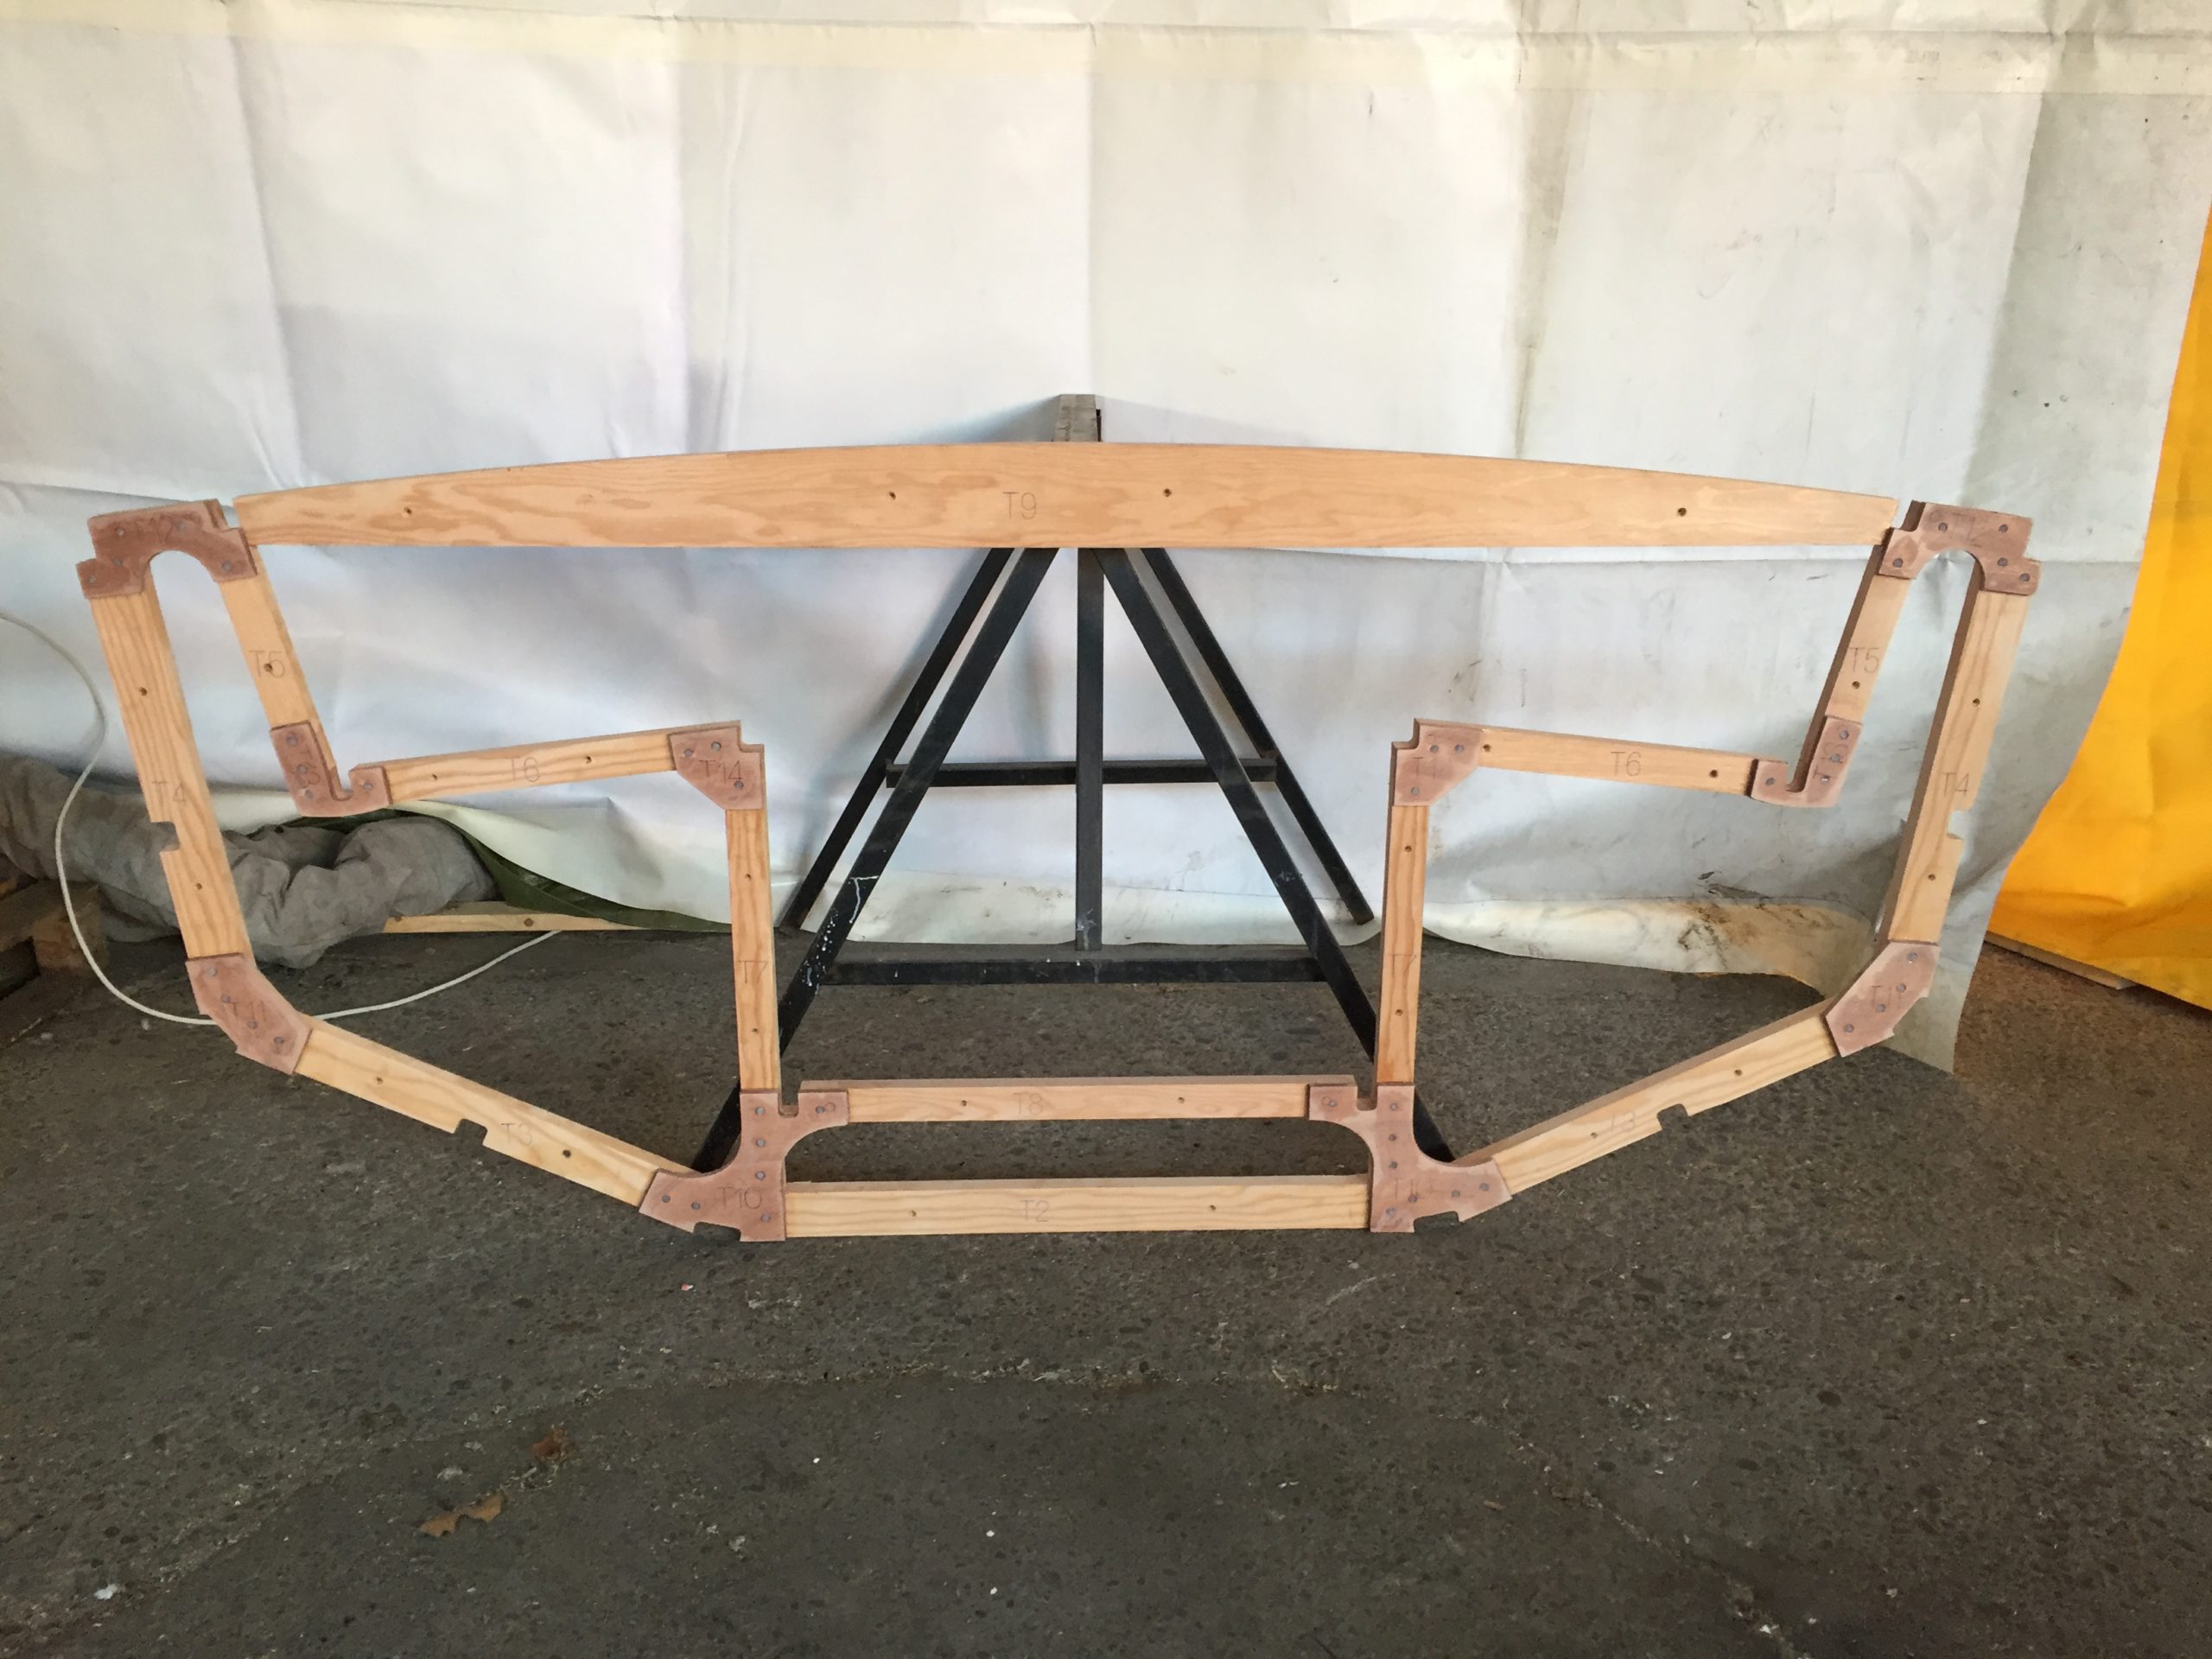
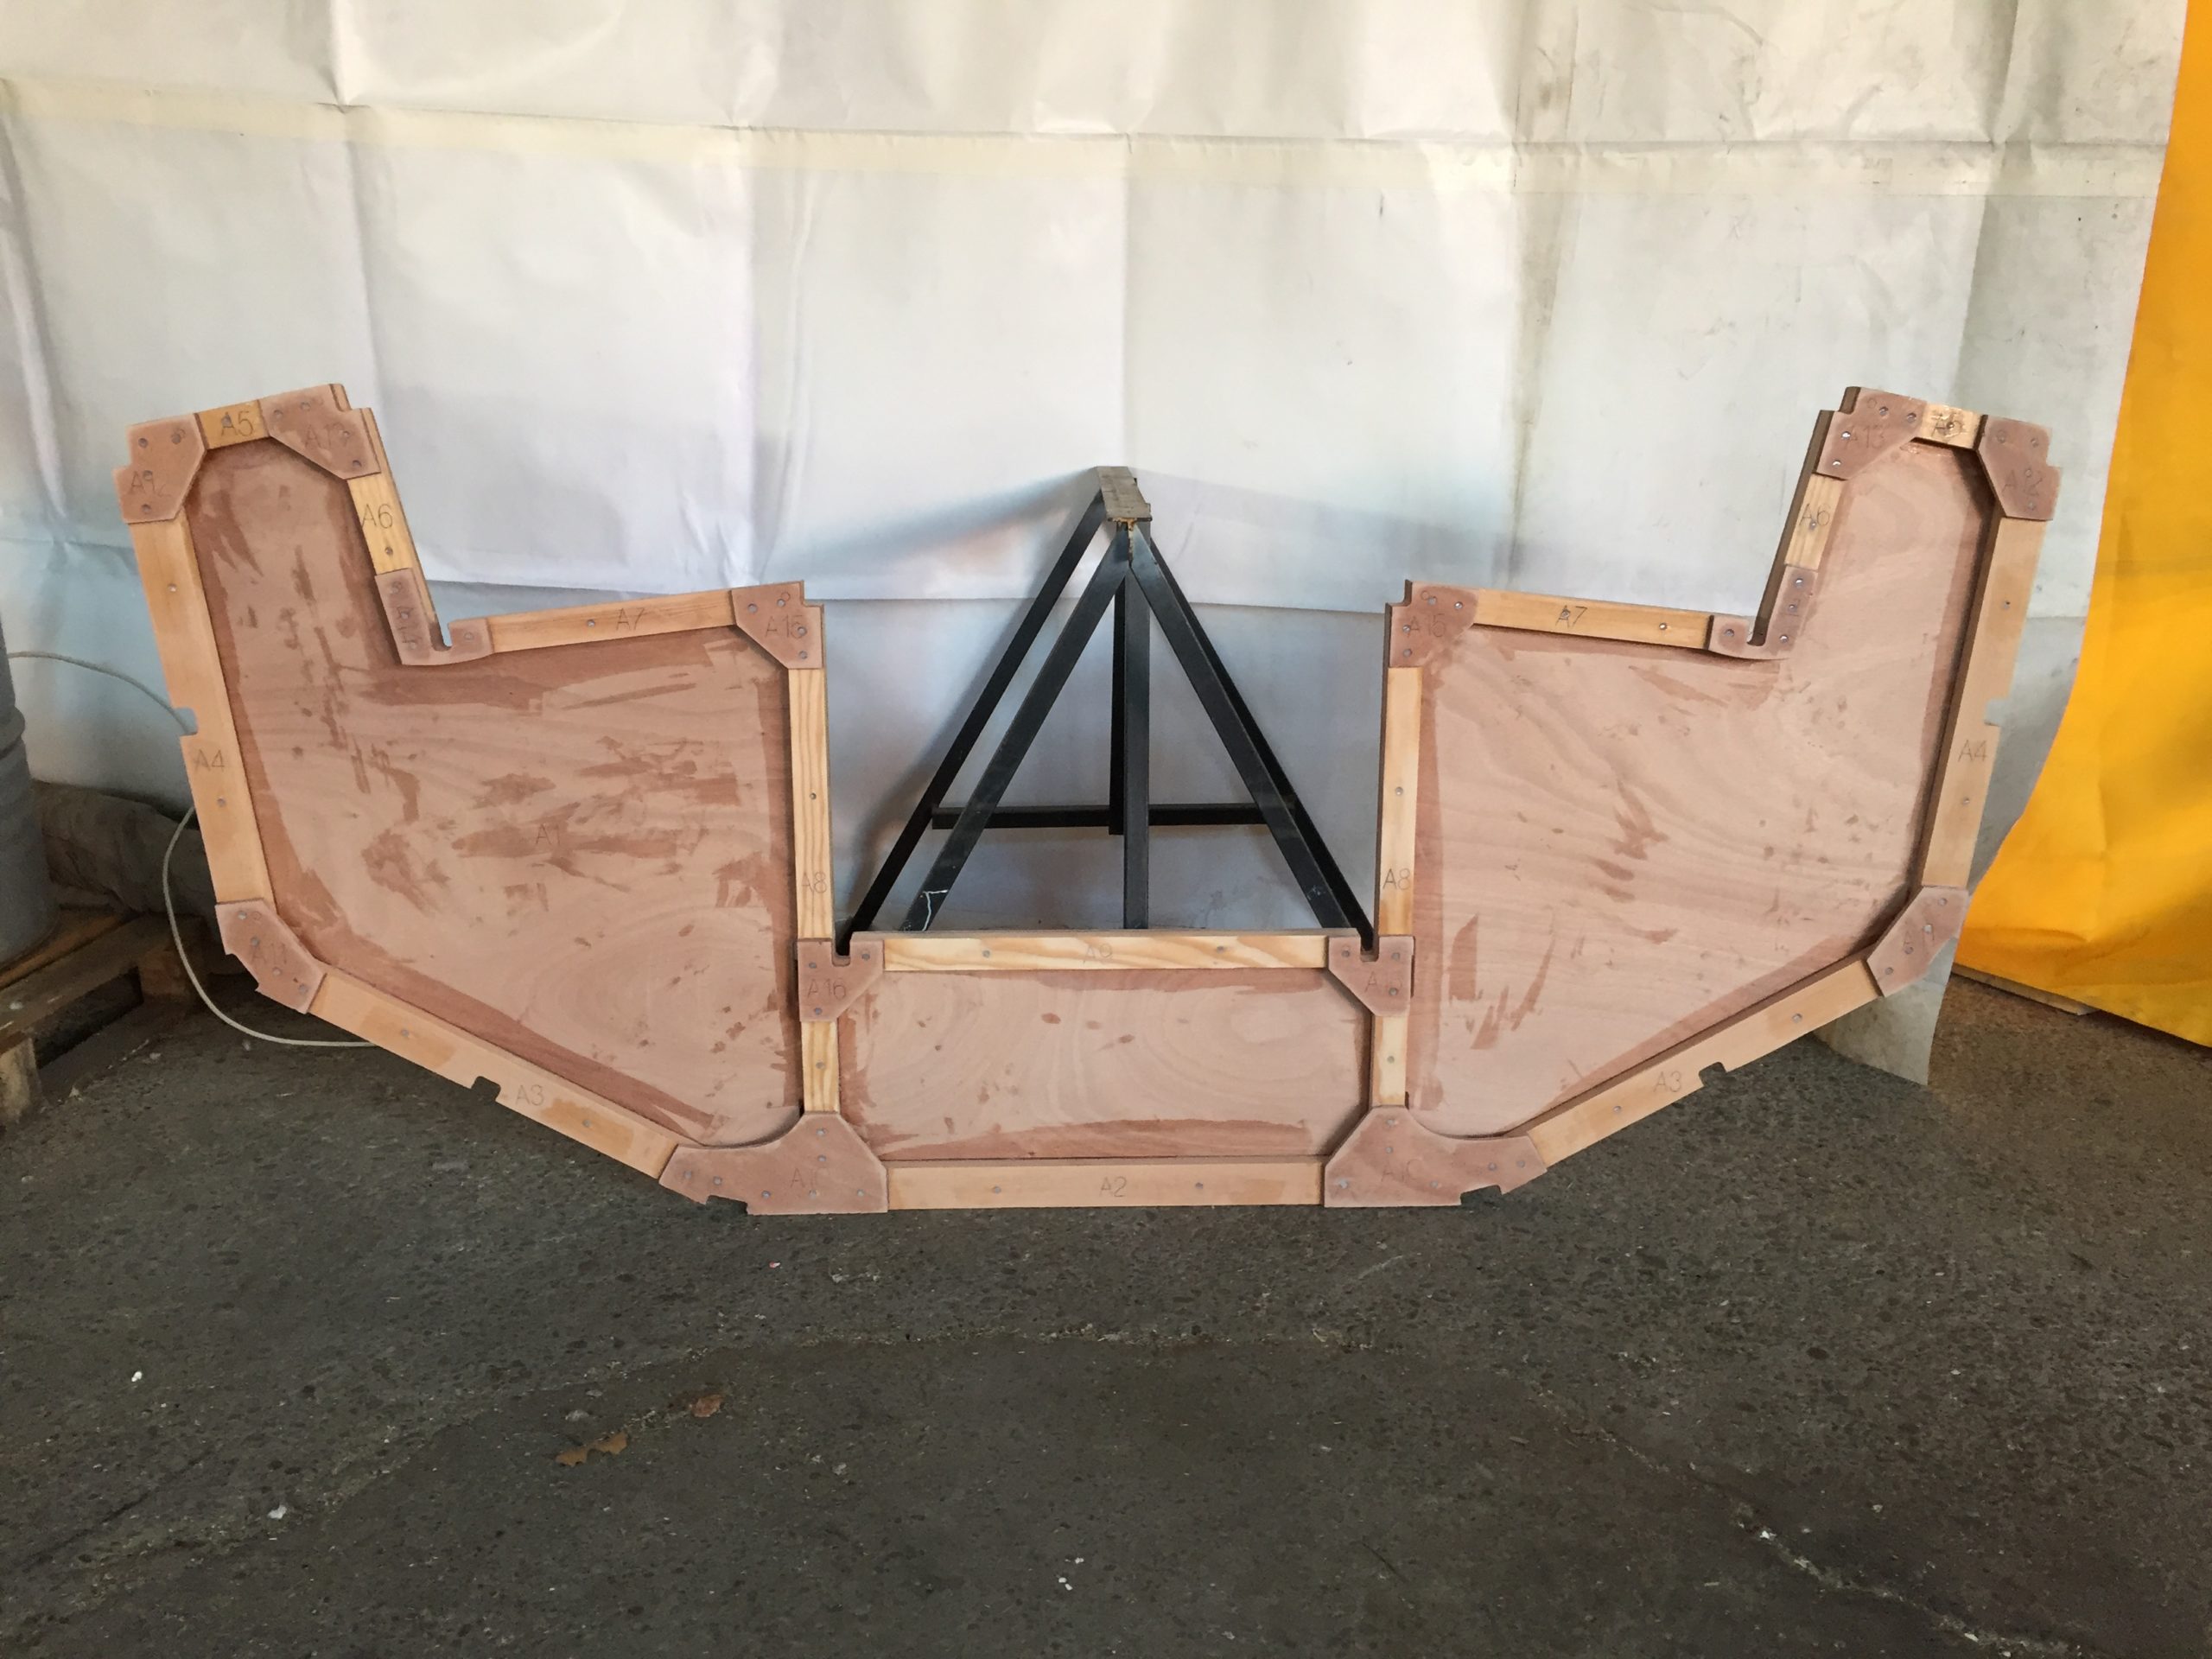
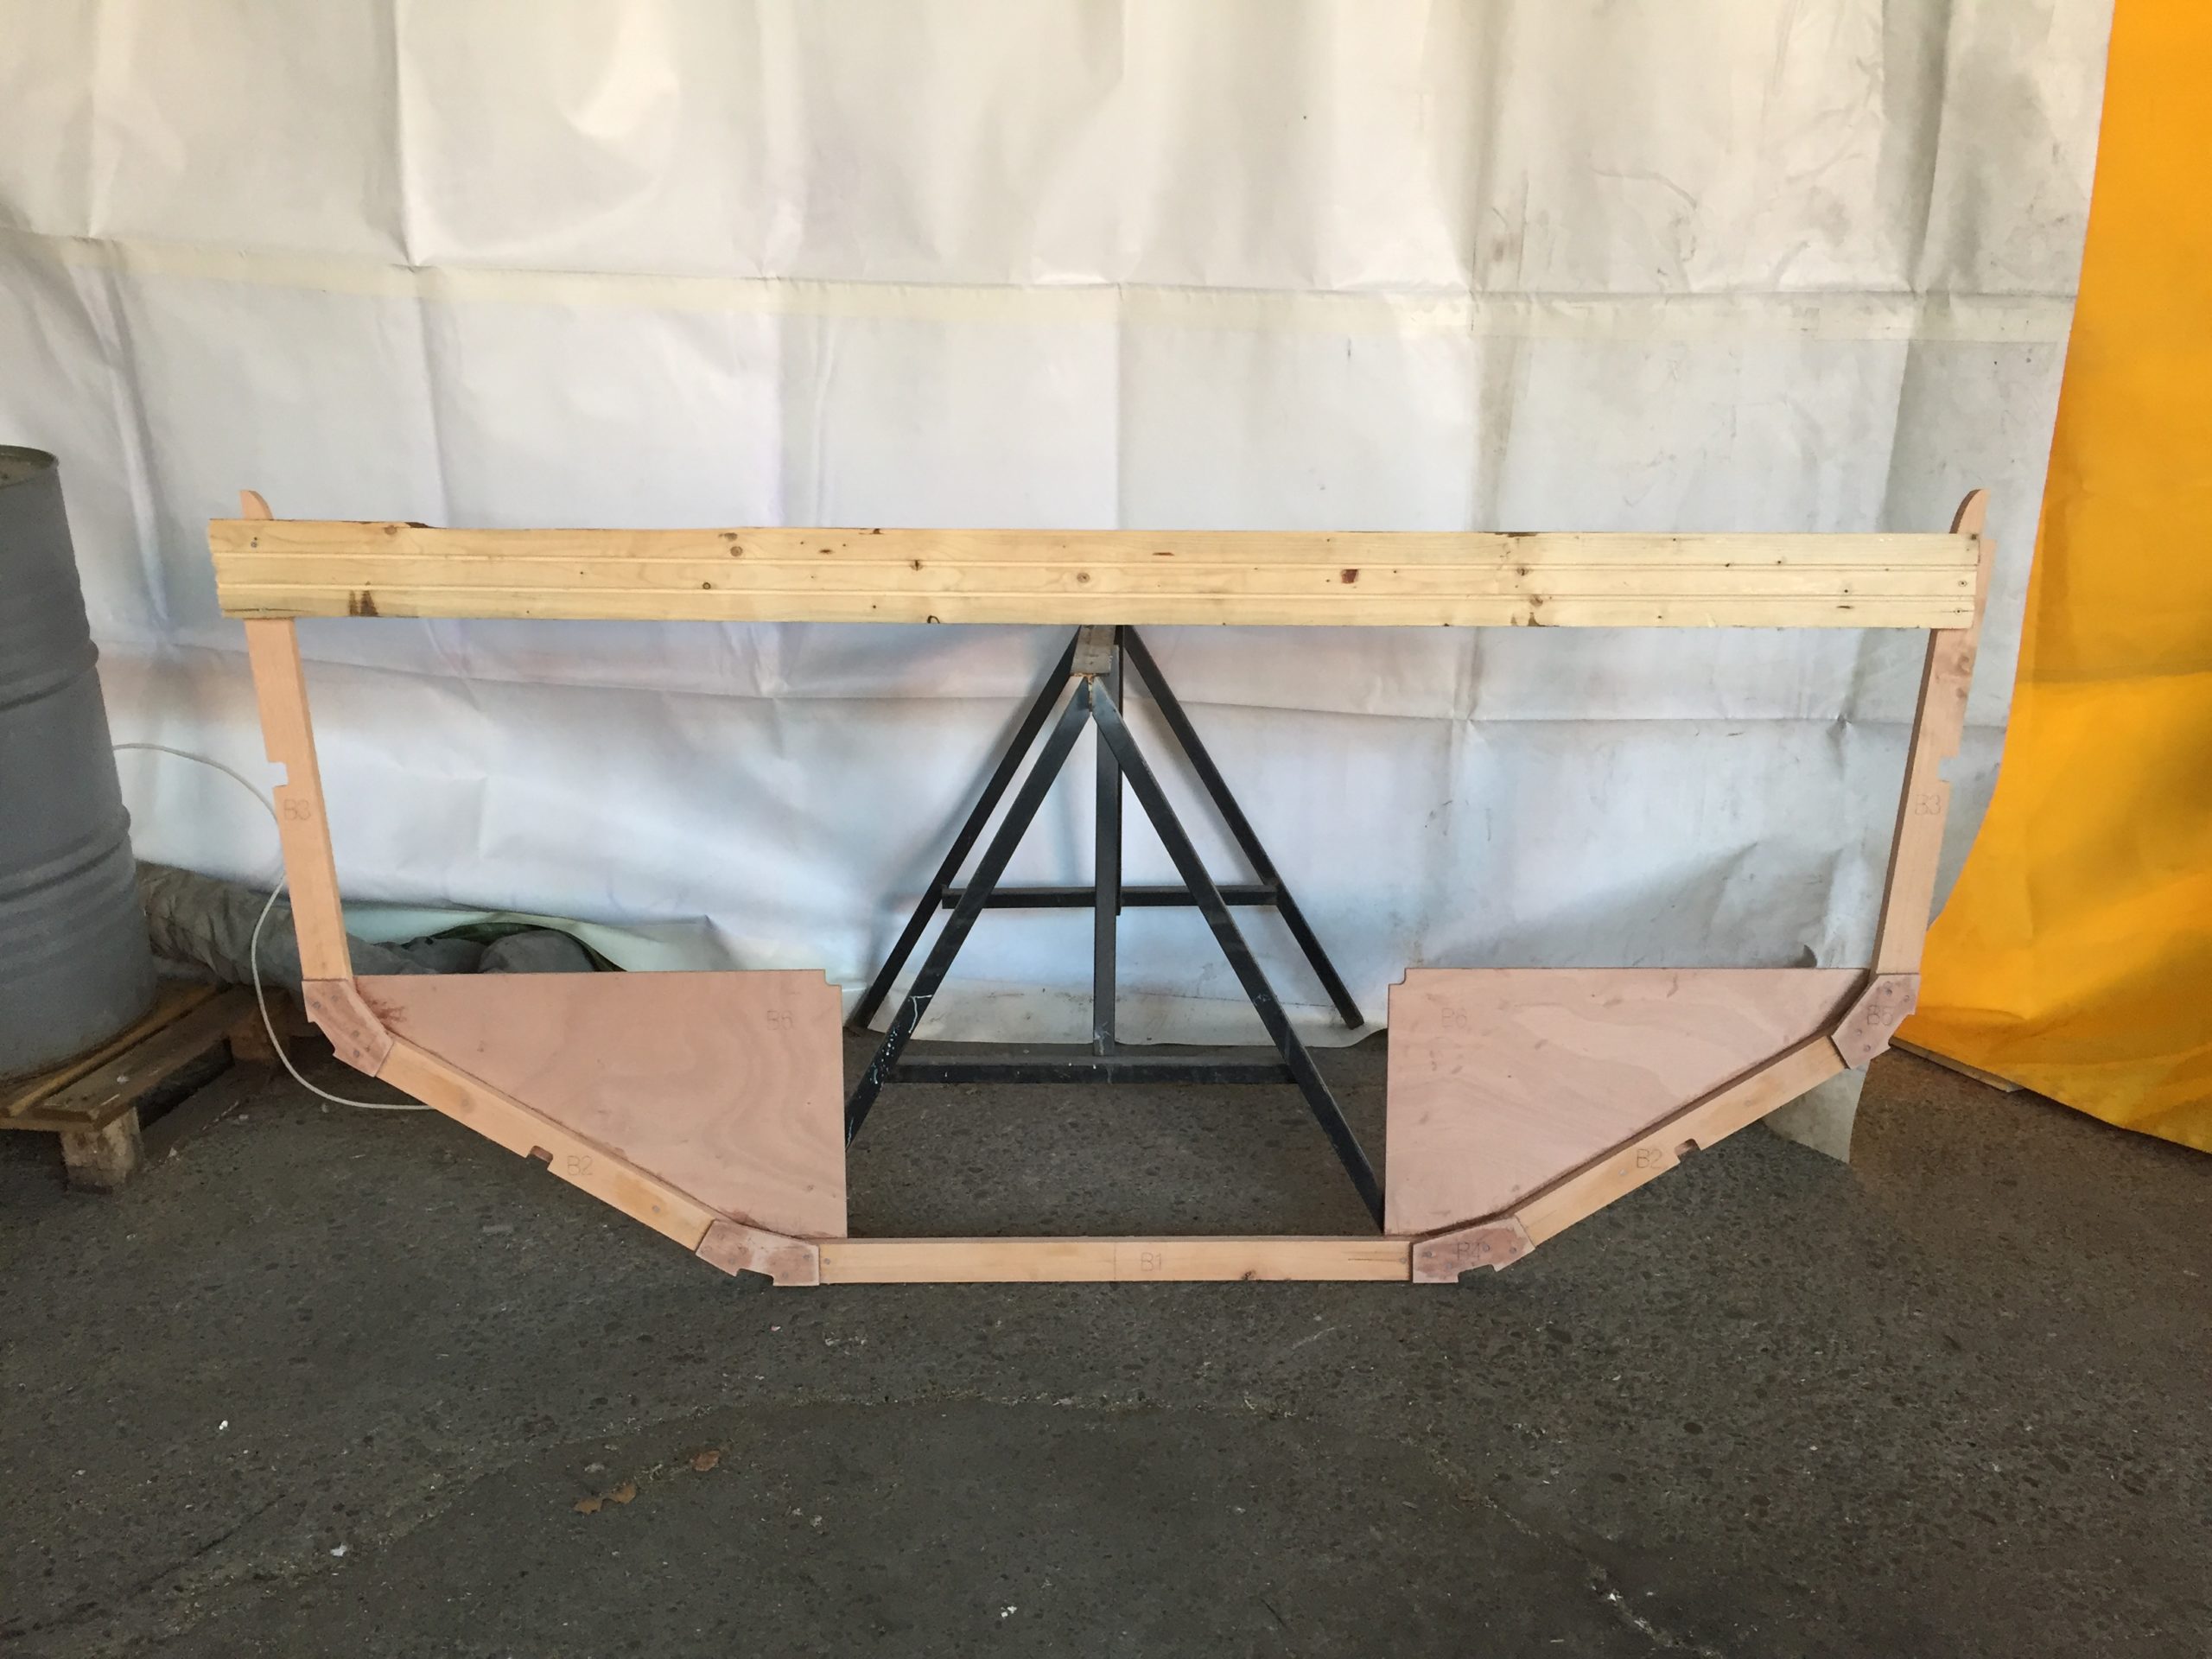
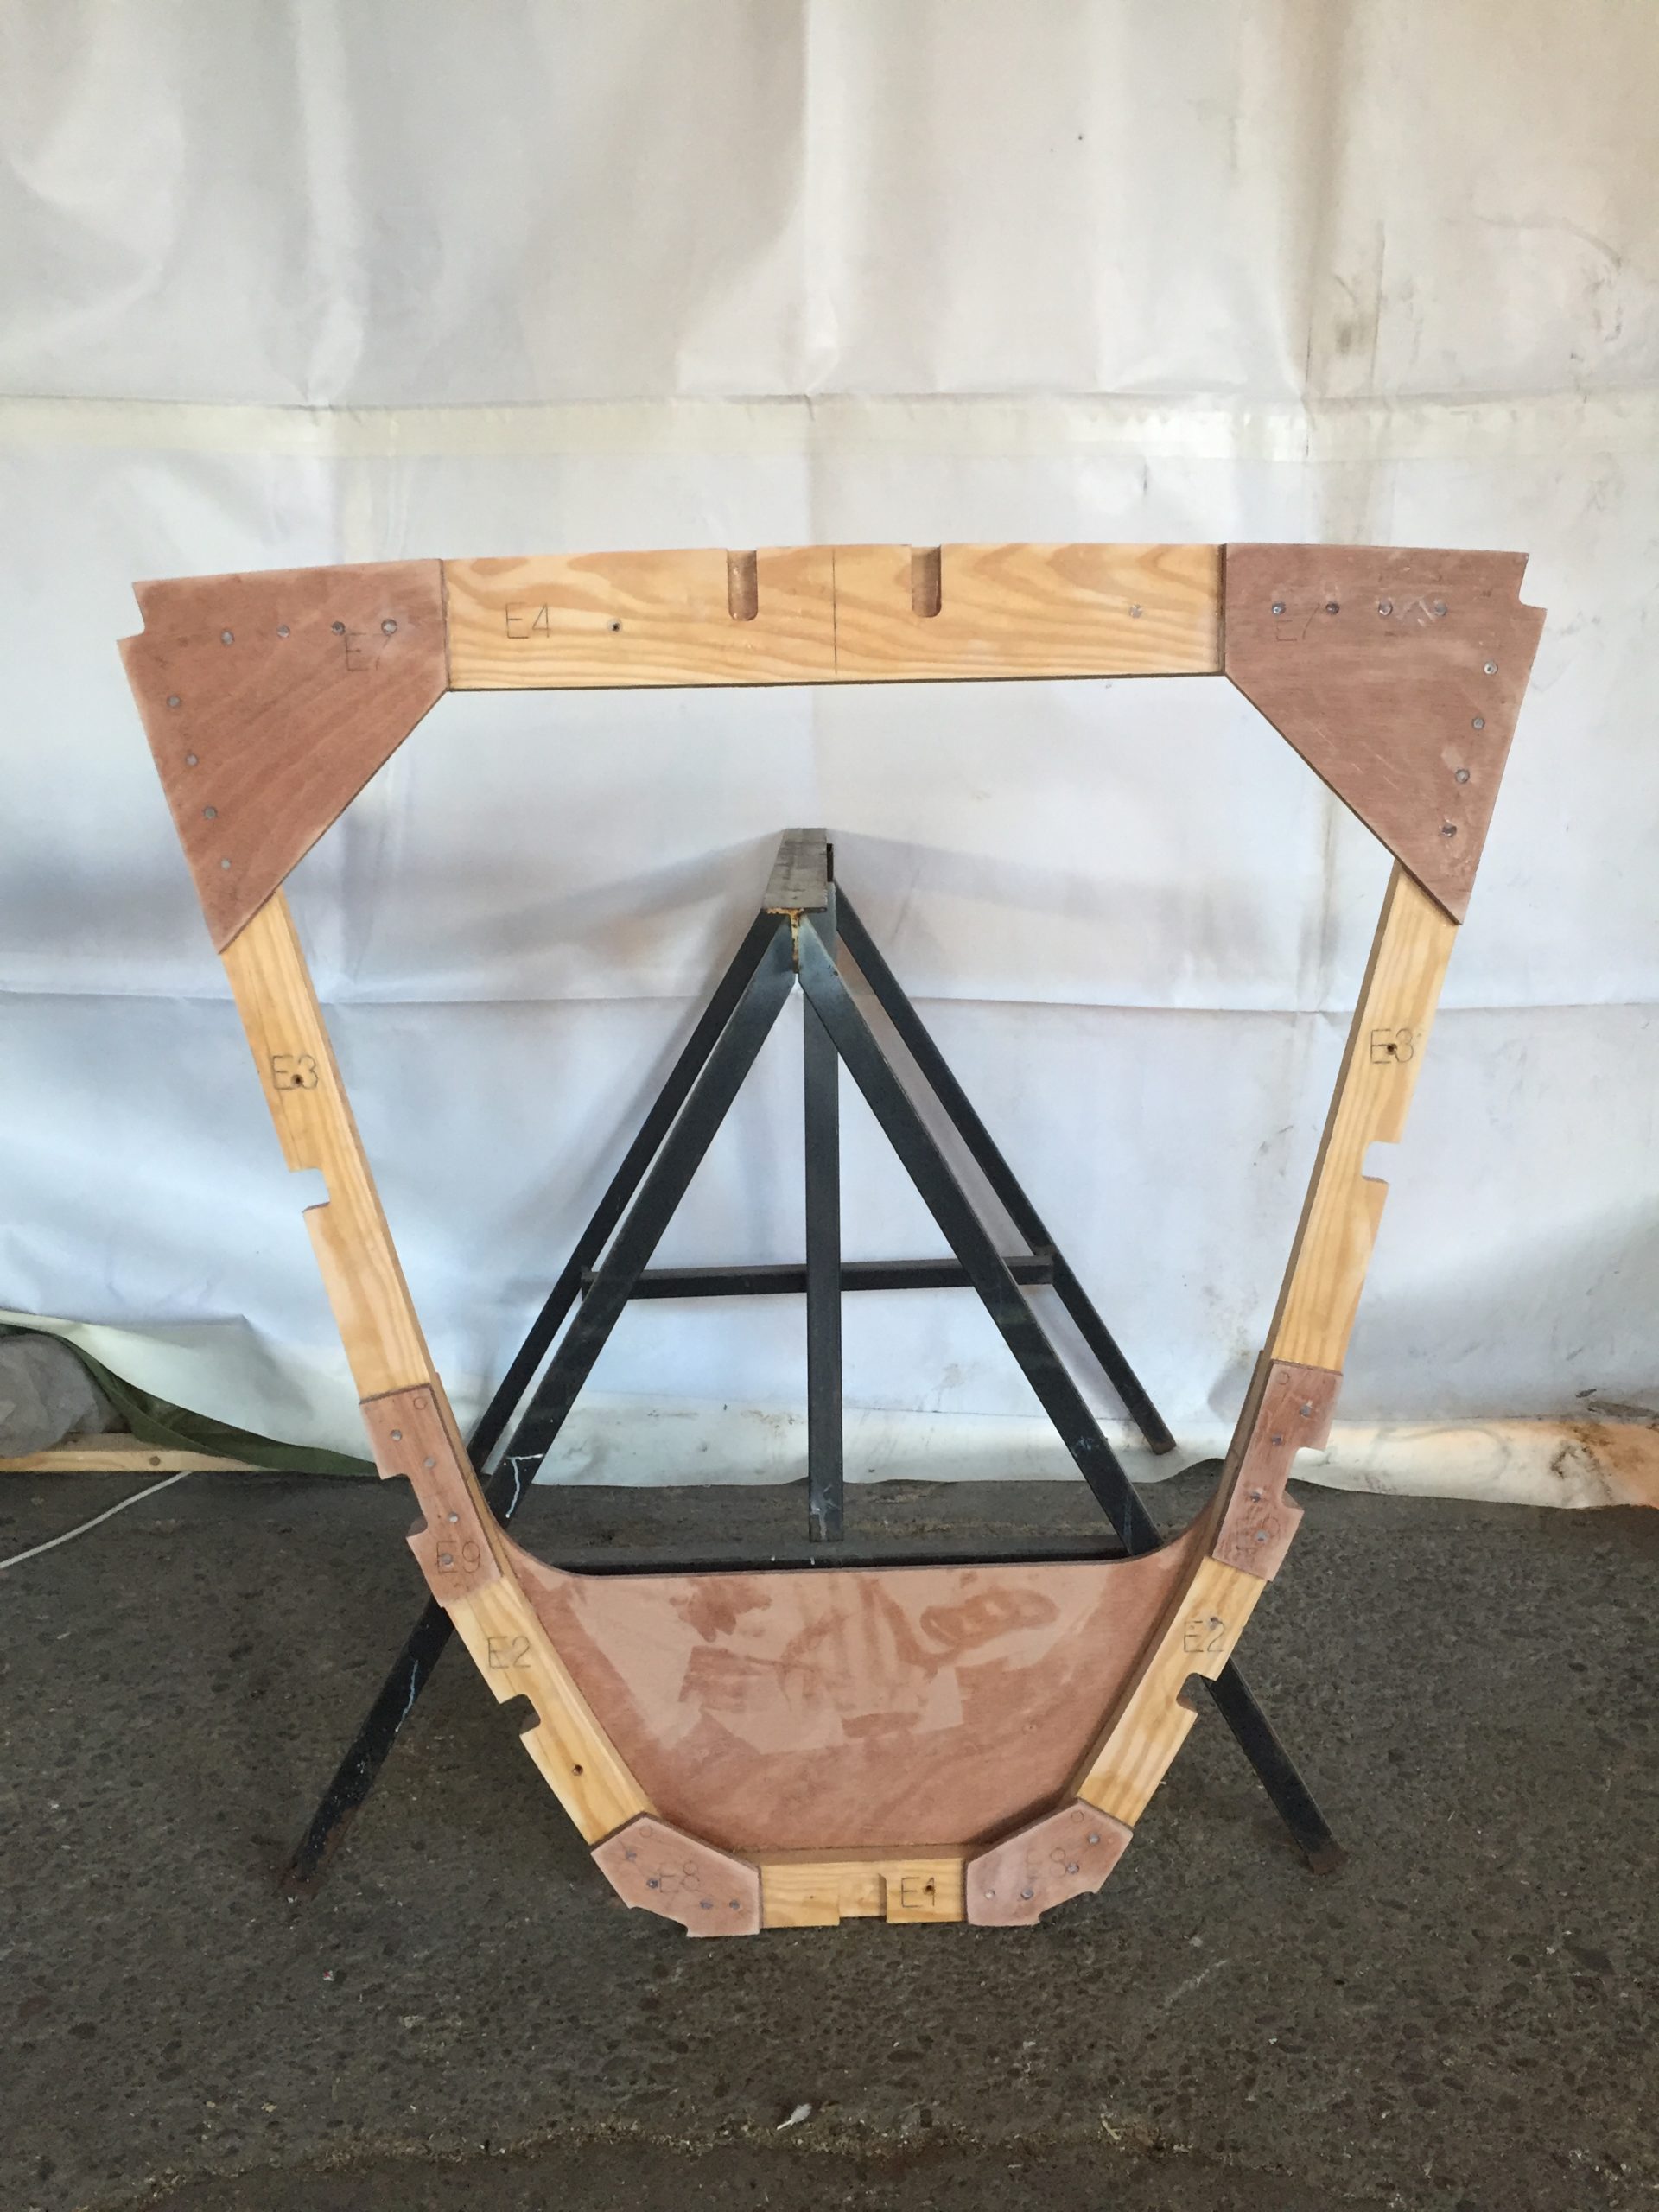
So when all my set-up was slowly takingplace I started to put my 8 frames together. I went quite straight forward with the plans and explanation video from B&B. Only the frame S was areal painto move around in this little tent. Especially to get it in, and tho flip it over while gluing. But at the end i managed it and was very happy with the end result.
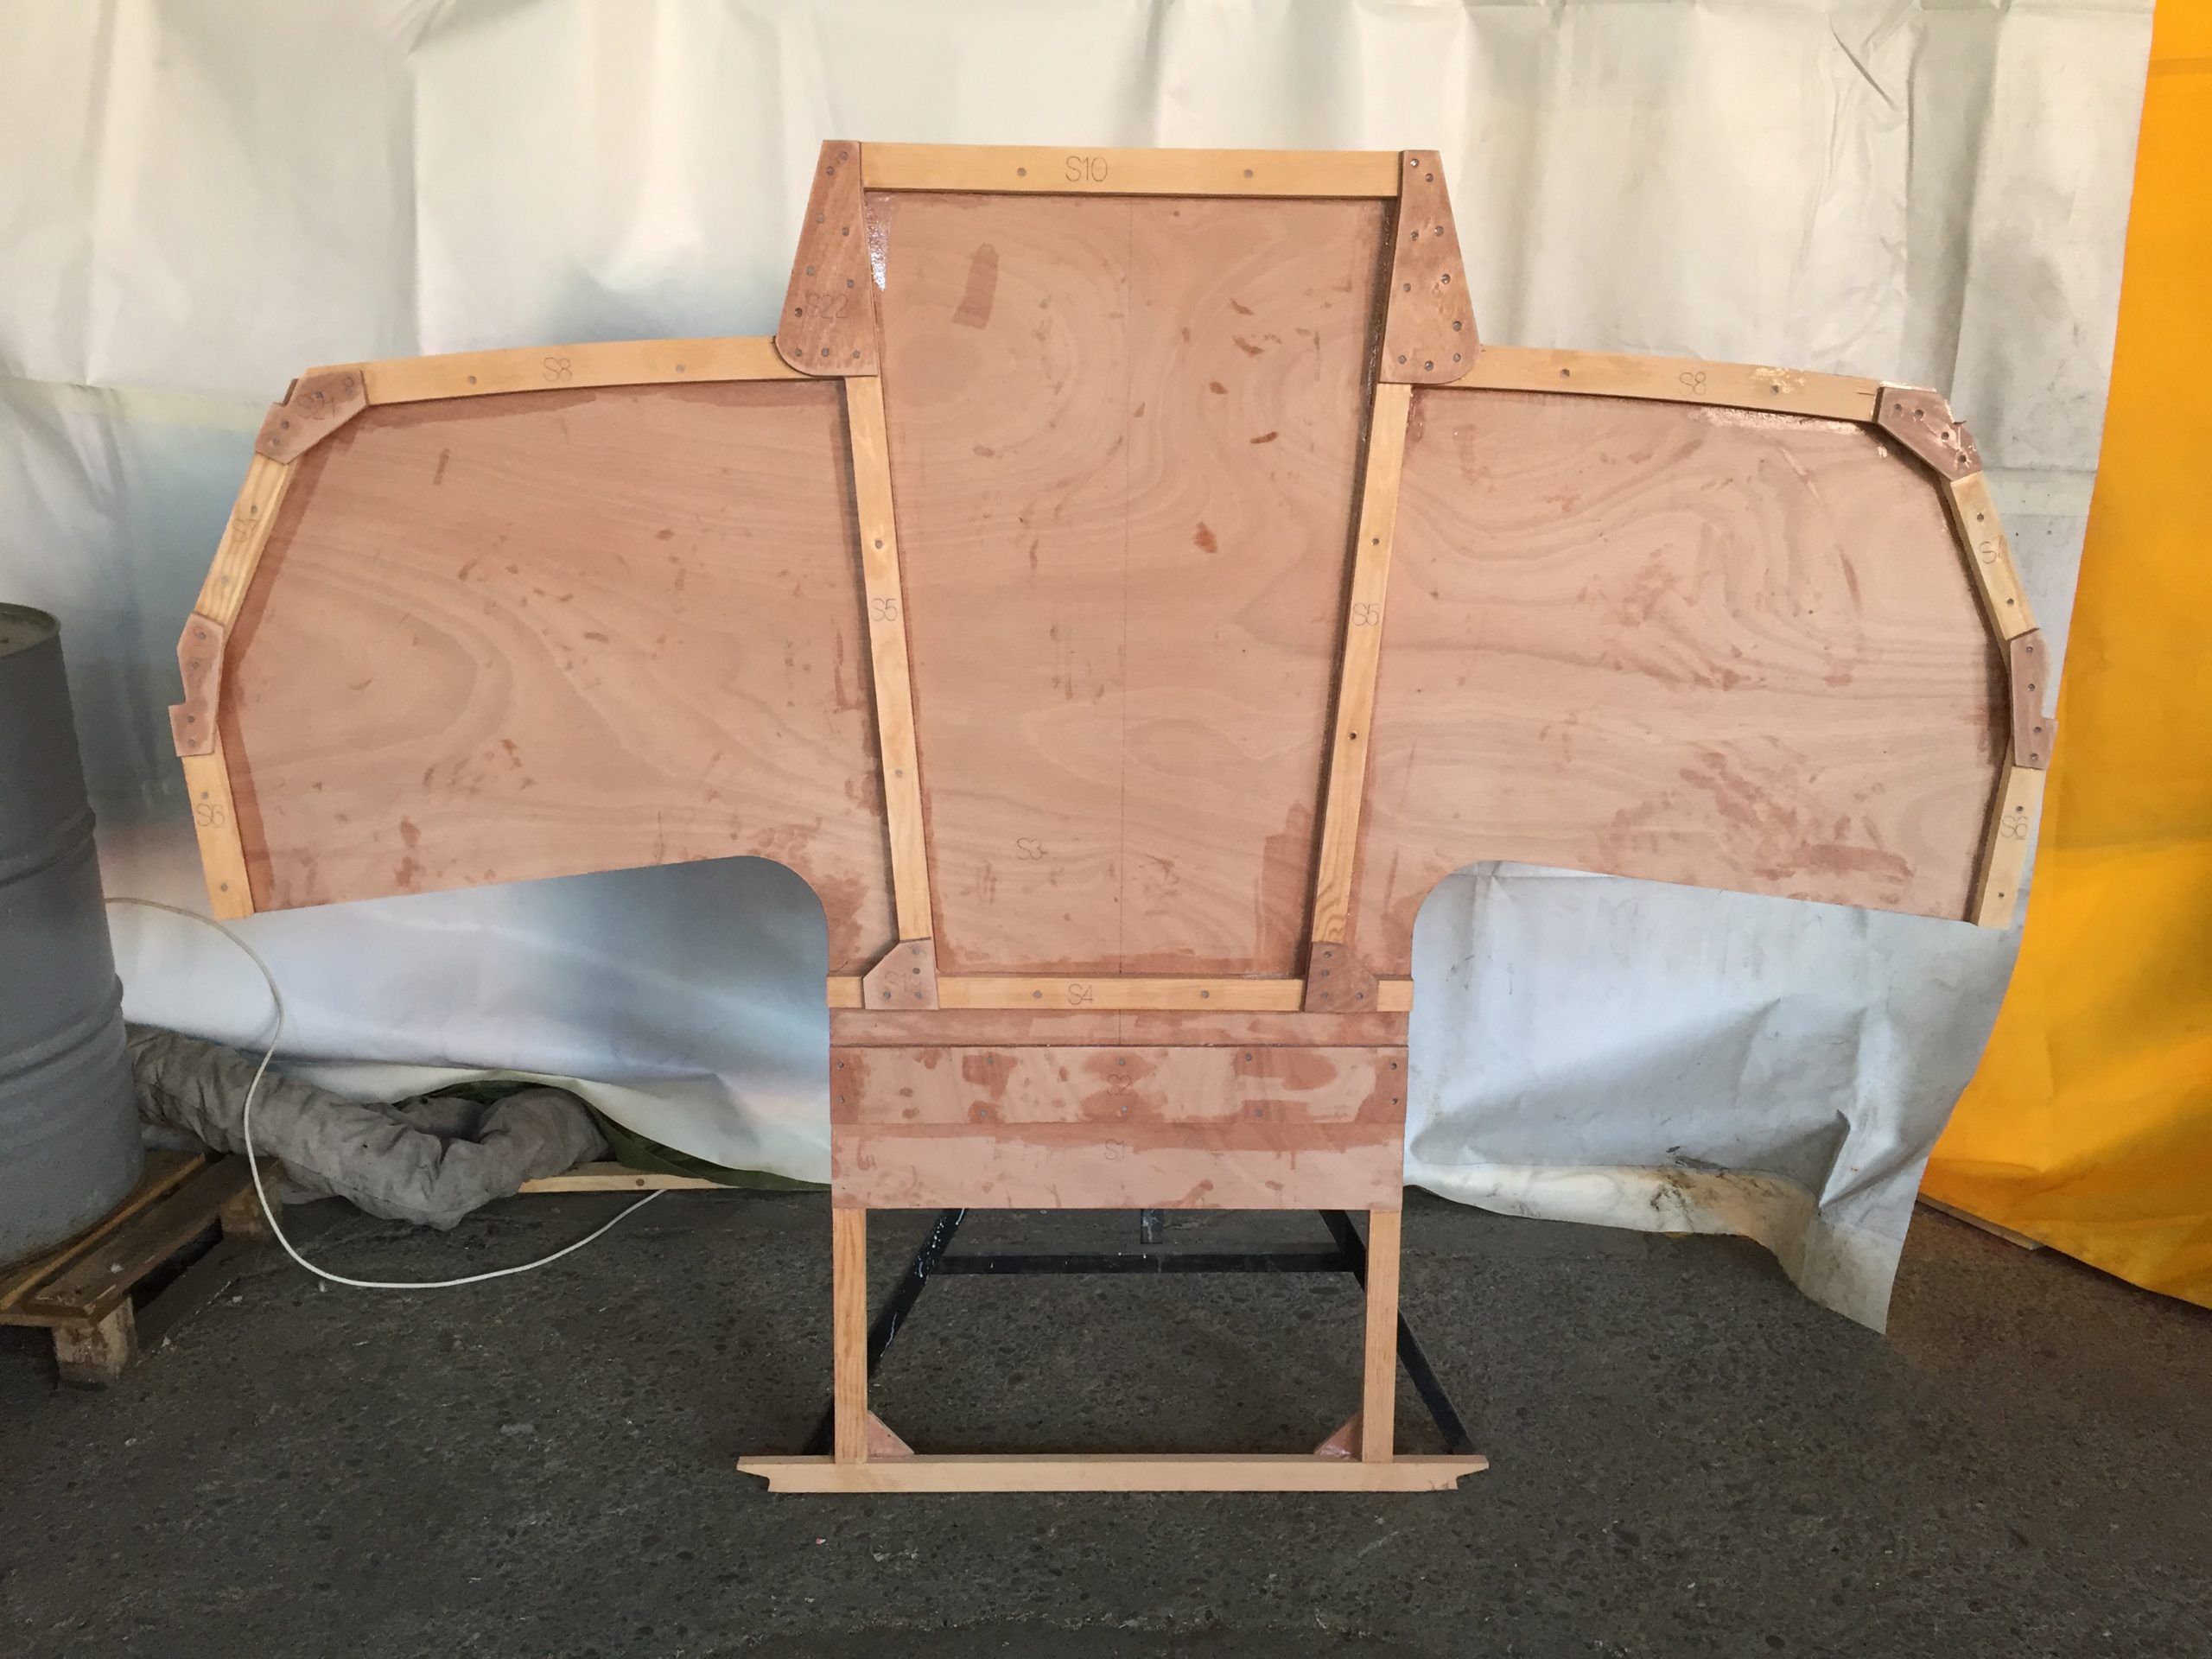
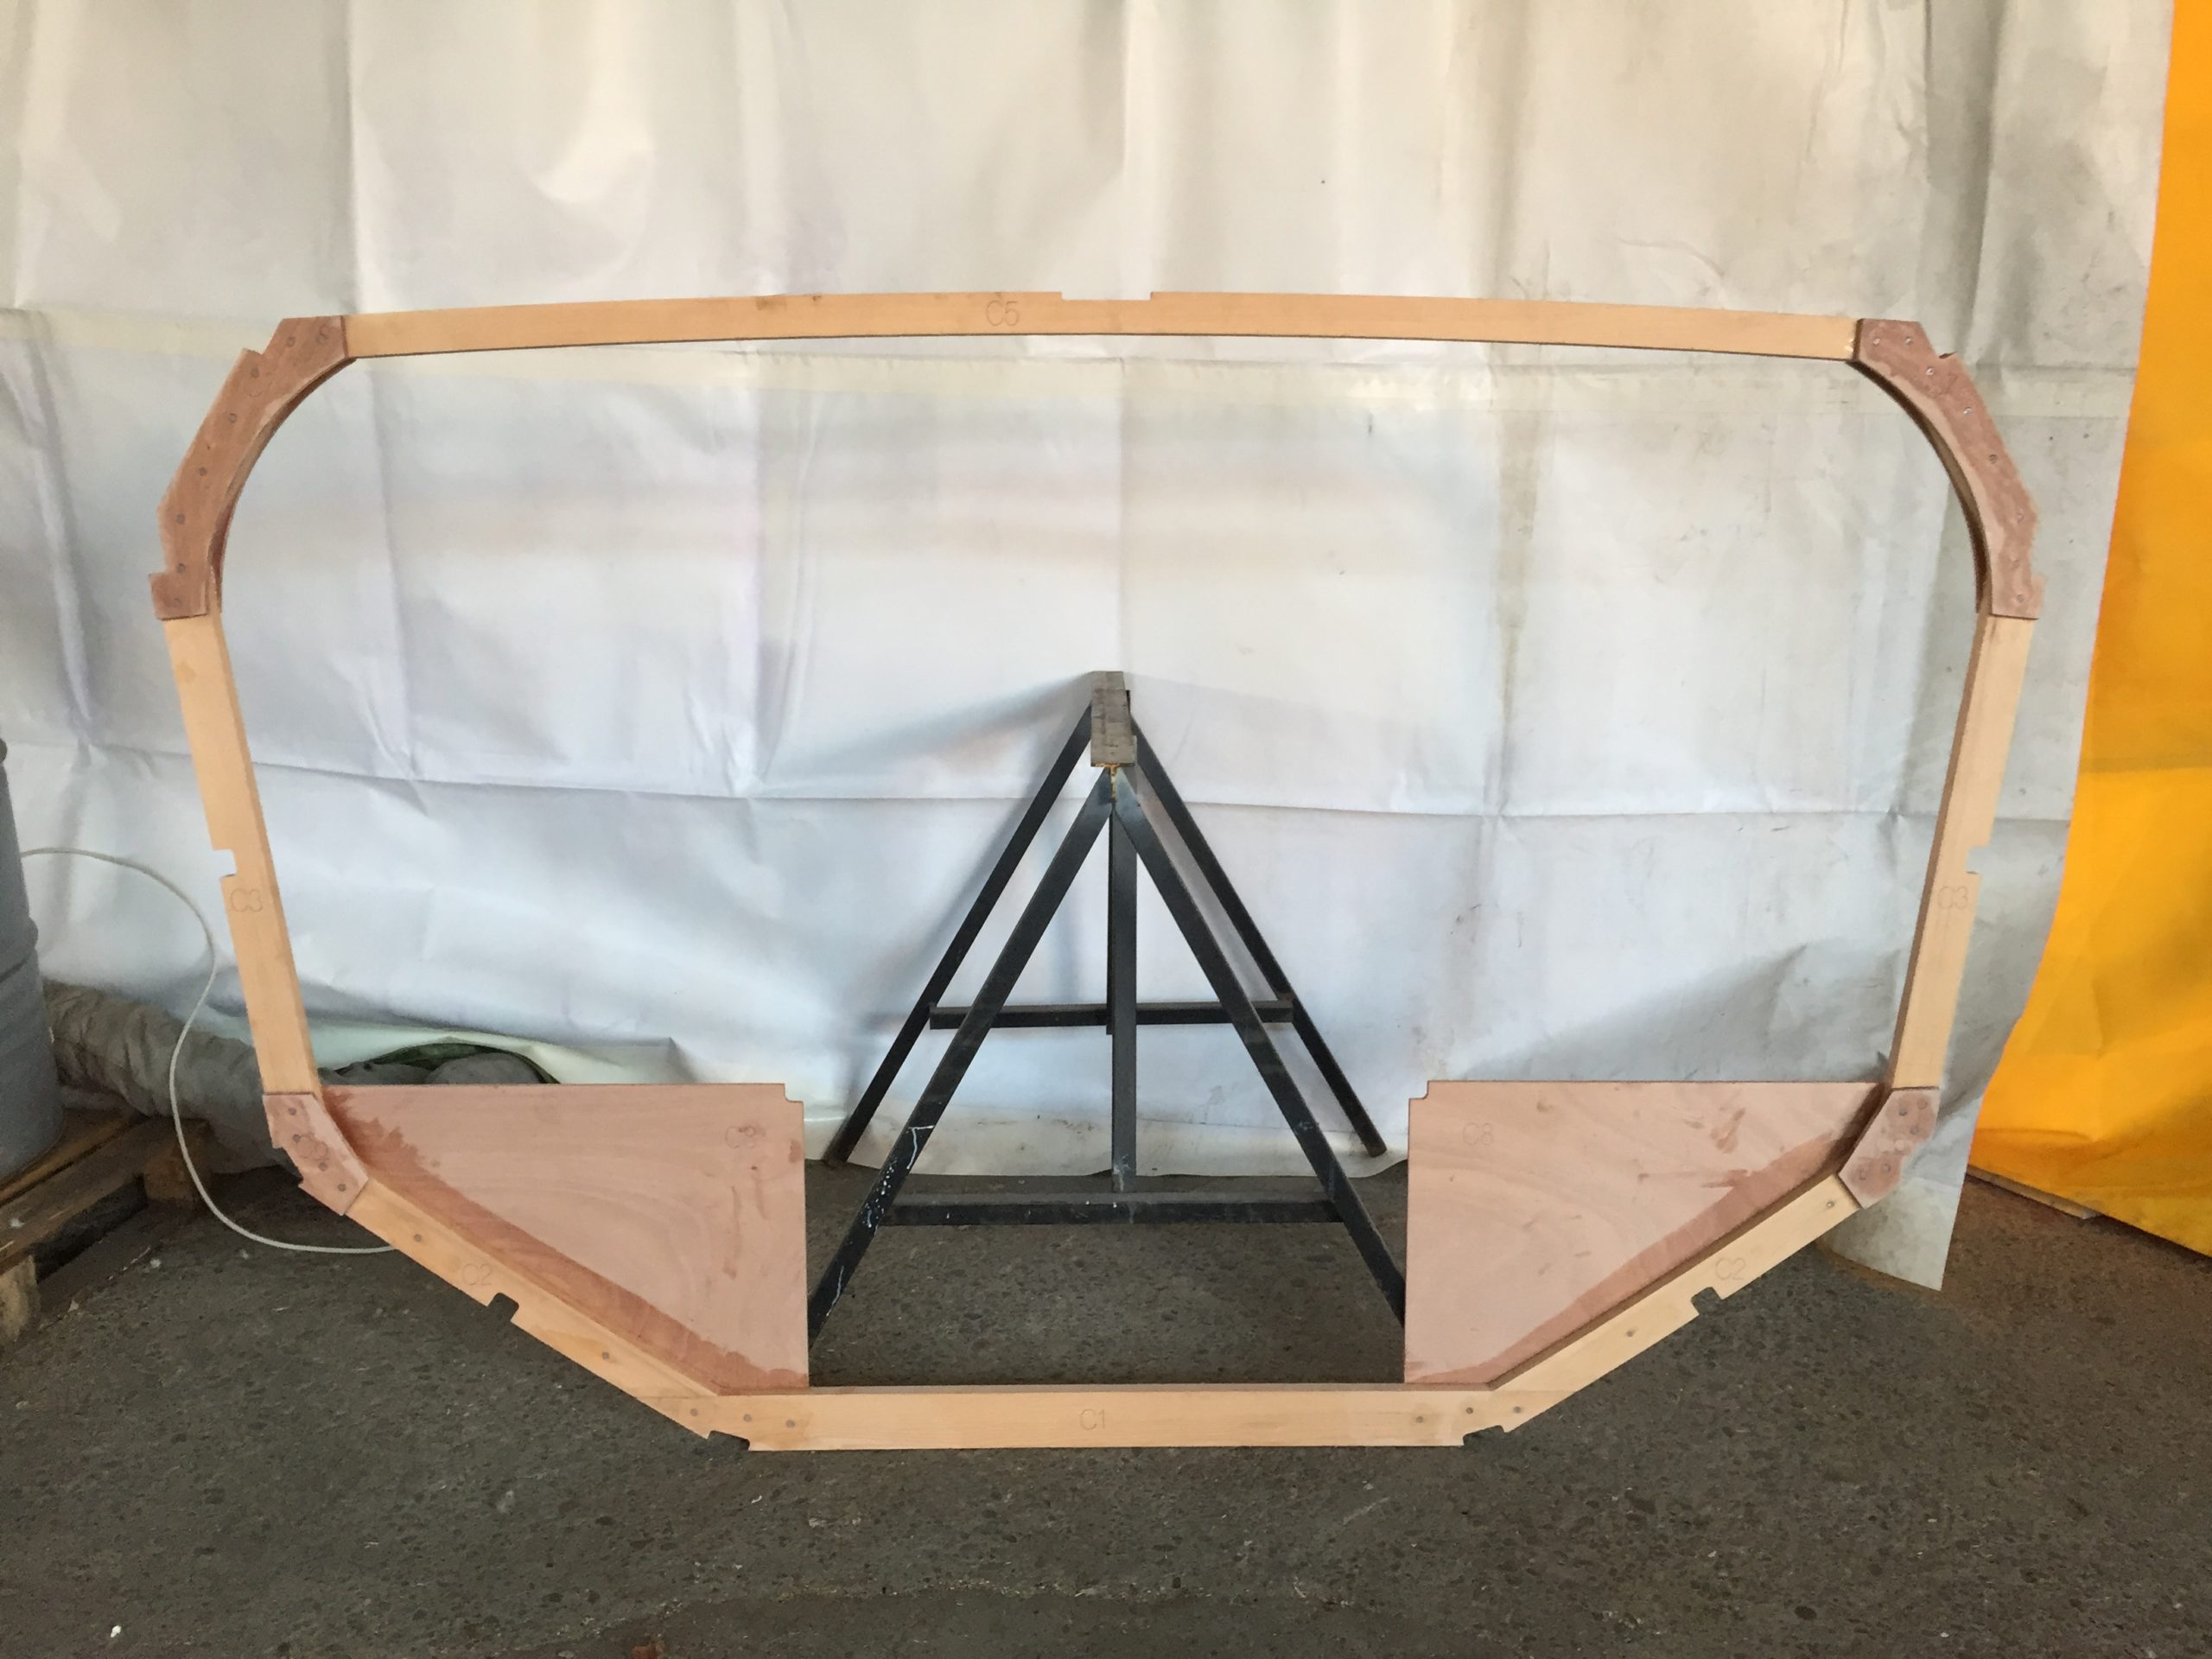
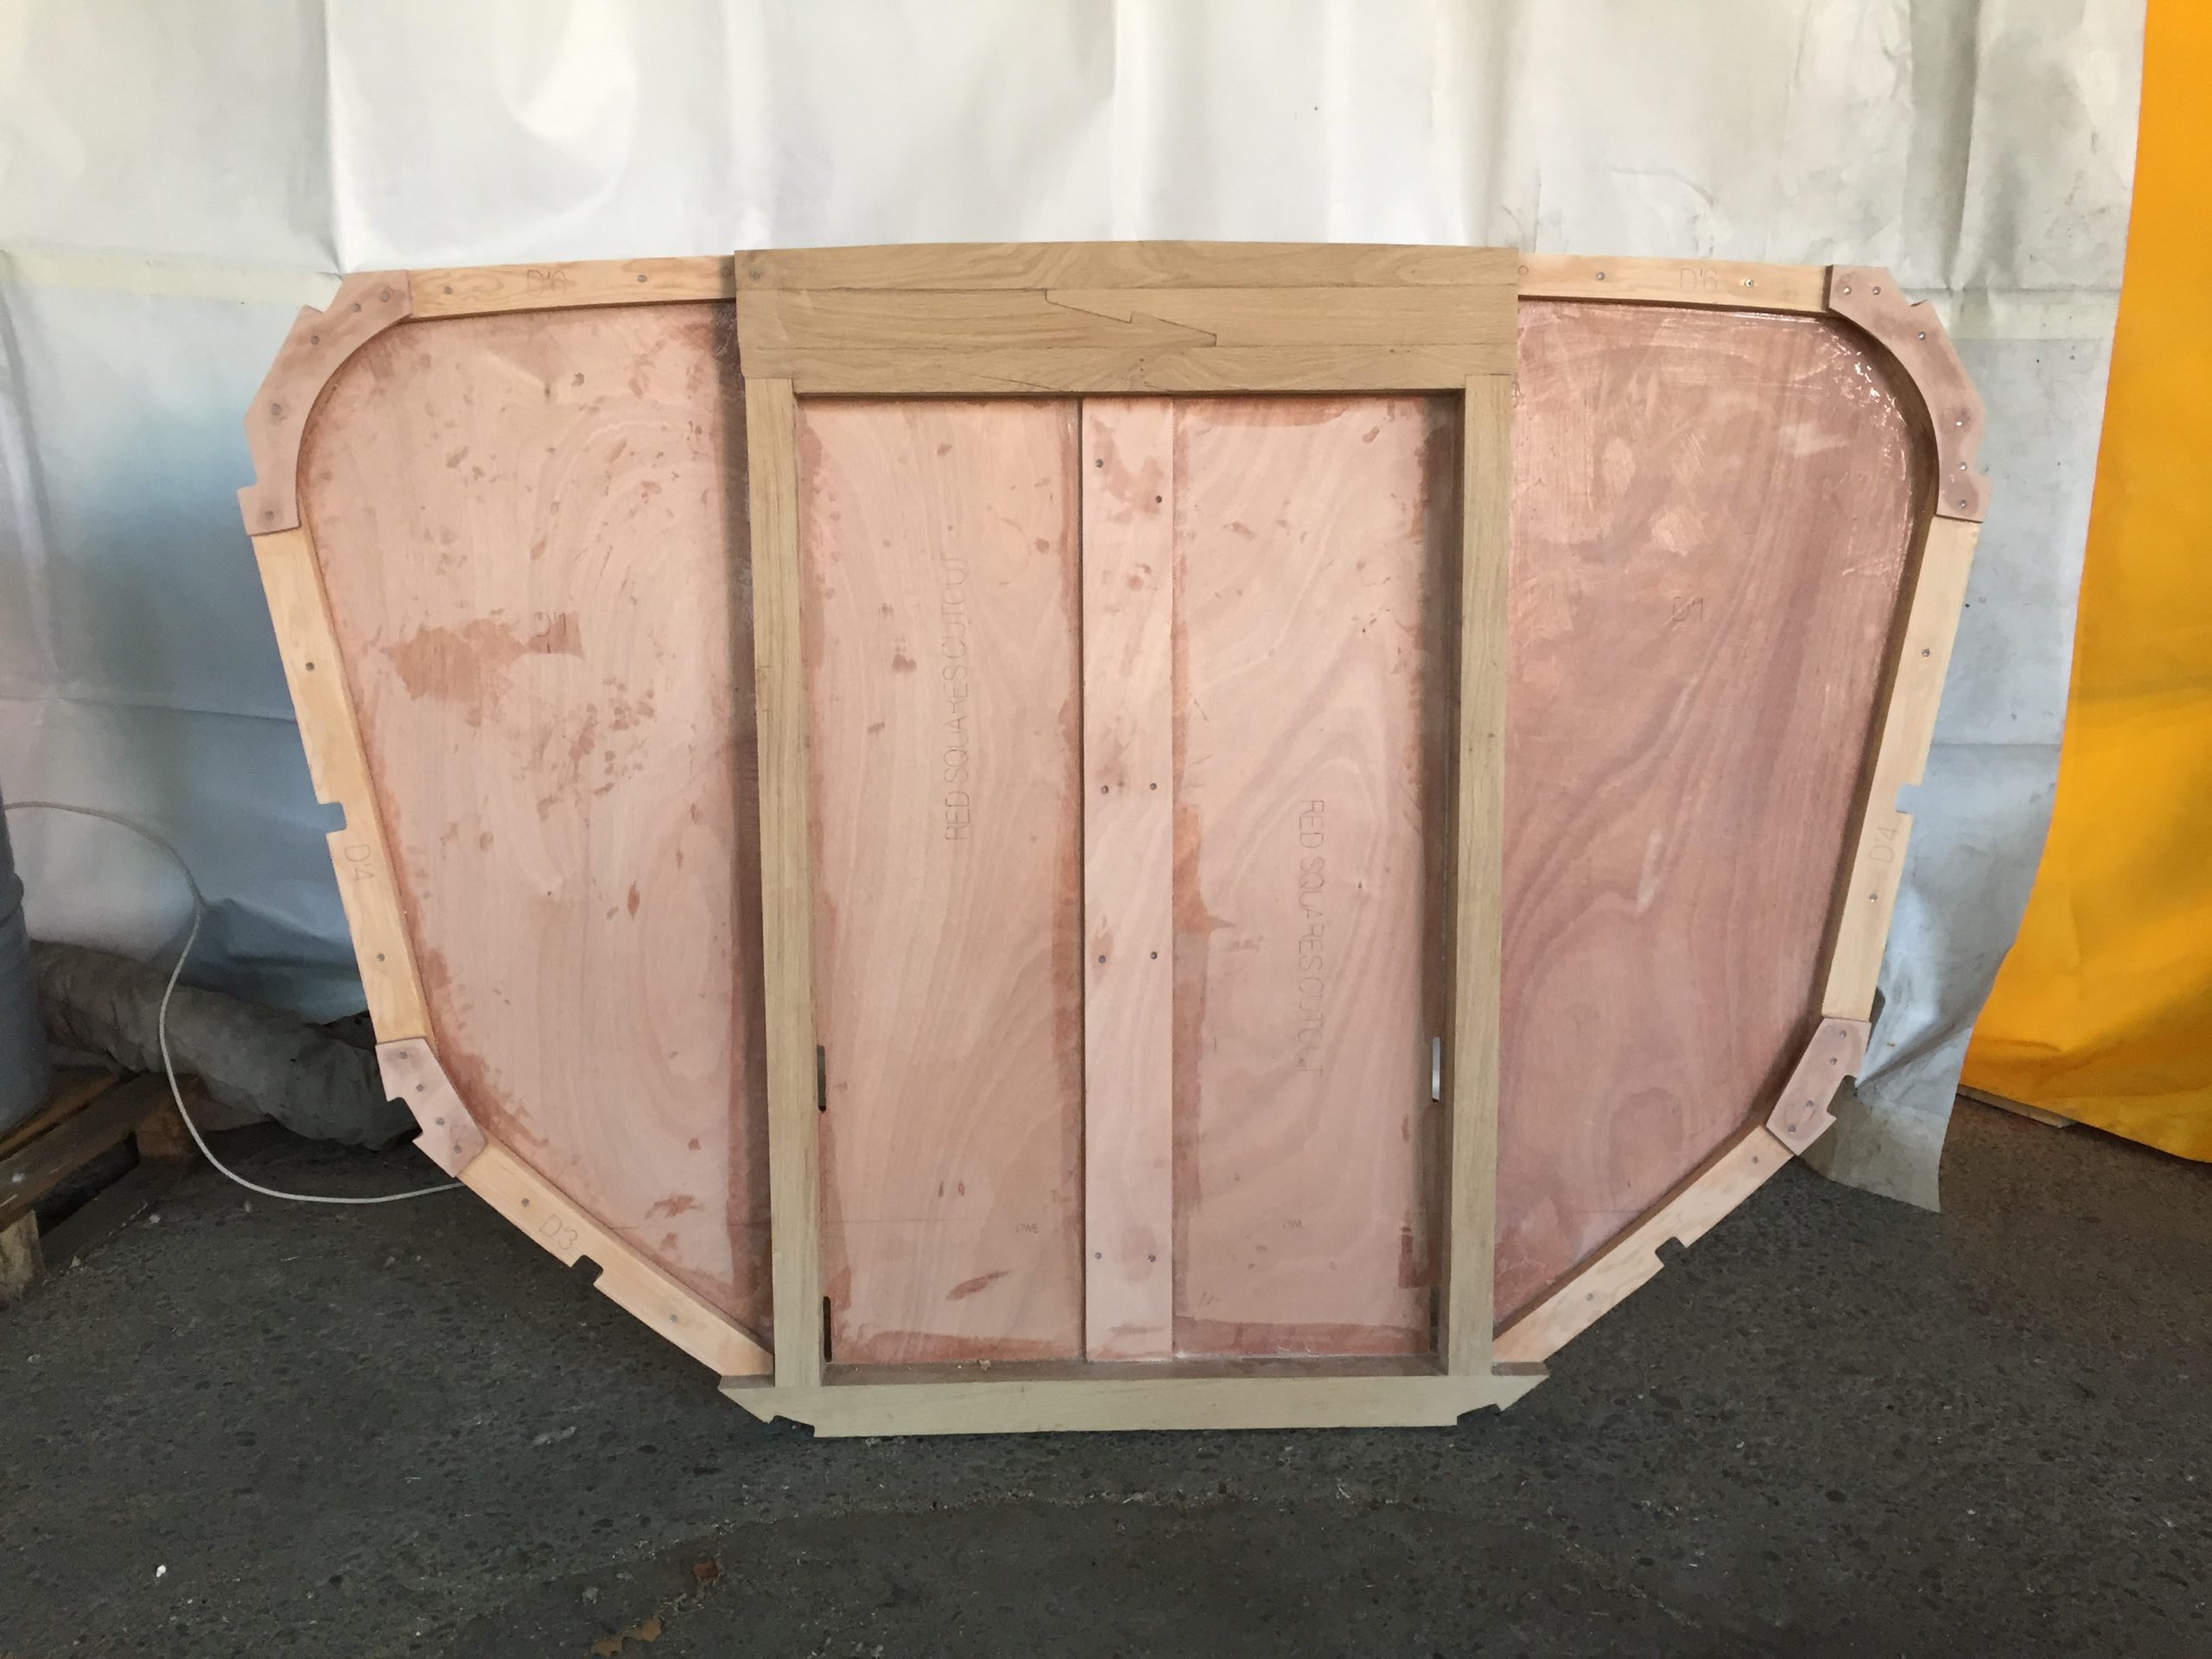
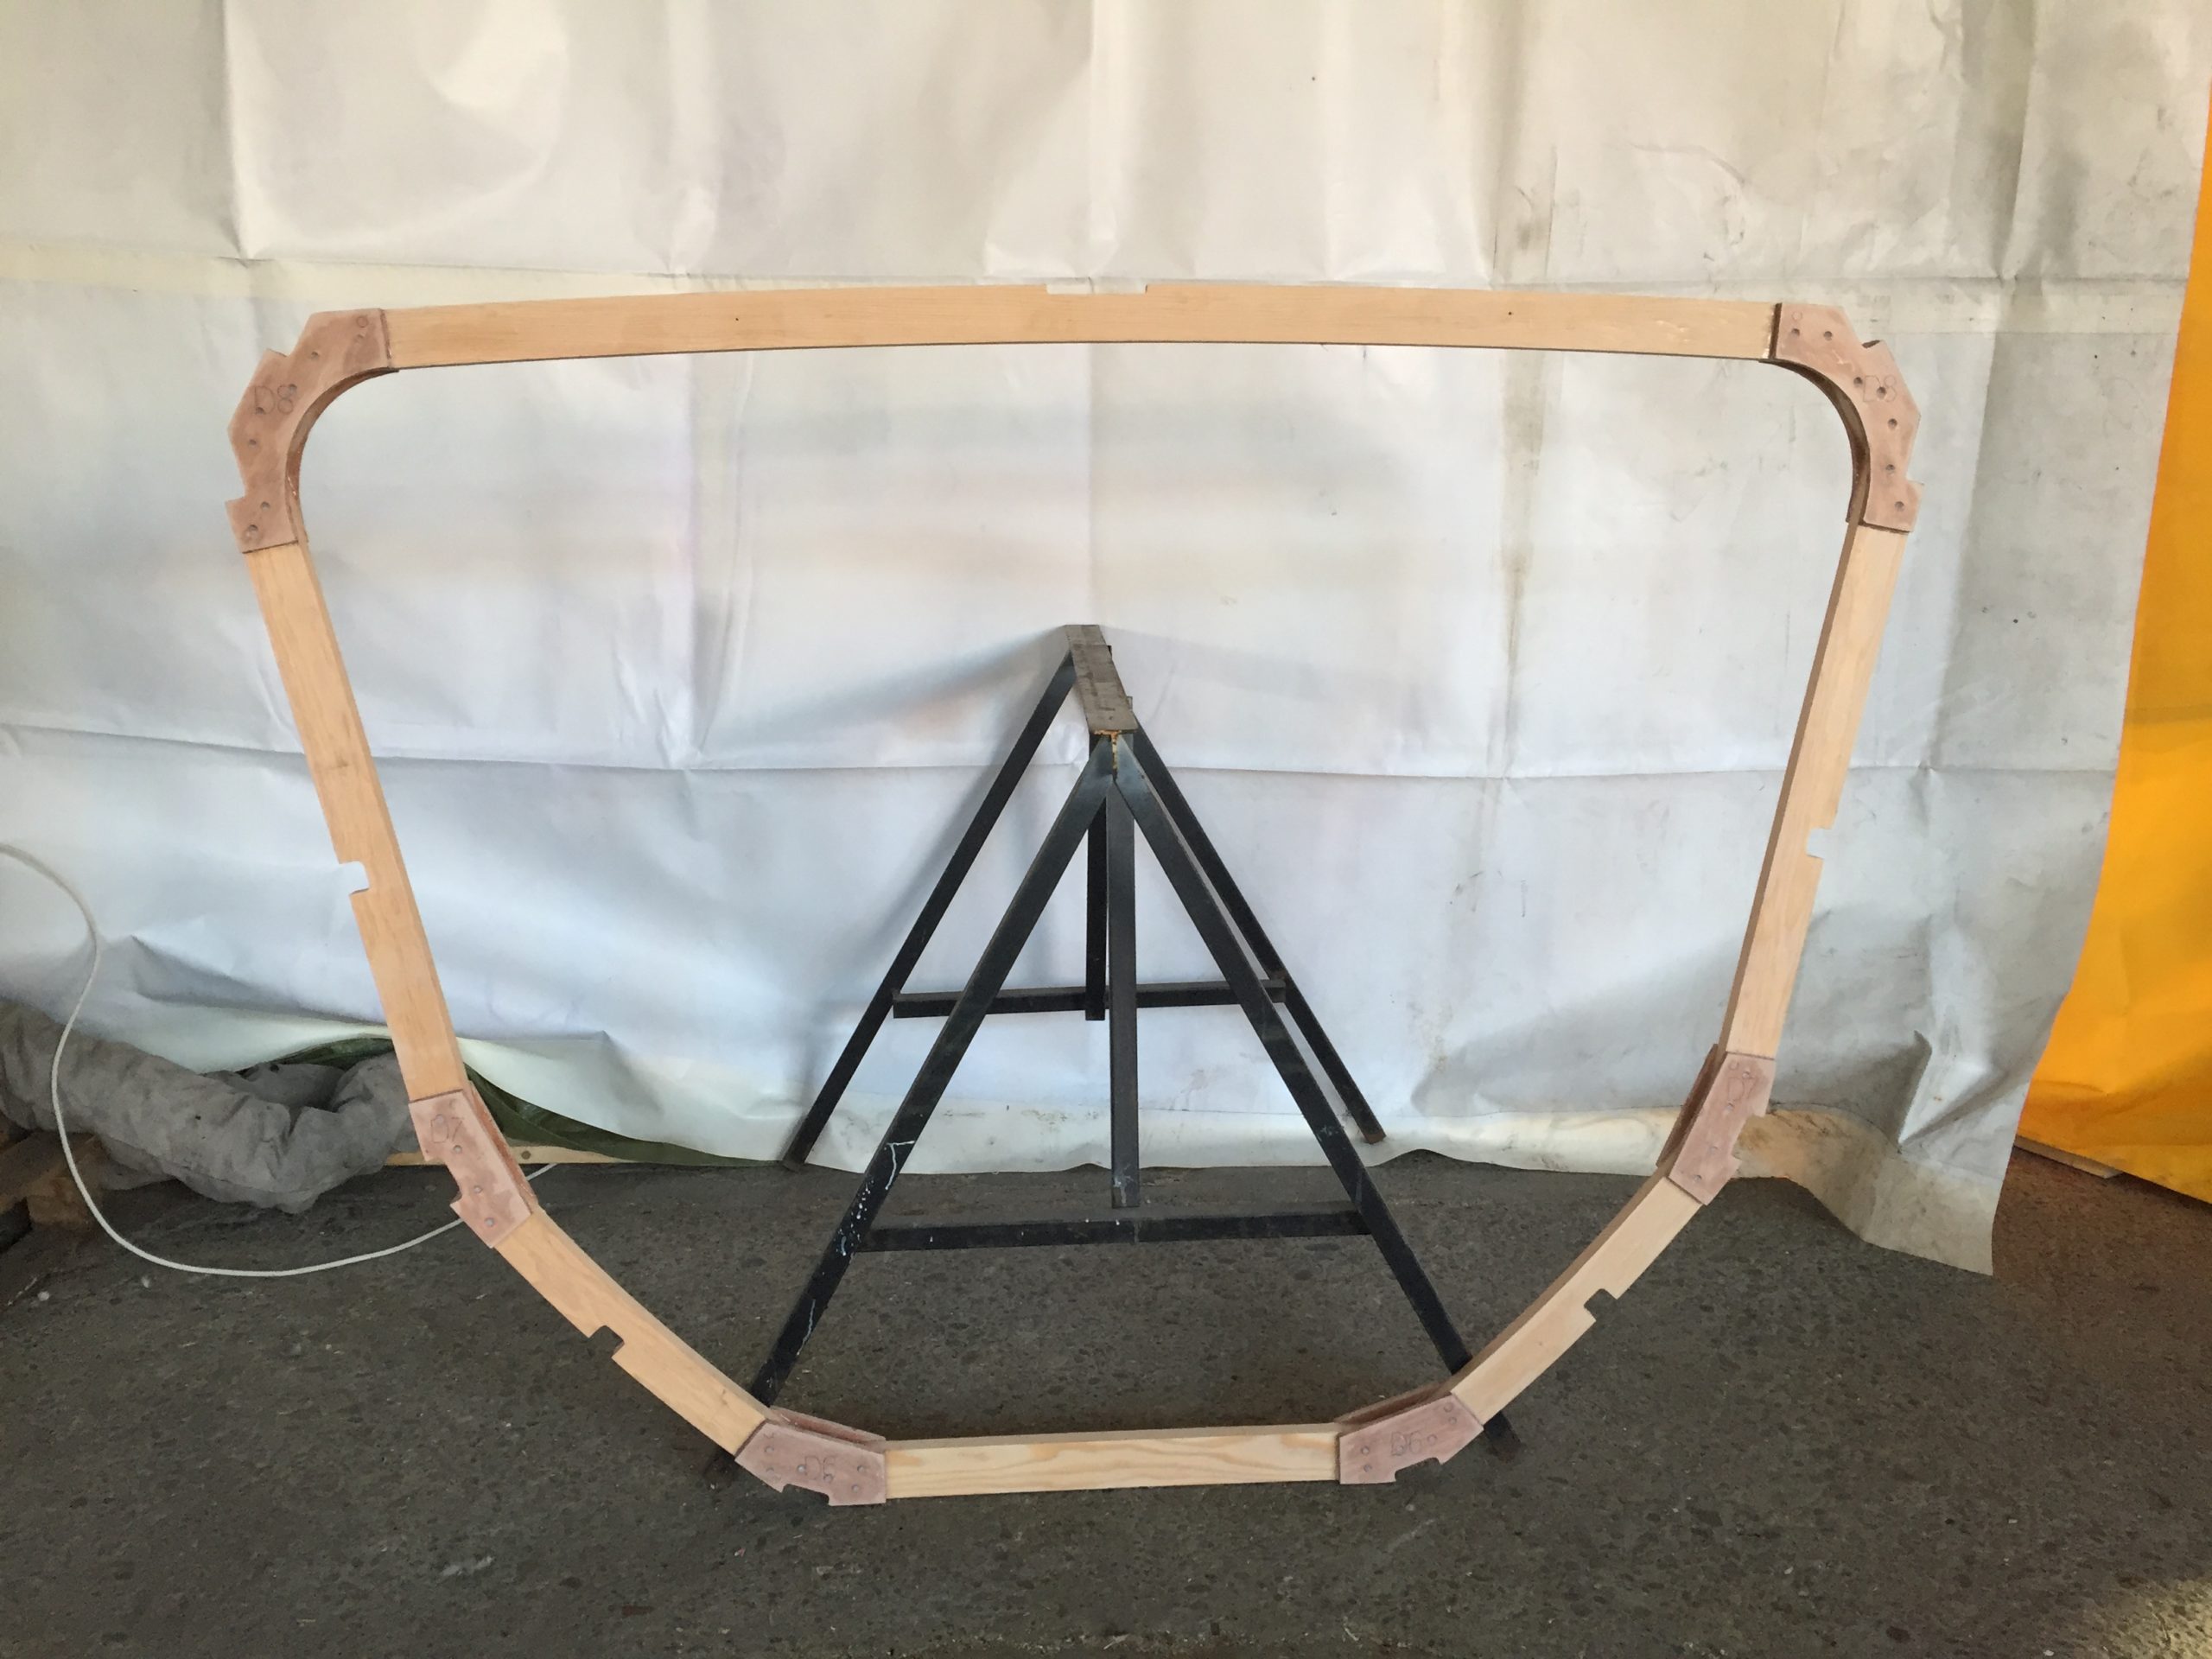


Here you can see the box I had to build to keep the epoxy and the hardener at an ambient temperature not too low. A simple wooden box insulated with stirofoam and a glow bulb working a small heater. Works fine.
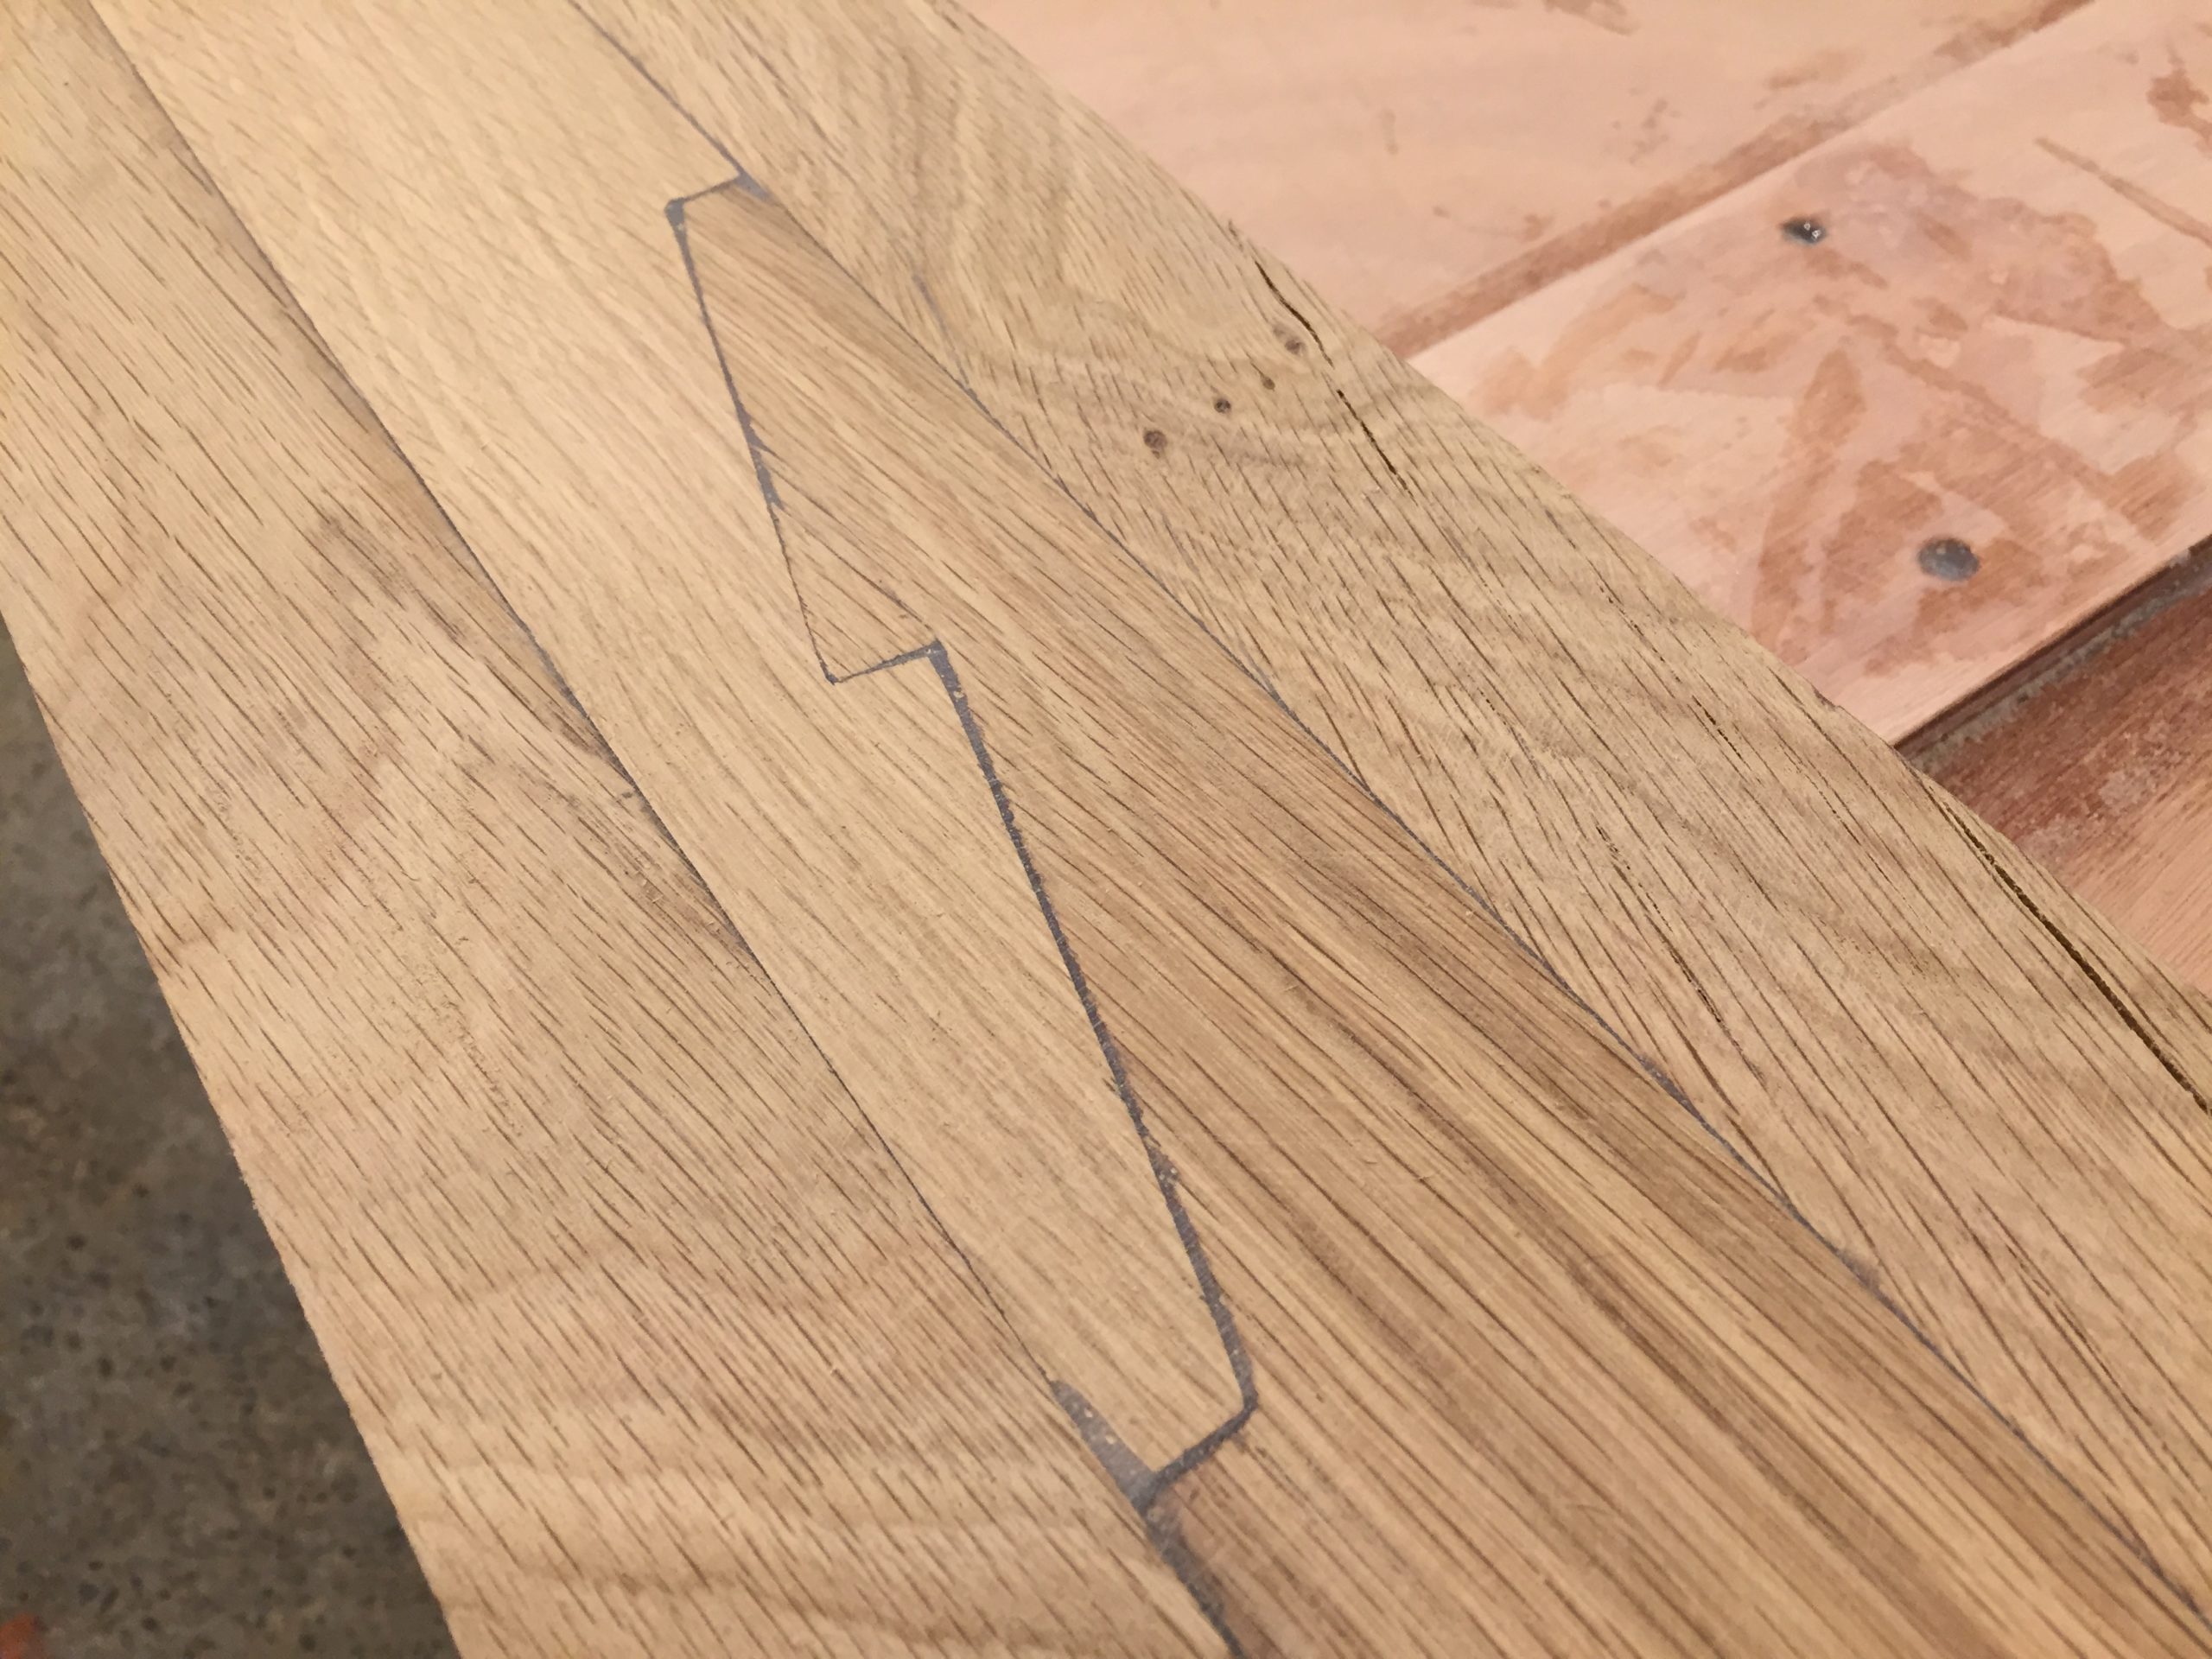
For the frame D’ and the keel post I needed some OAK. Rather than order already precut pieces I decided to go straight at the local mill and get some massive board from there. It was quite interesting to visit this huge pile of wood and to choose the board I wanted to use for my boat. I also took some board for the stringers.
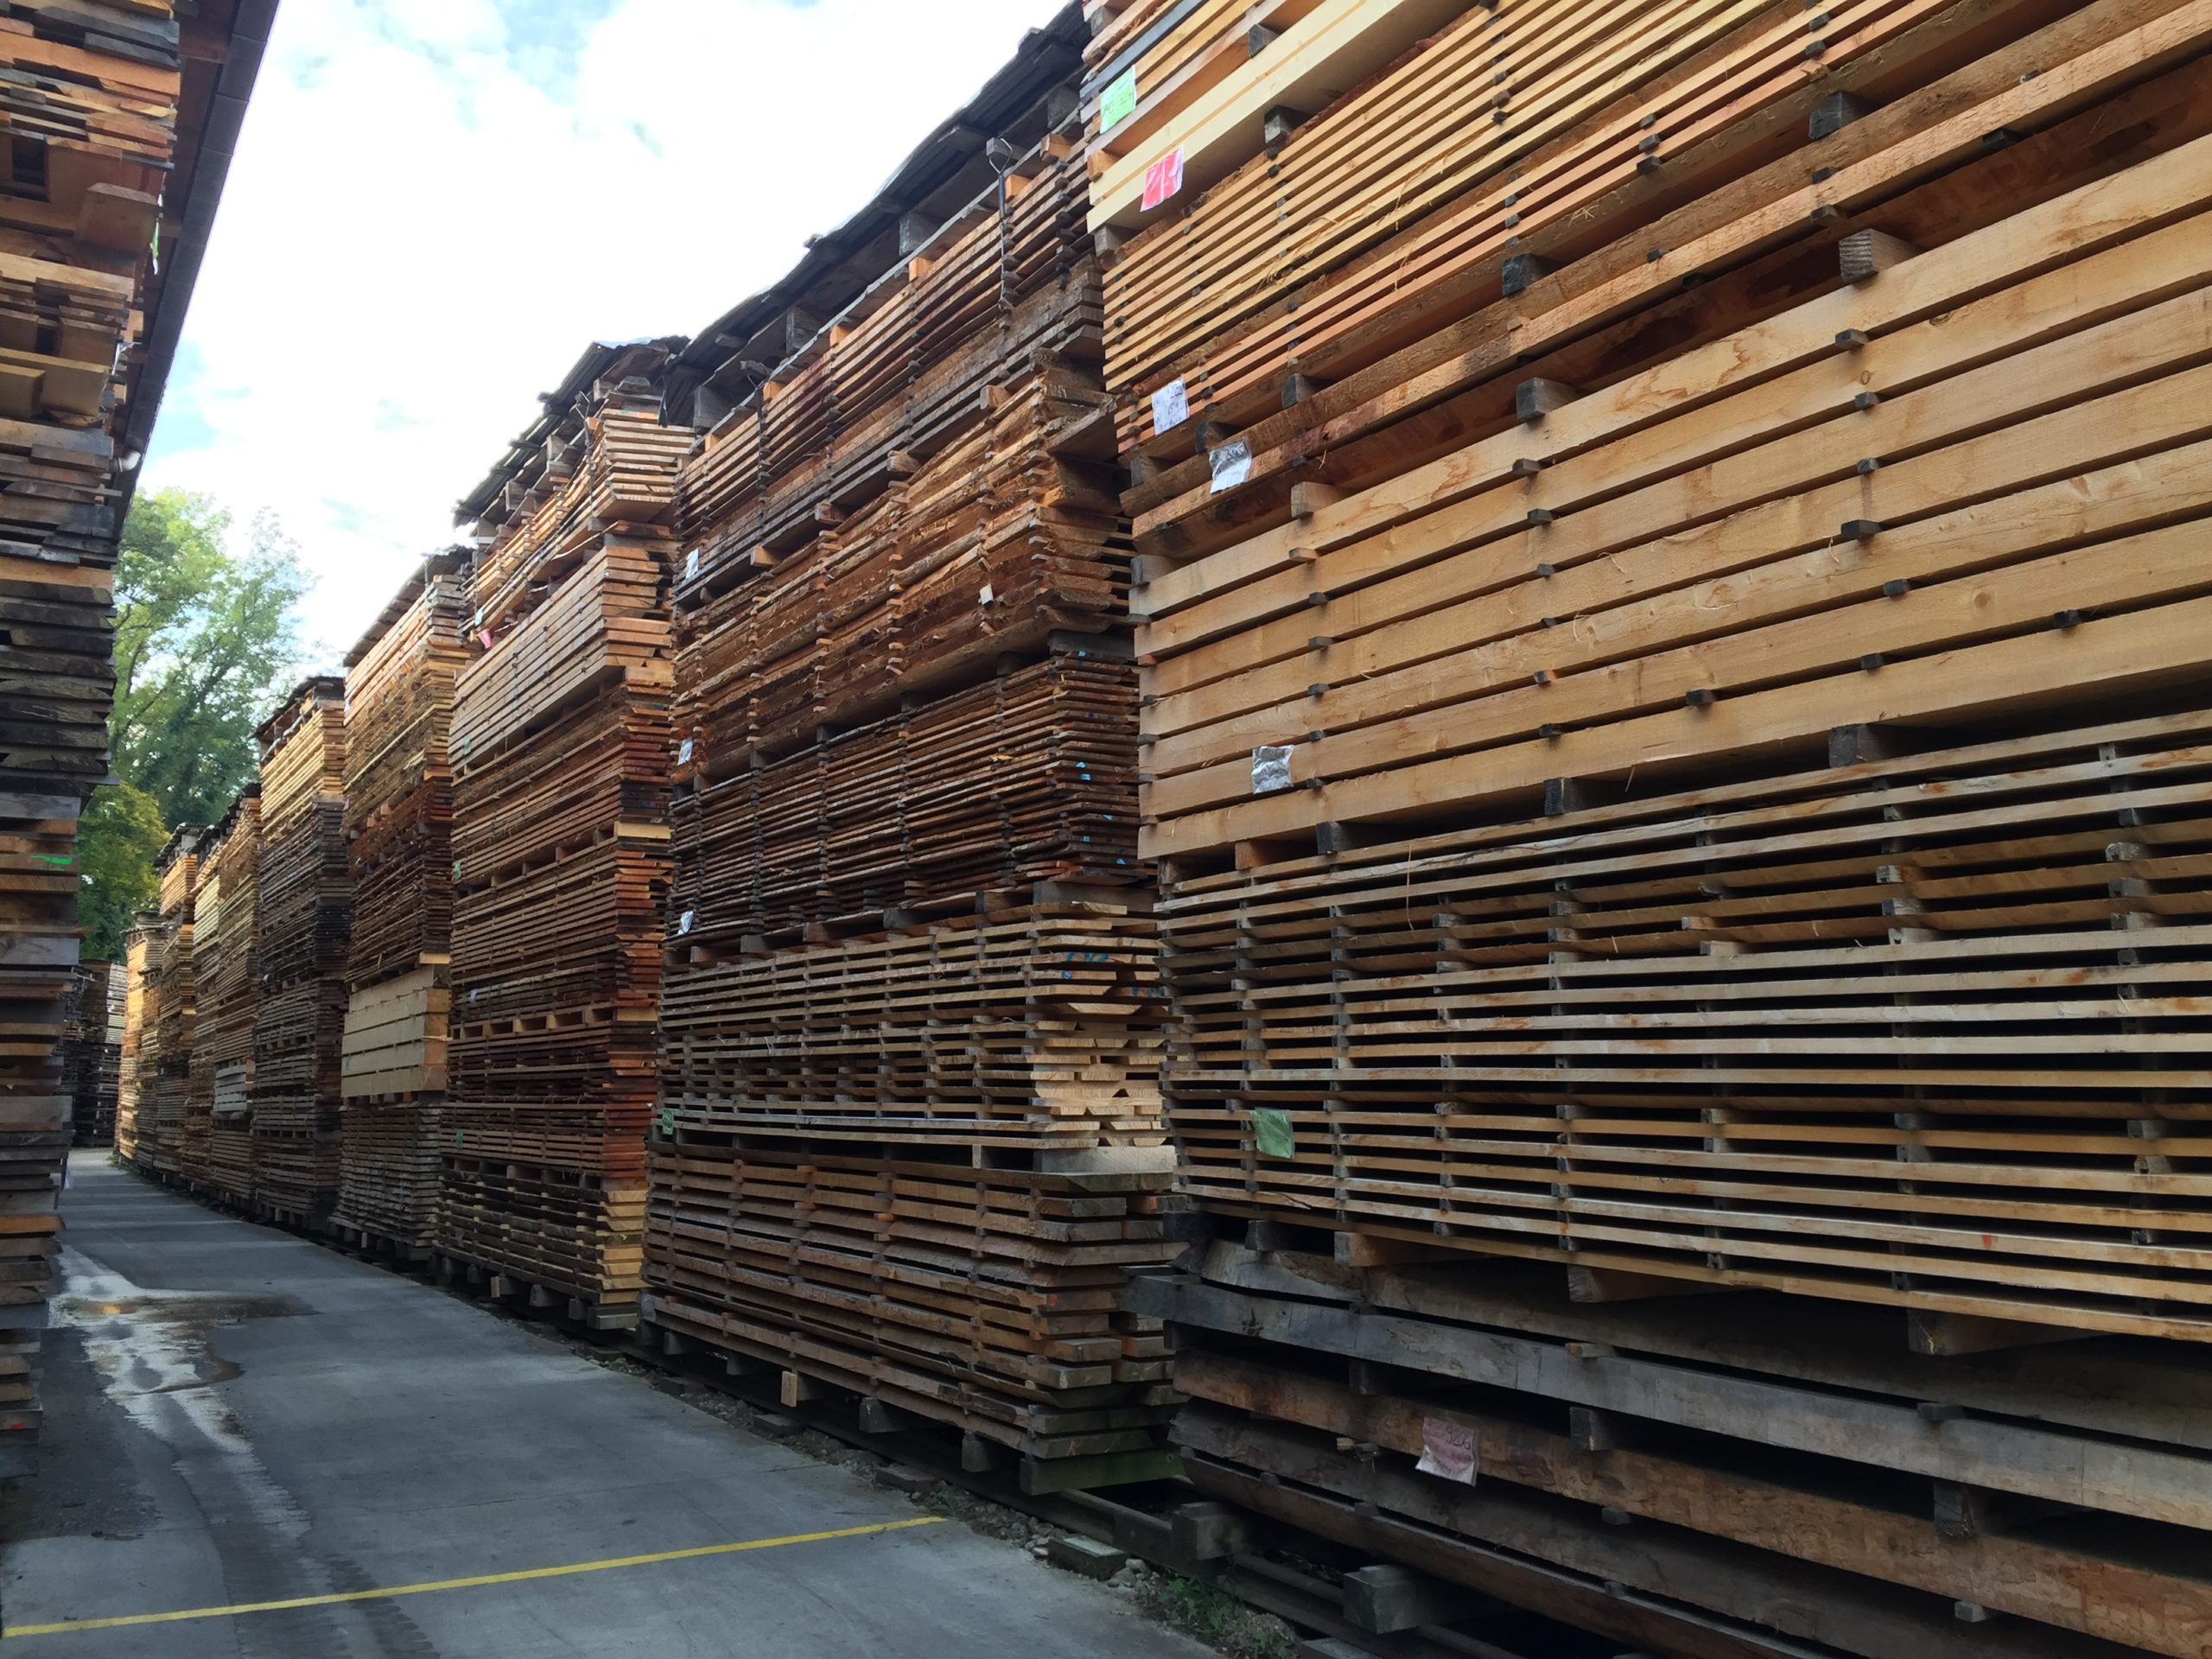

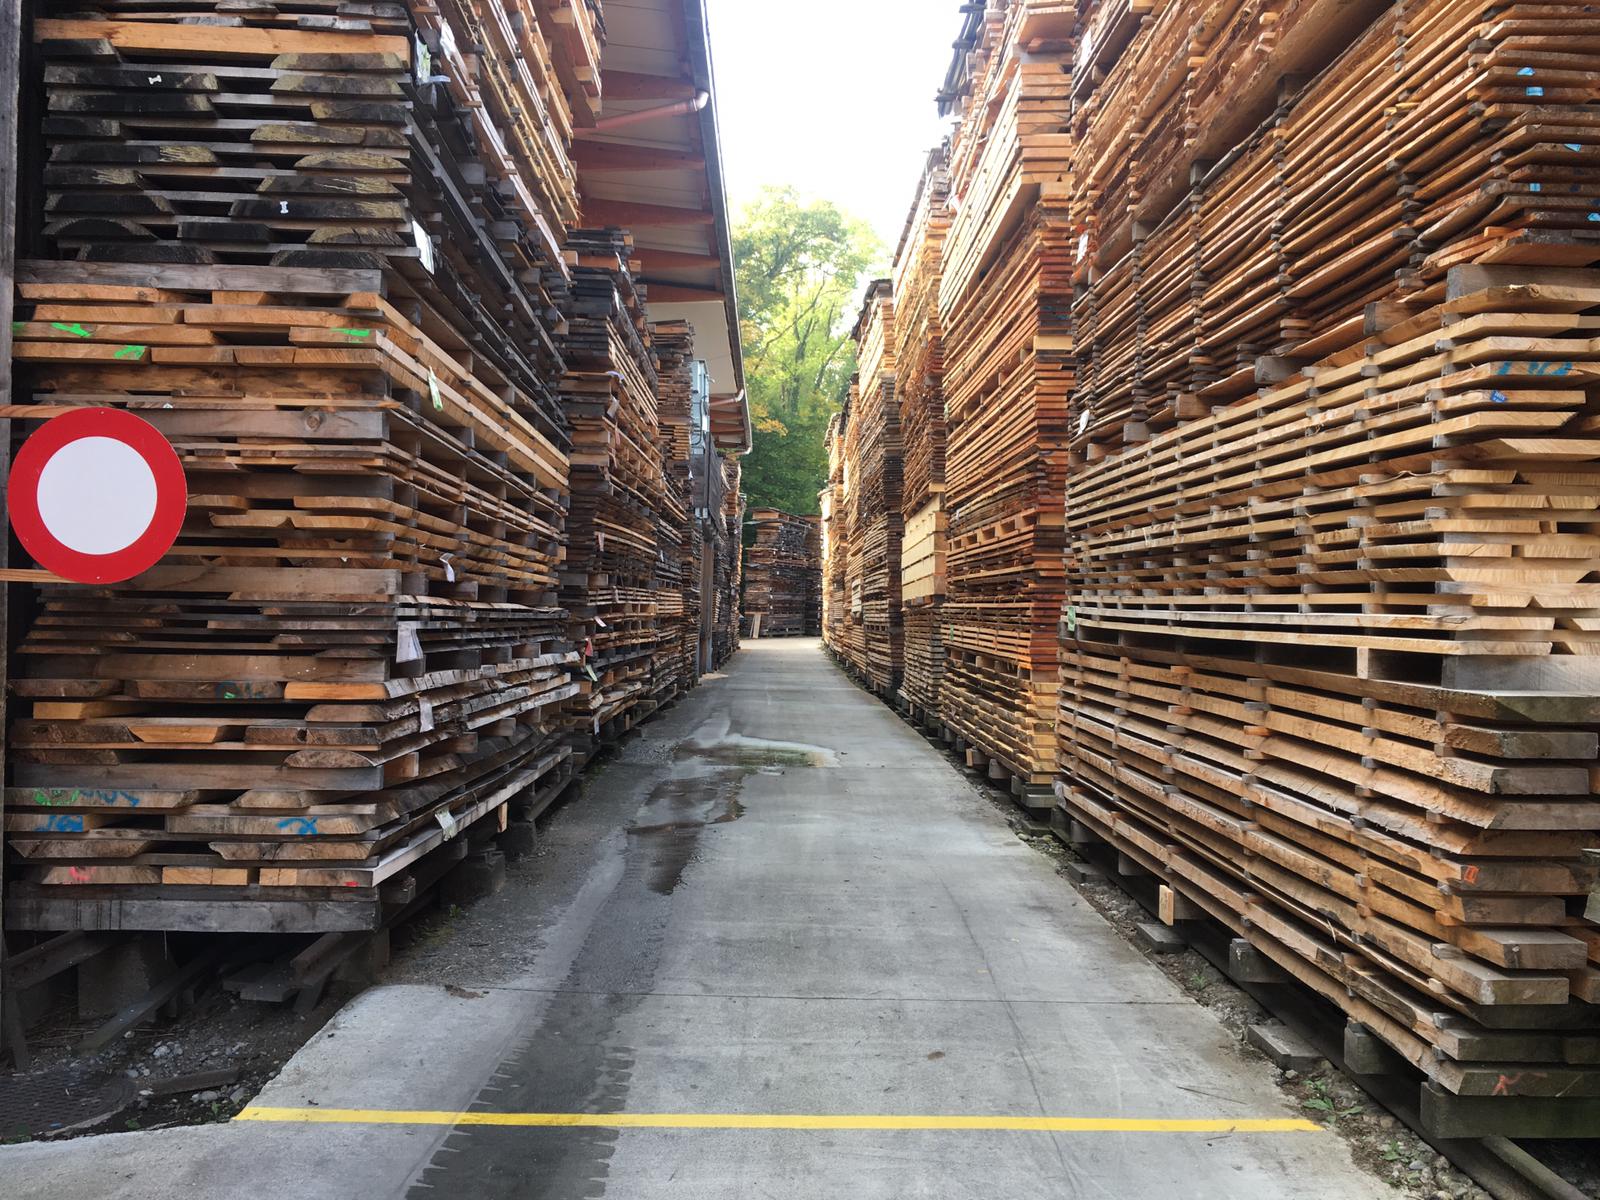
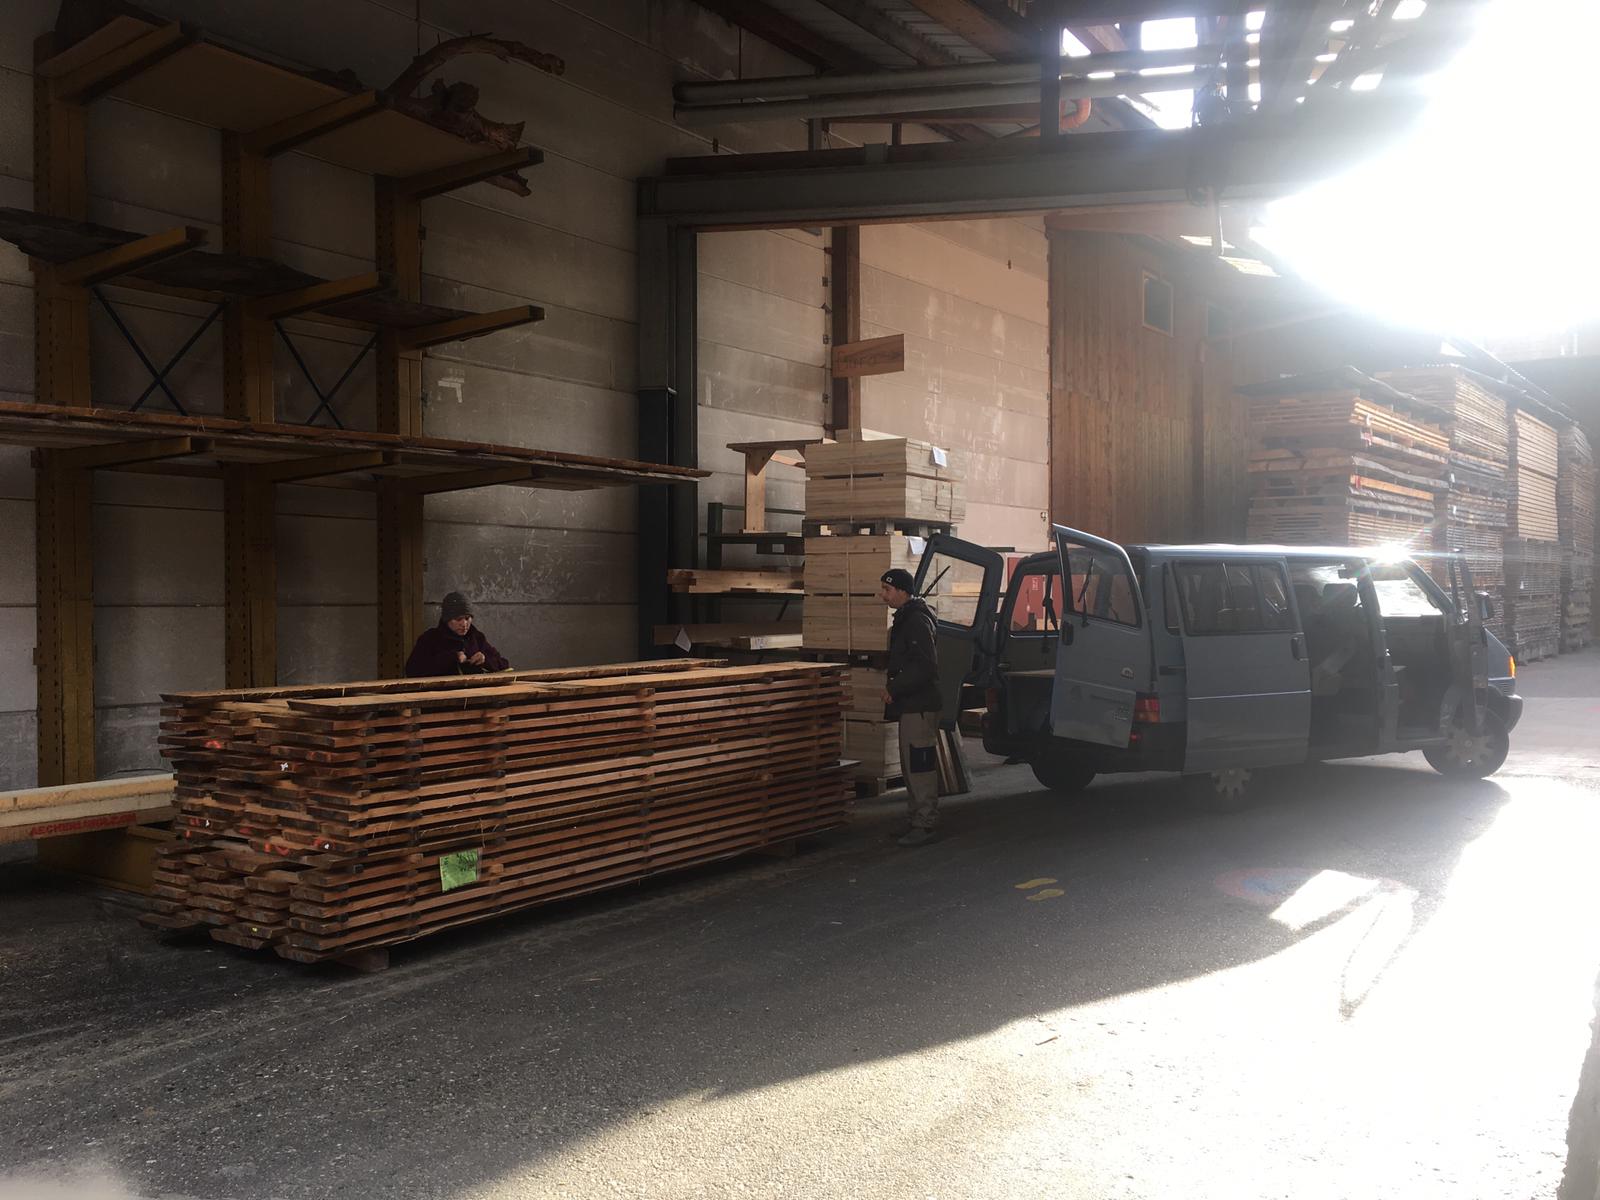
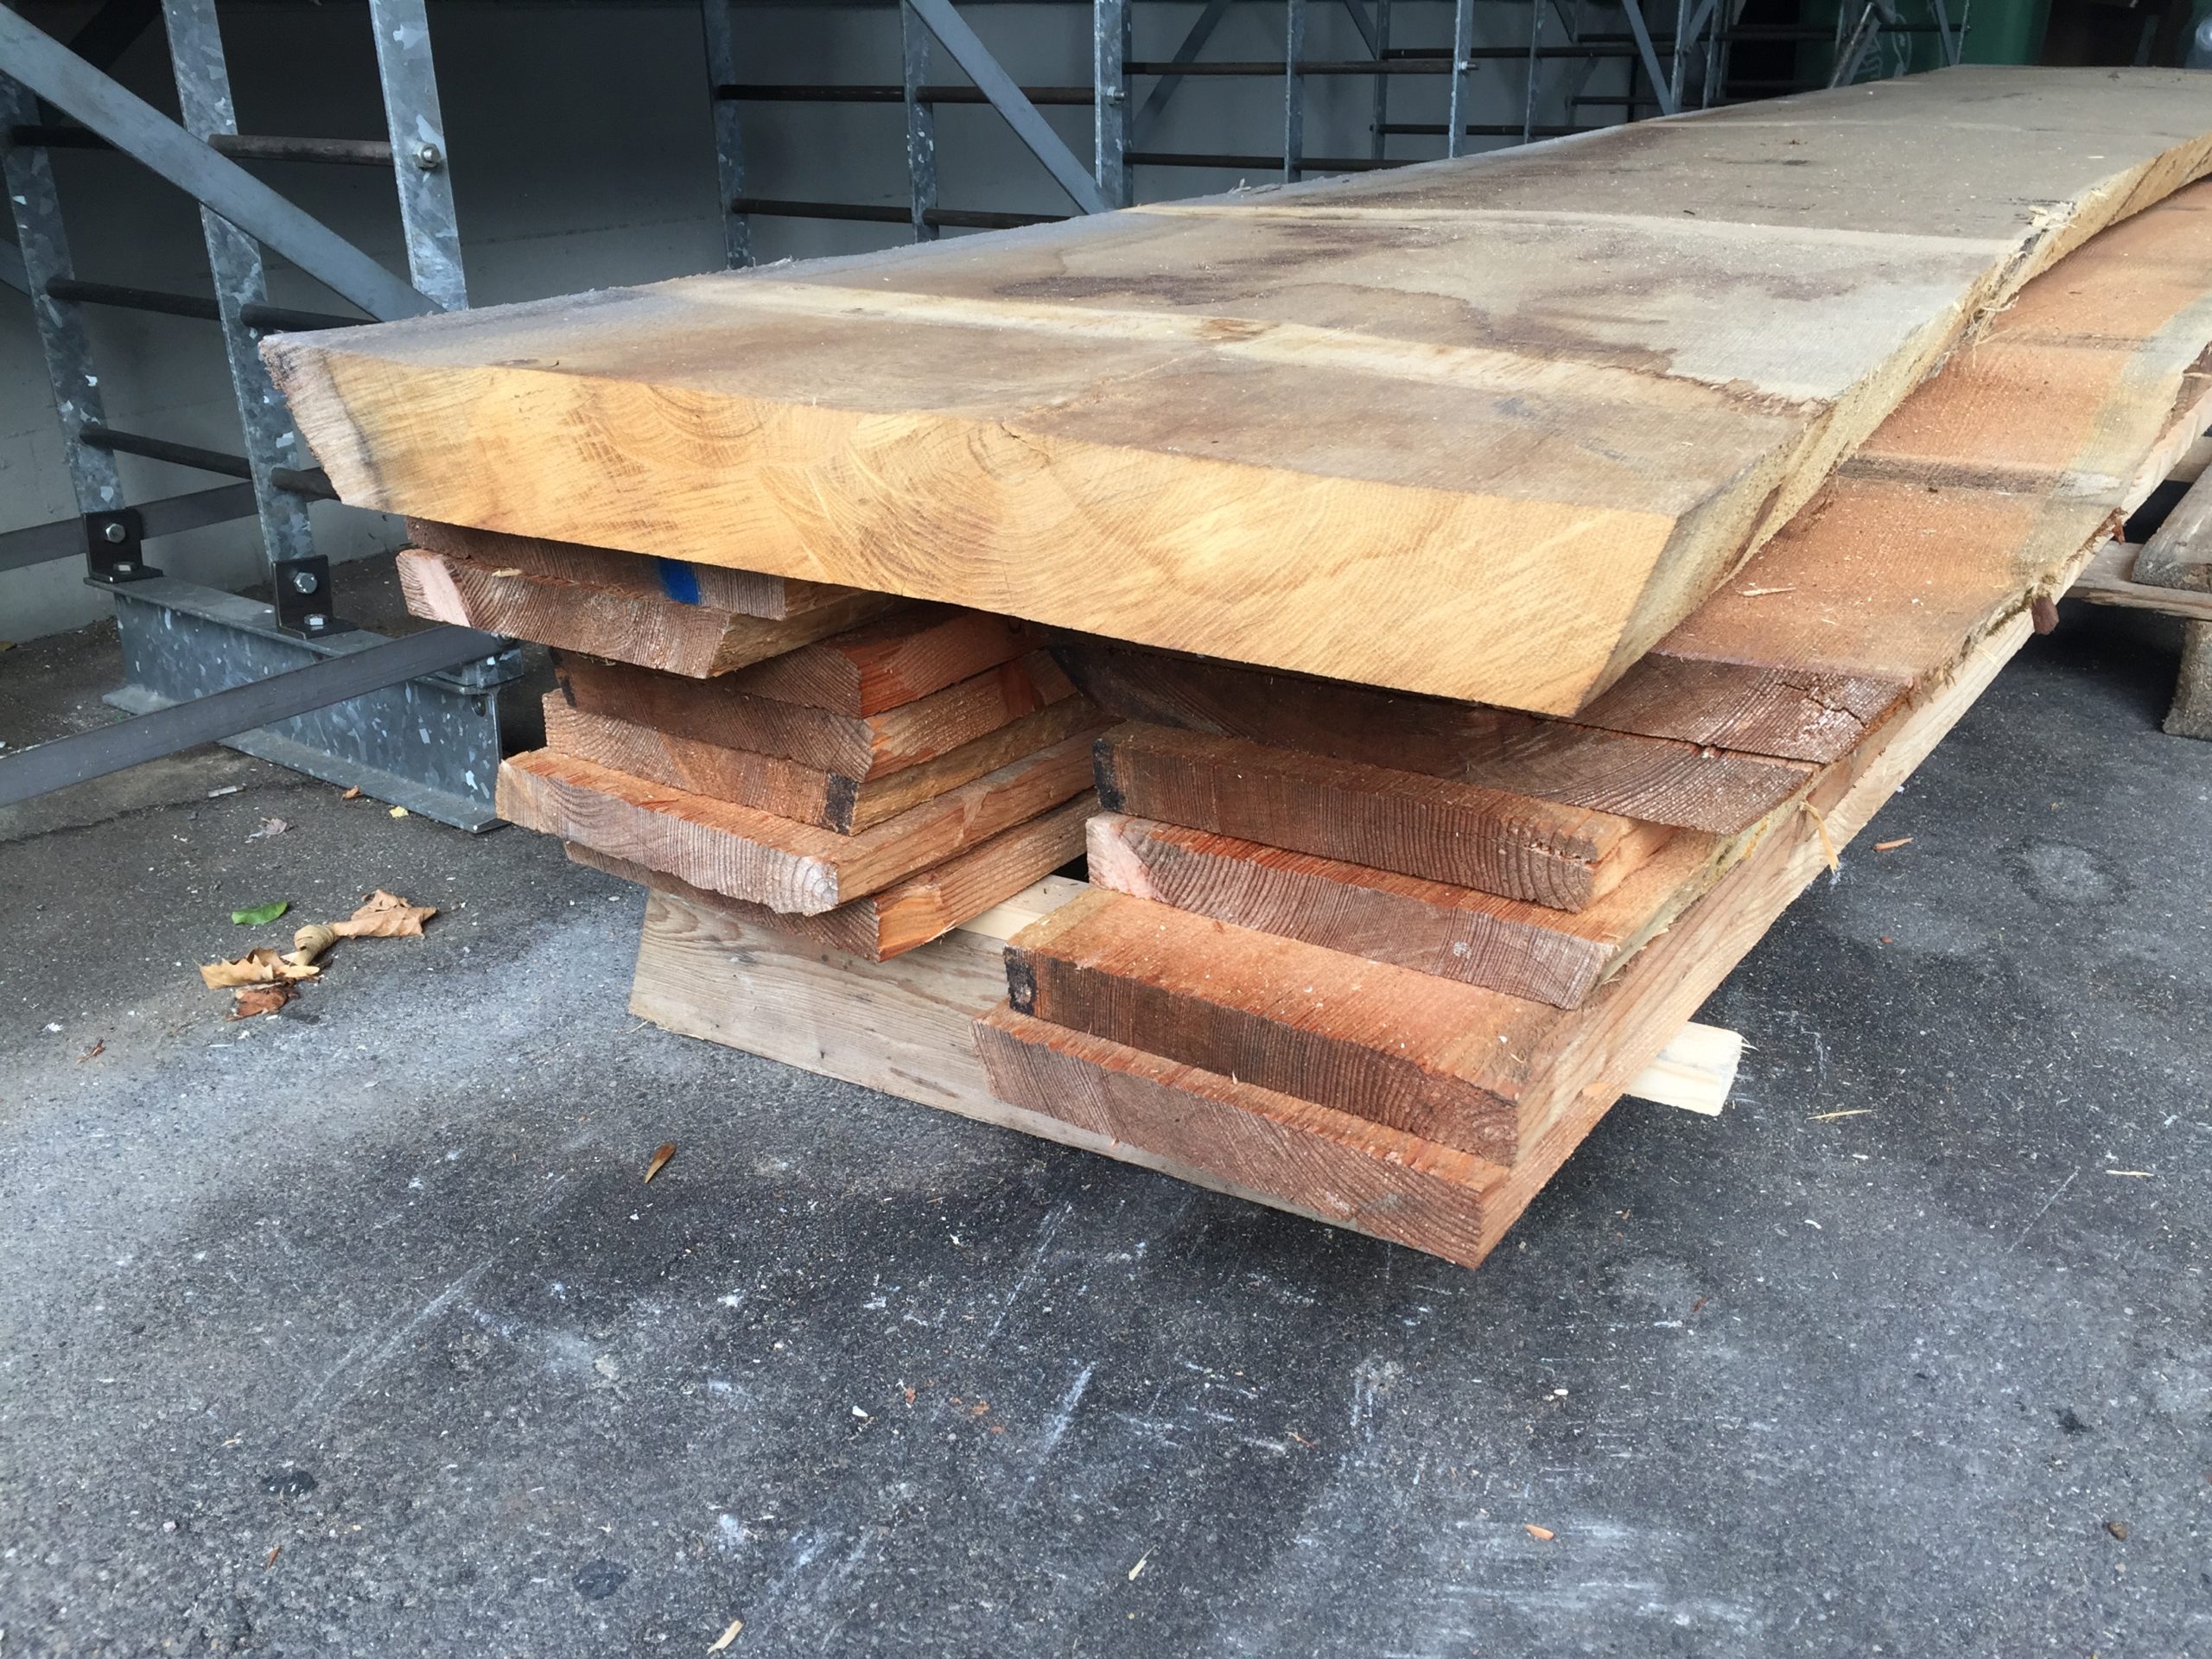

The Oak and the Larch were actually being lodged not that fare away from where I’m building the boat. One over the hill and the other less than 30km. Pretty local stuff.
The next step was to transforme this massive wooden board into post and thin stringer. For this my mate Serge had the perfect tool at his wood workshop. A jointer/thickness planer. And because his woodworkshop his in a garage all his machine are movable so we can use the big space in front of the garage. The day we did the Oak my sister, who is by the way an apprentice carpenter, came by and did a big part of the job during one of her day off. Thanks sista.
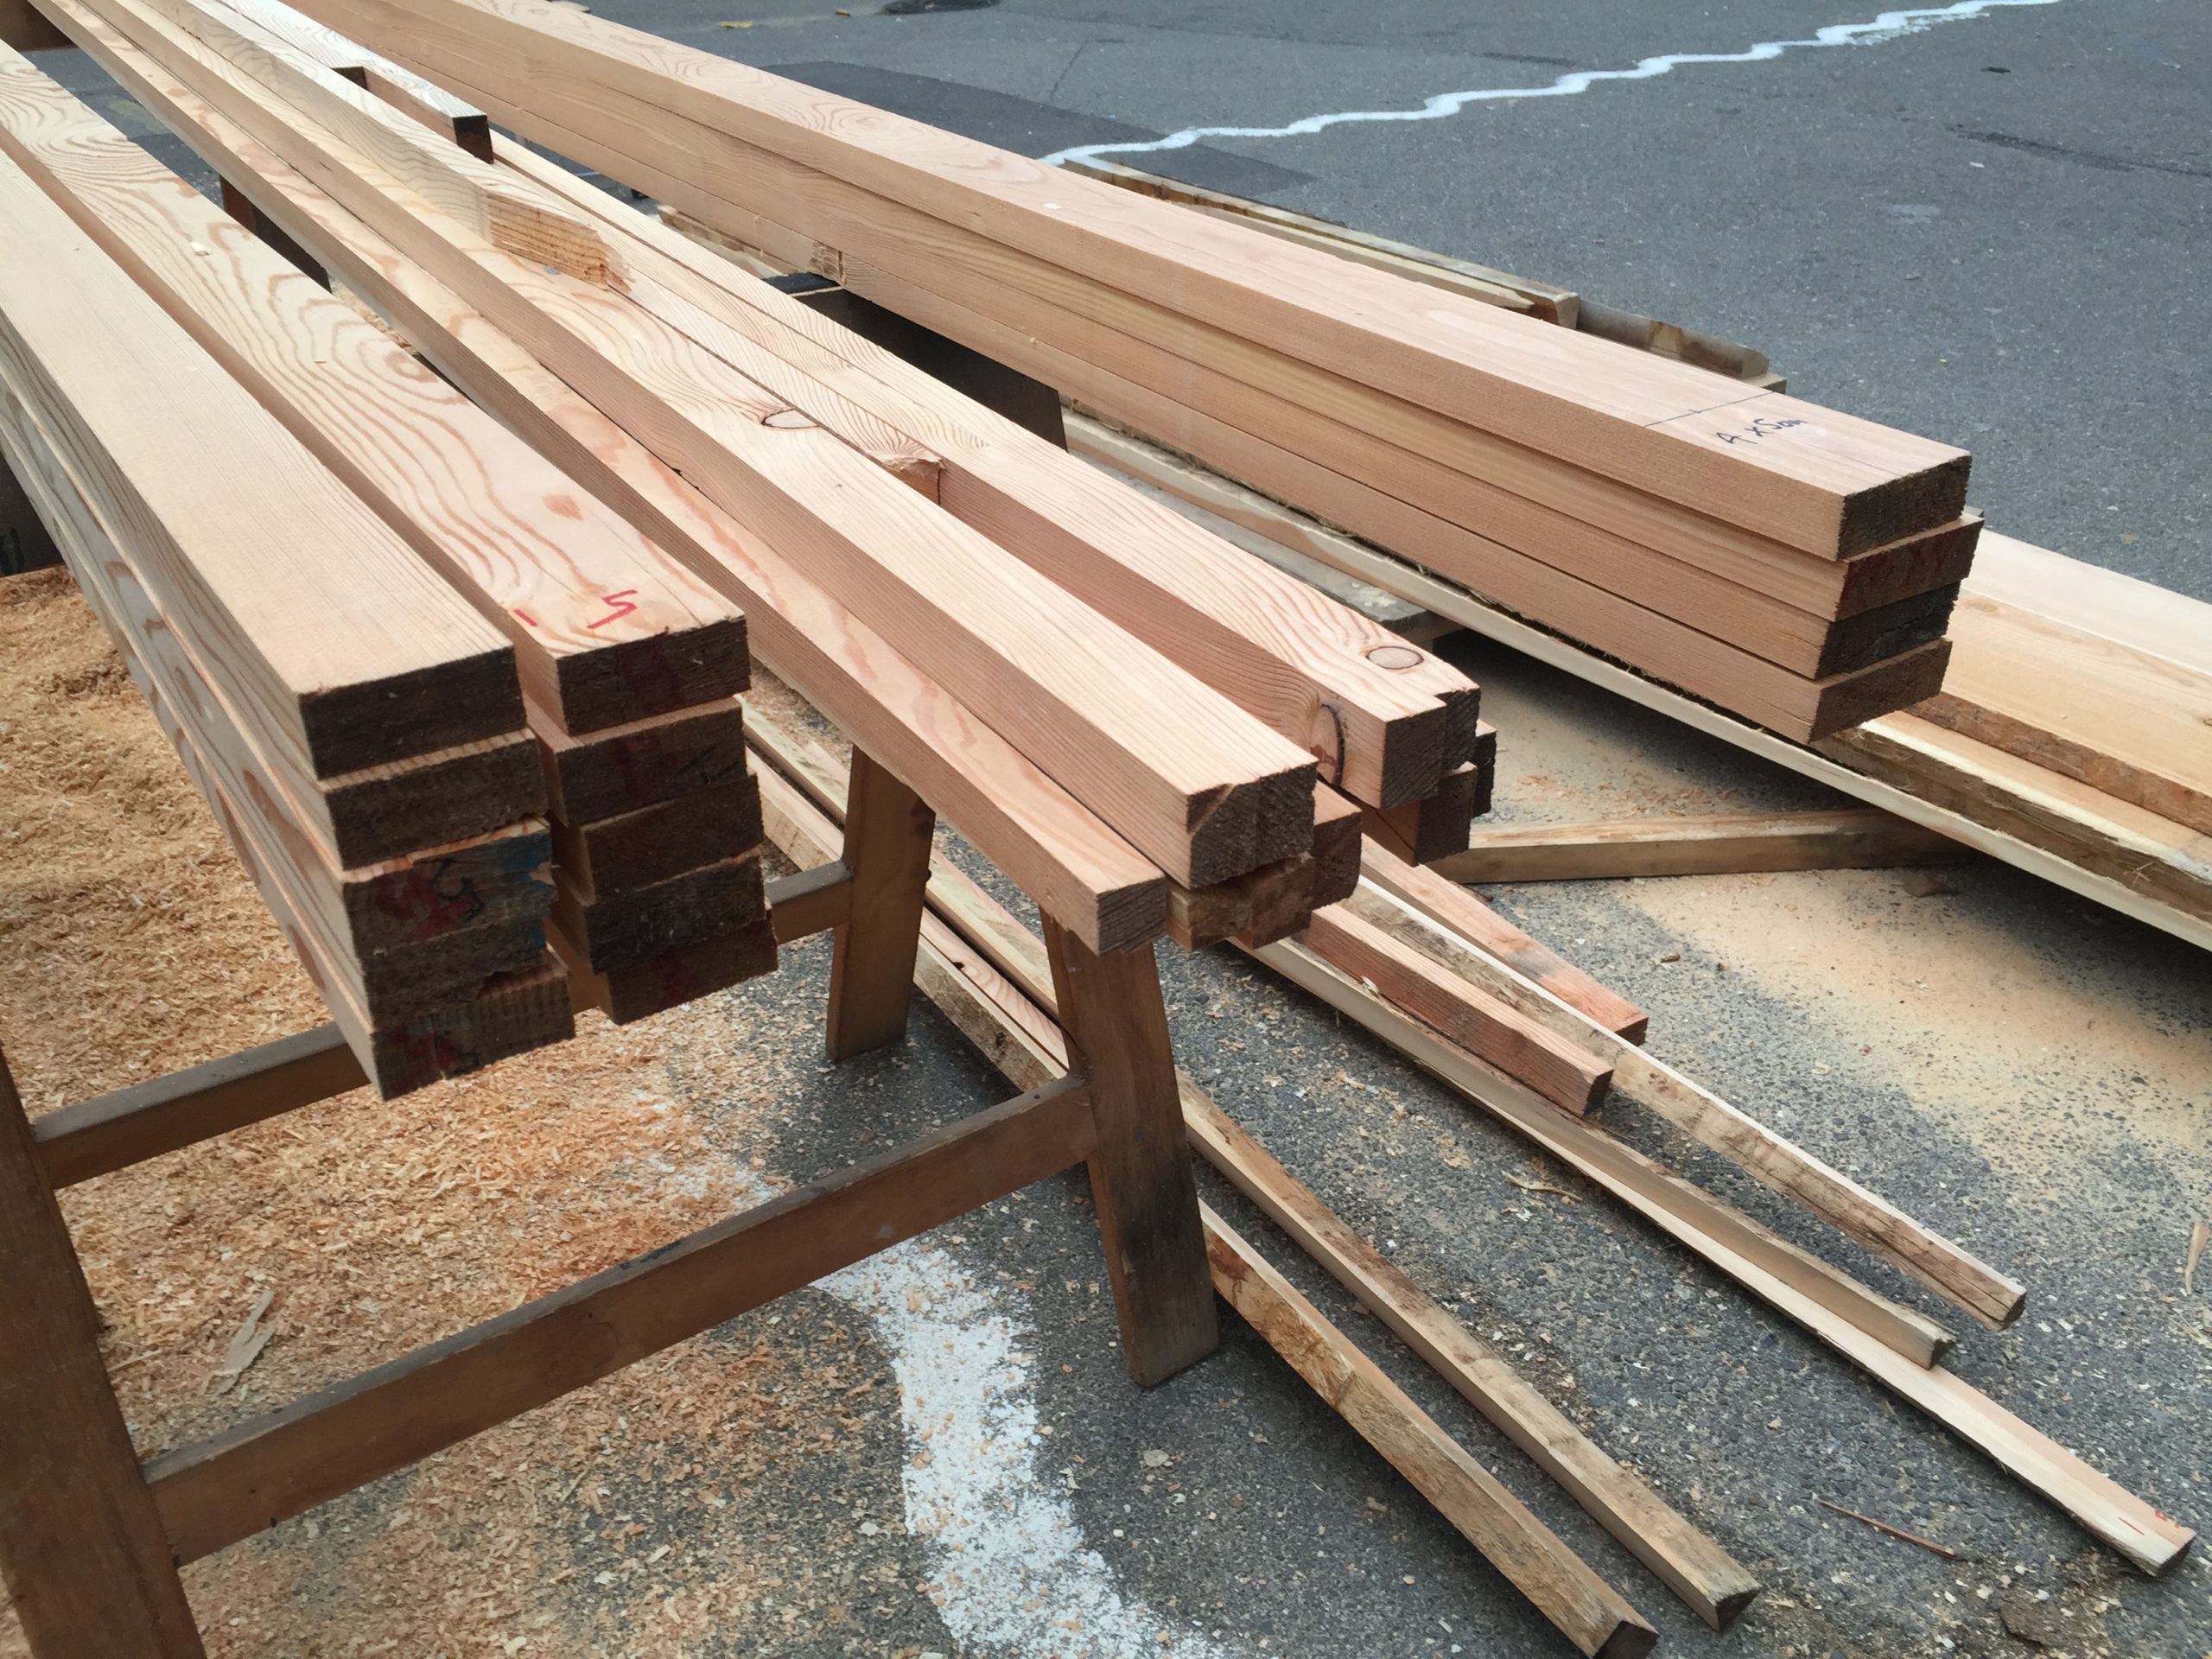
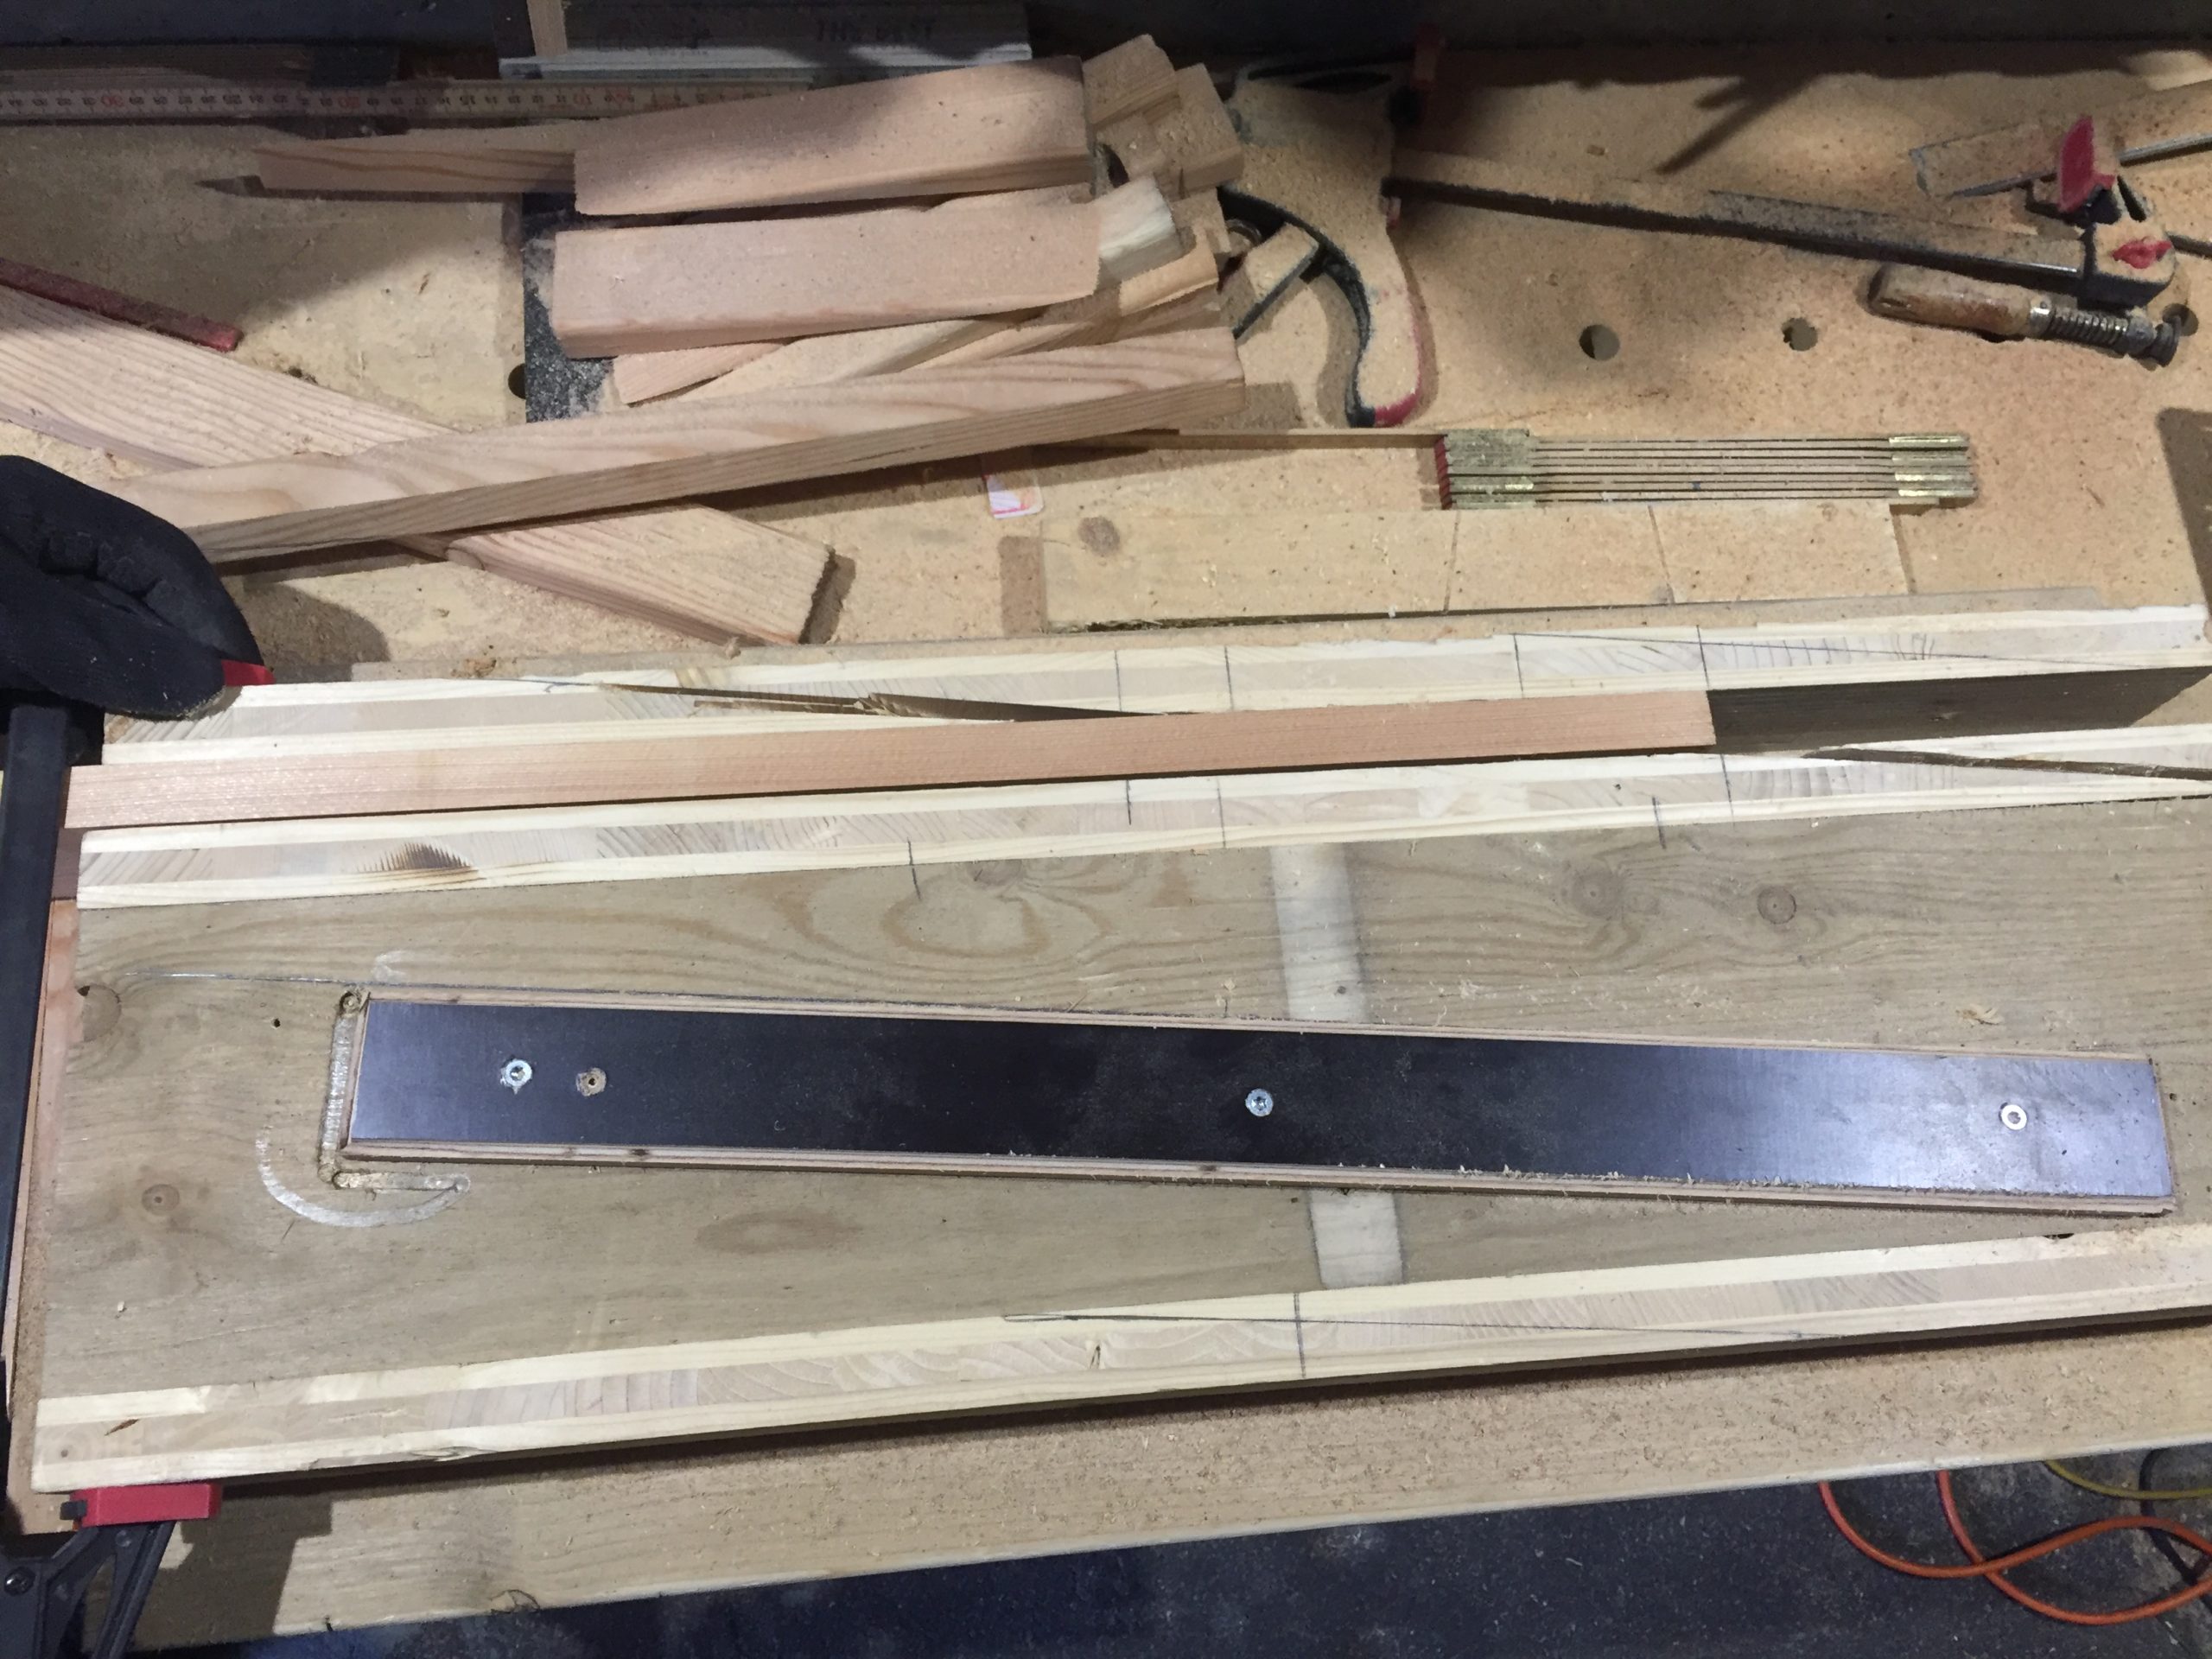
For the stringers it took us with Serge a big day for cutting, Thicknesser, quick sanding. And the day after I build my own version of the ScarfMaster3000. I can’t found anymore wich of the other builder did one but I got me really inspired to build my own one. But for my version I did upgraded to a machine use version, non the hand saw one. It works well, I had two different wood block so when I was cutting the 3cm thick stringer I would put the 4cm wood block underneath and for the 5cm stringers the 2cm wood block, so that it would always reach flush with the deck (or the 7cm max stringer height). Does it make any sense to you? Anyway it works great so I decide to upgraded the name to ScarfMaster4000.
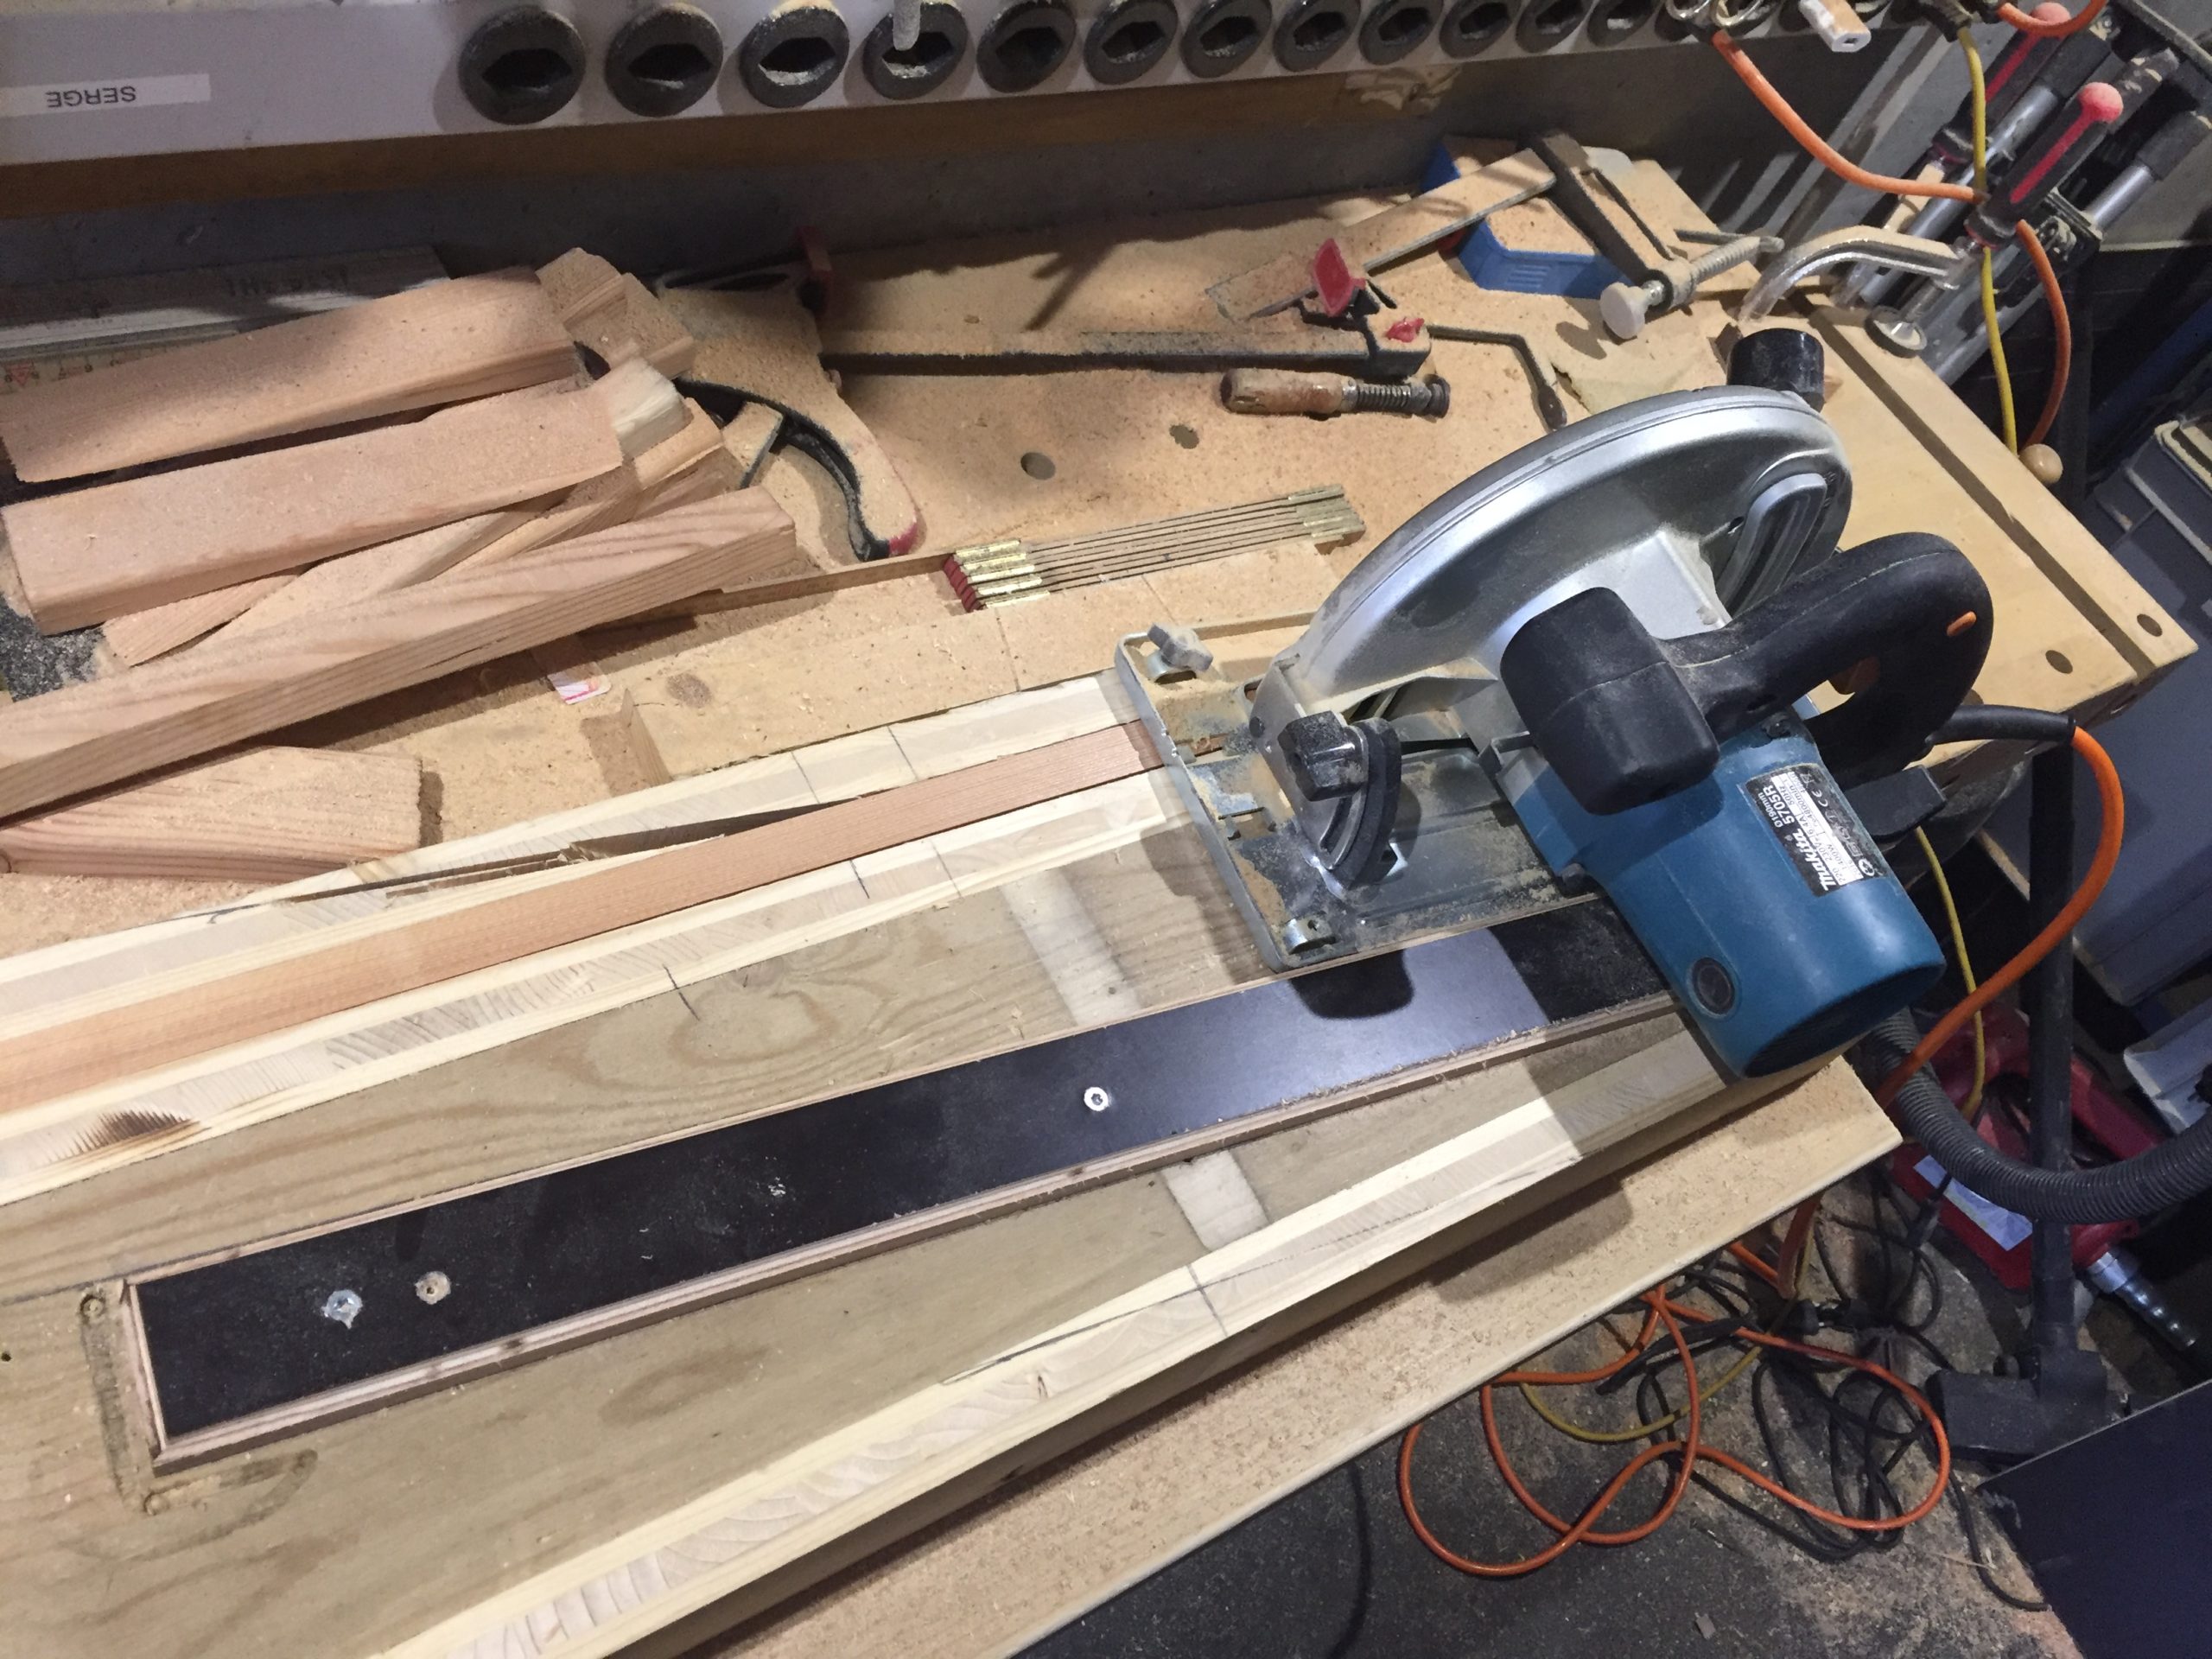
the SCARFMASTER4000
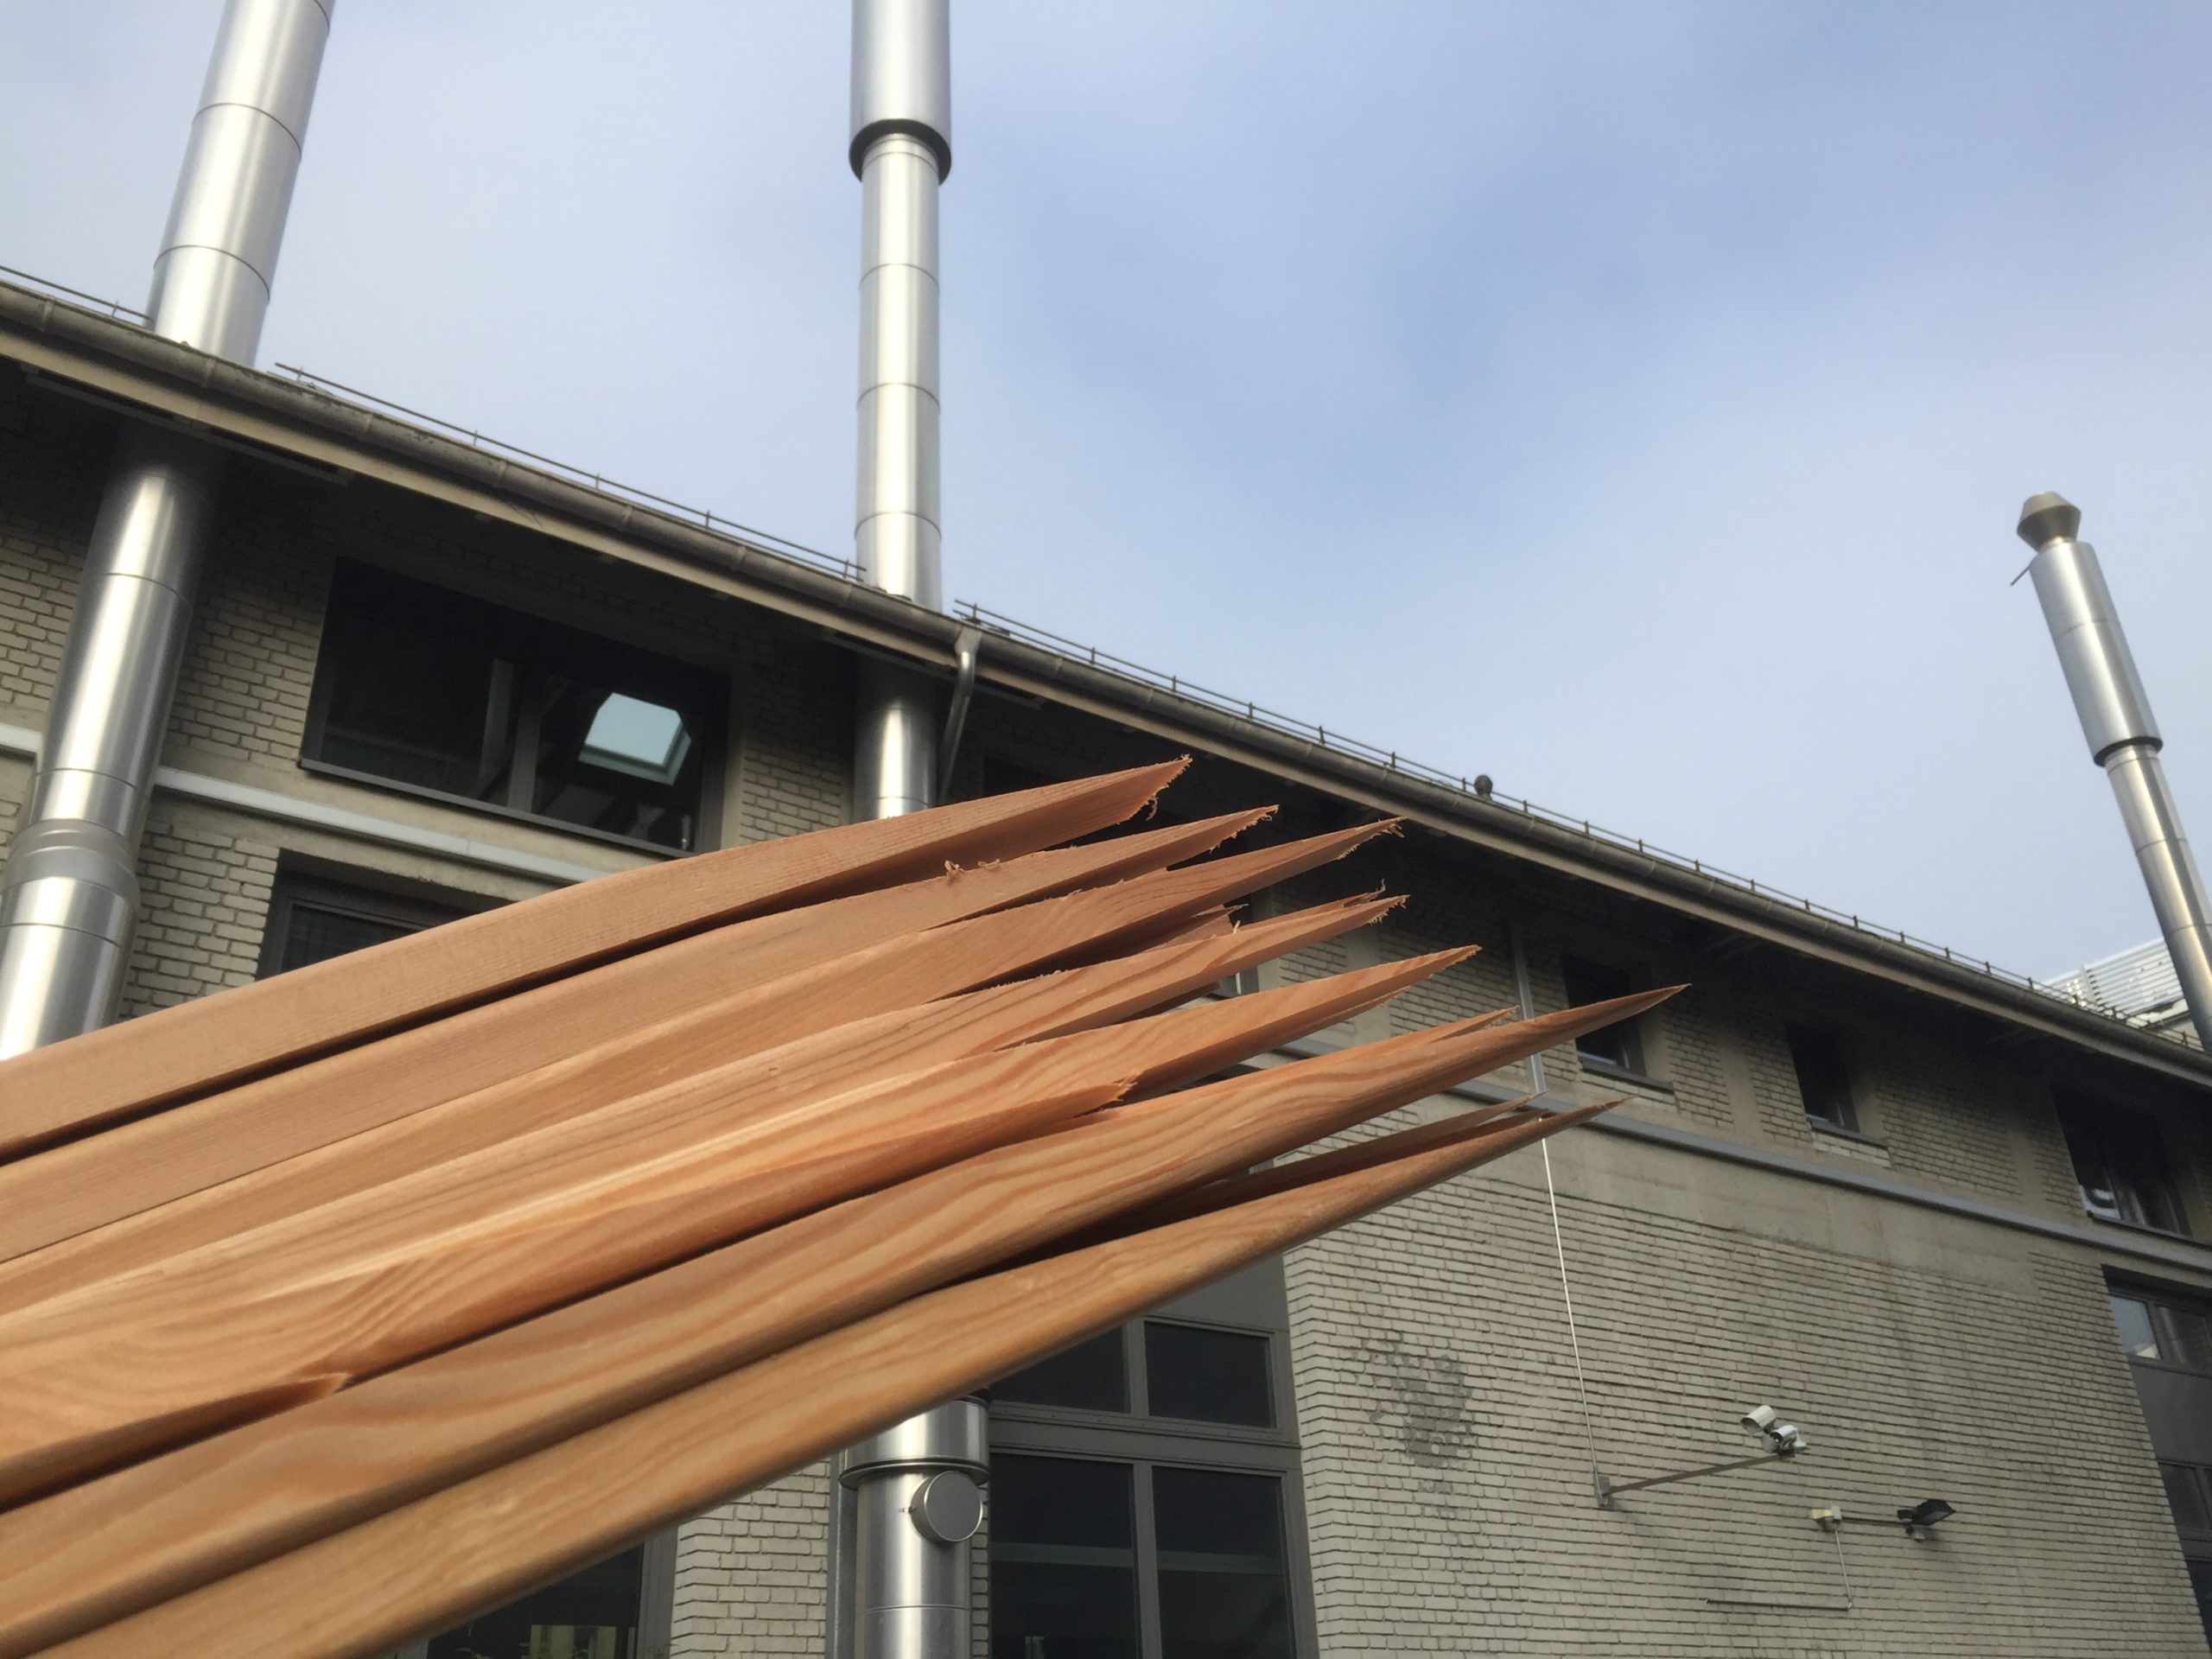
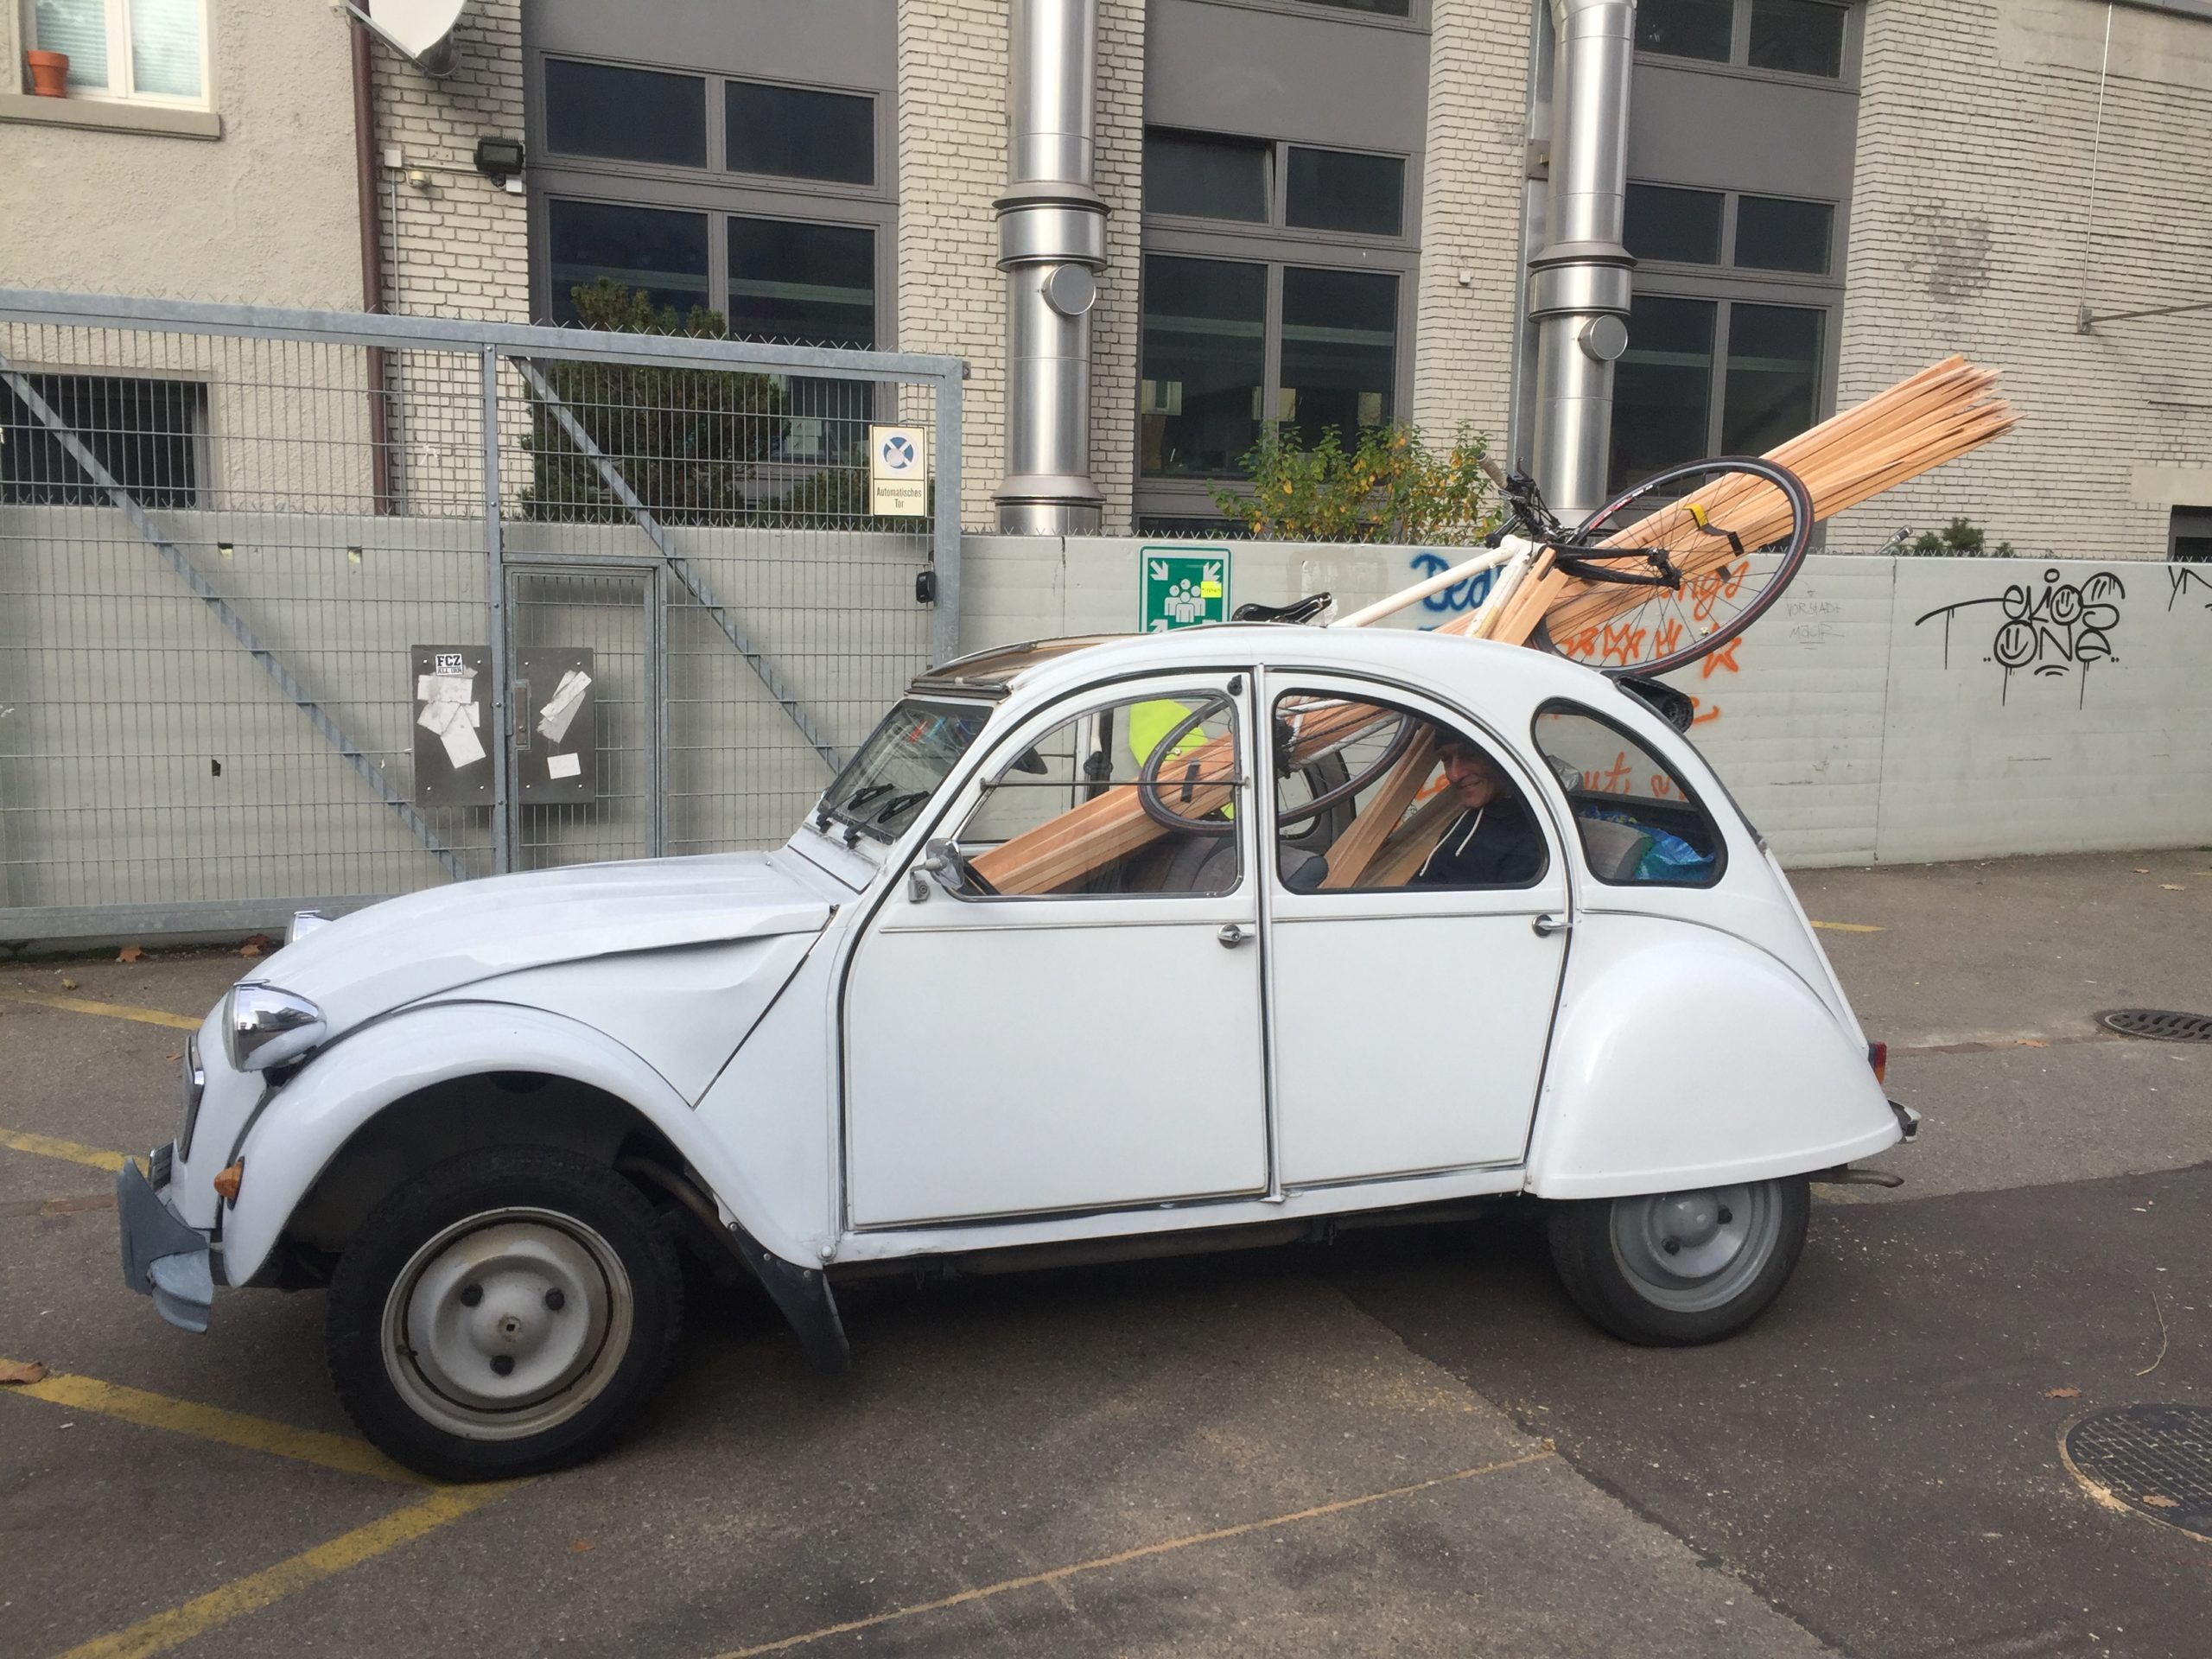
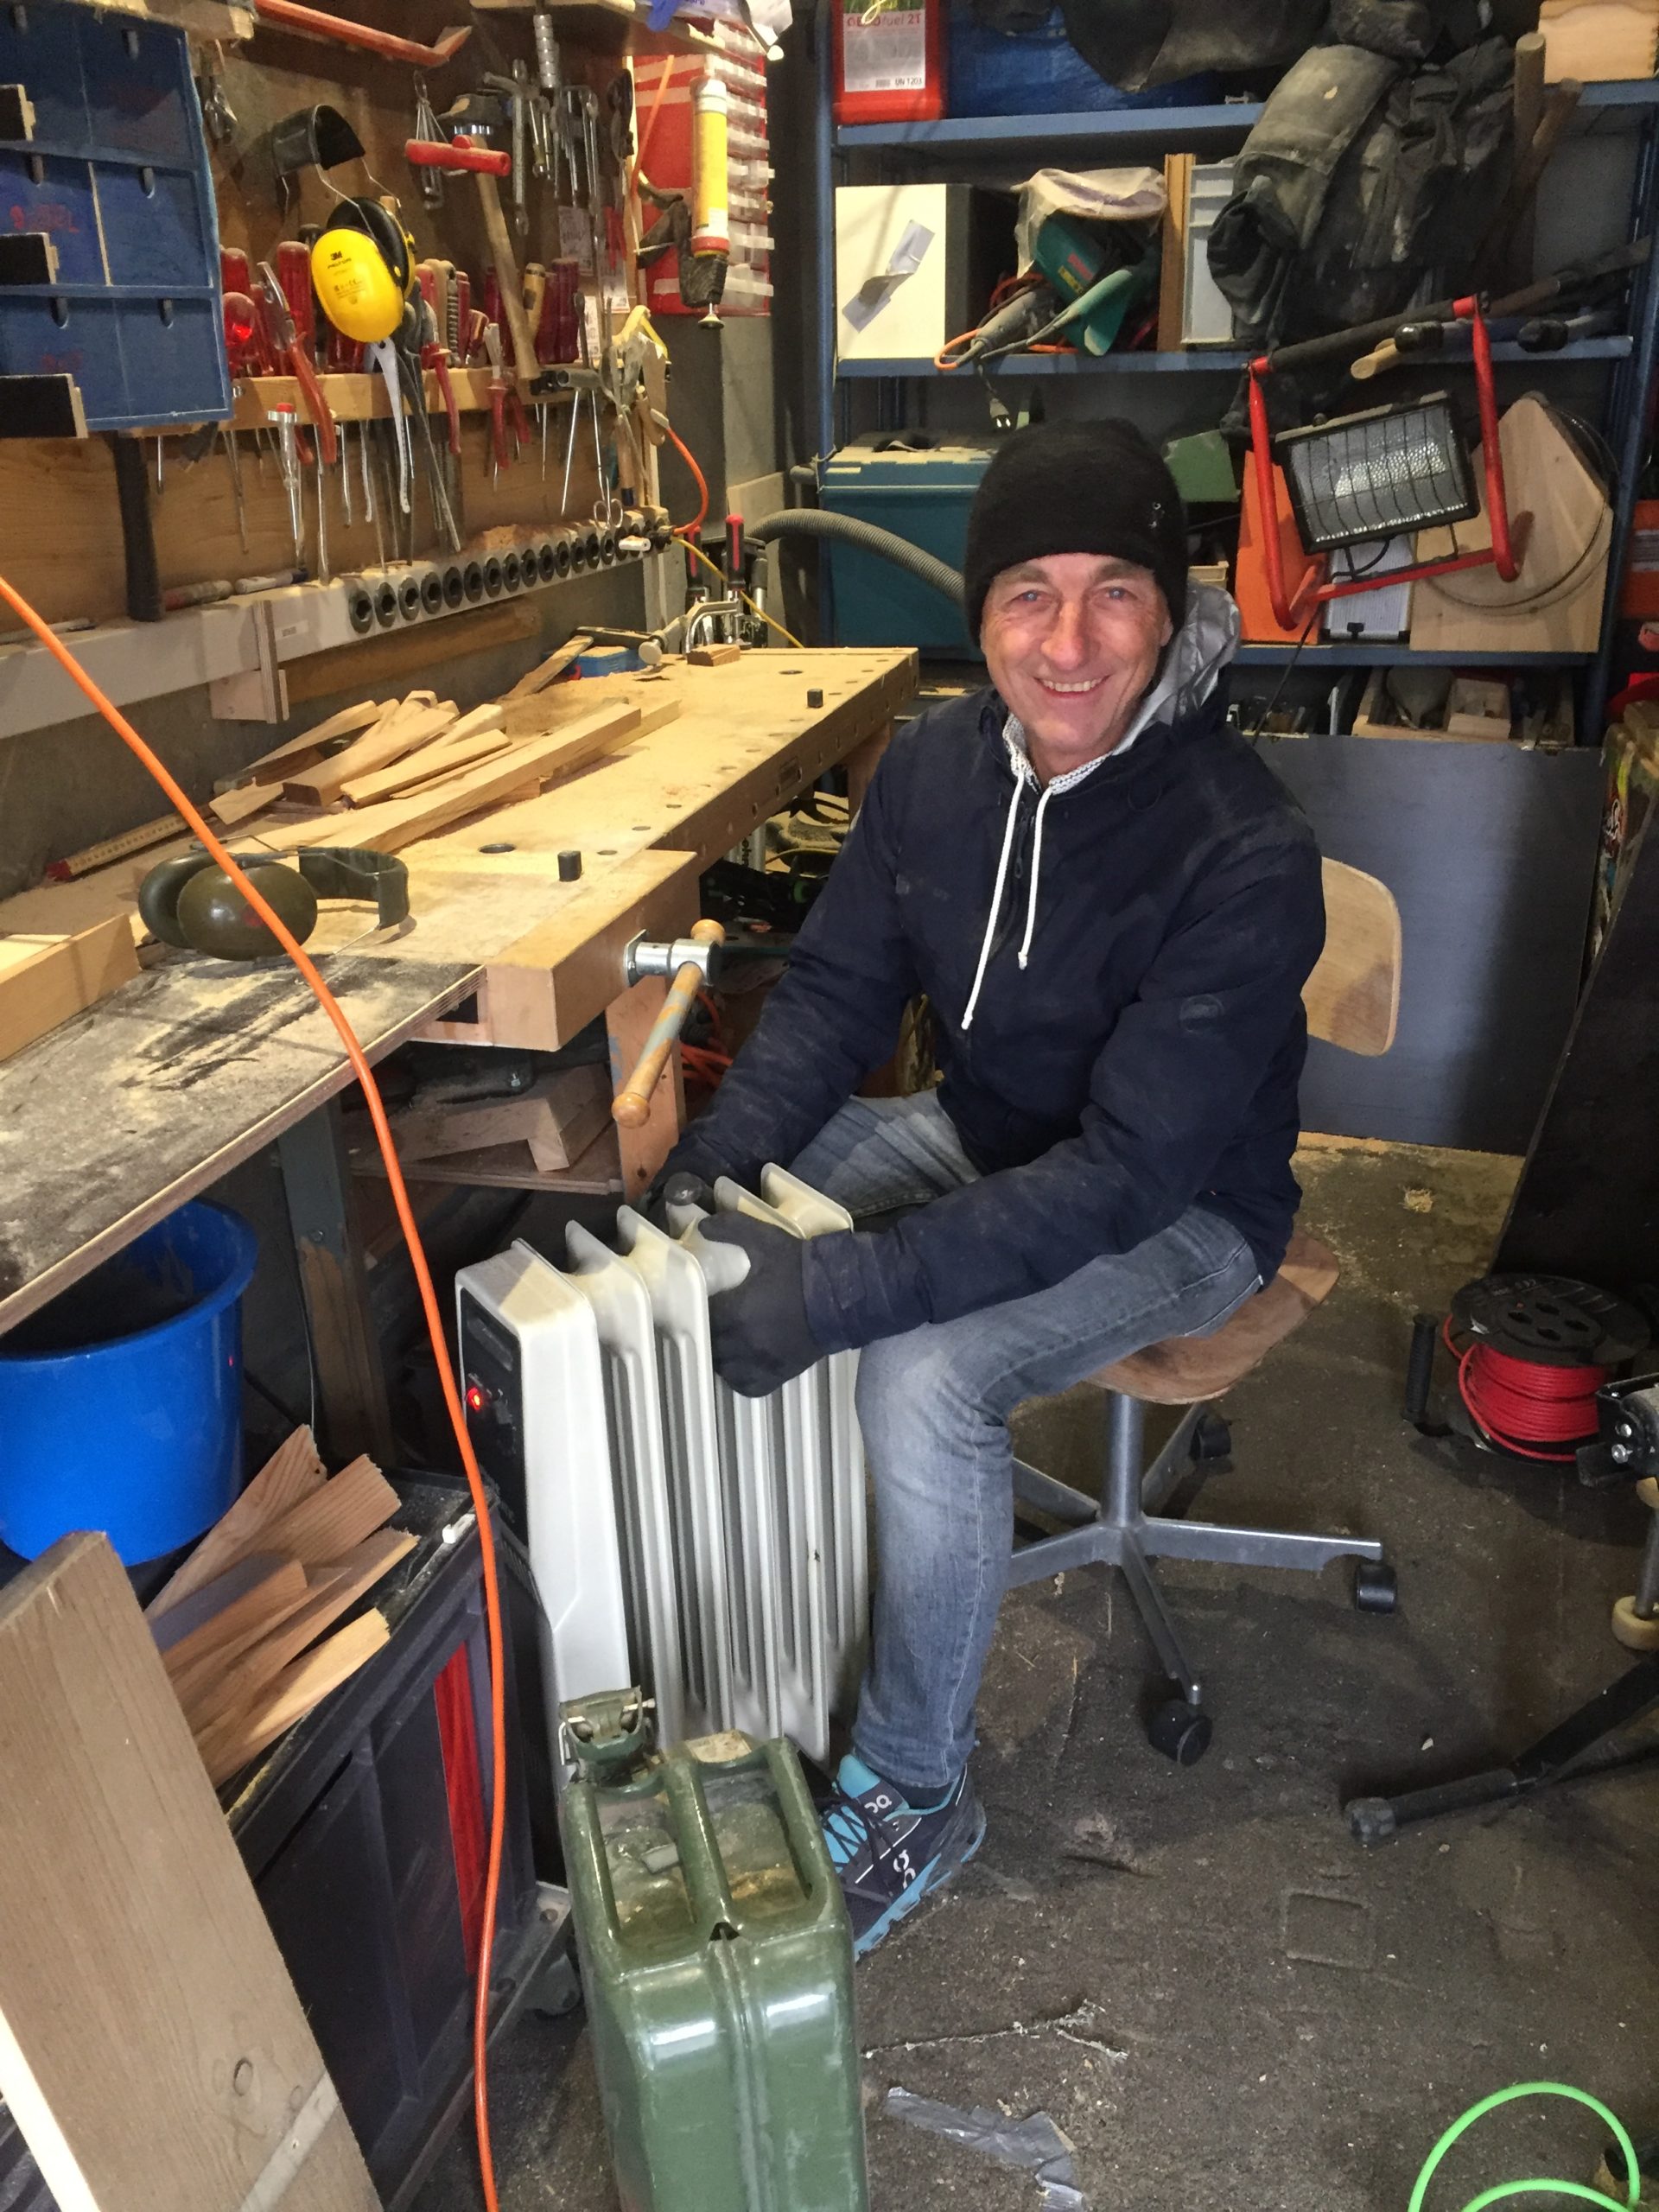
this time my Dad came to give me an hand, but his hands were quite cold that day.
But he came with his special stringers delivery car.
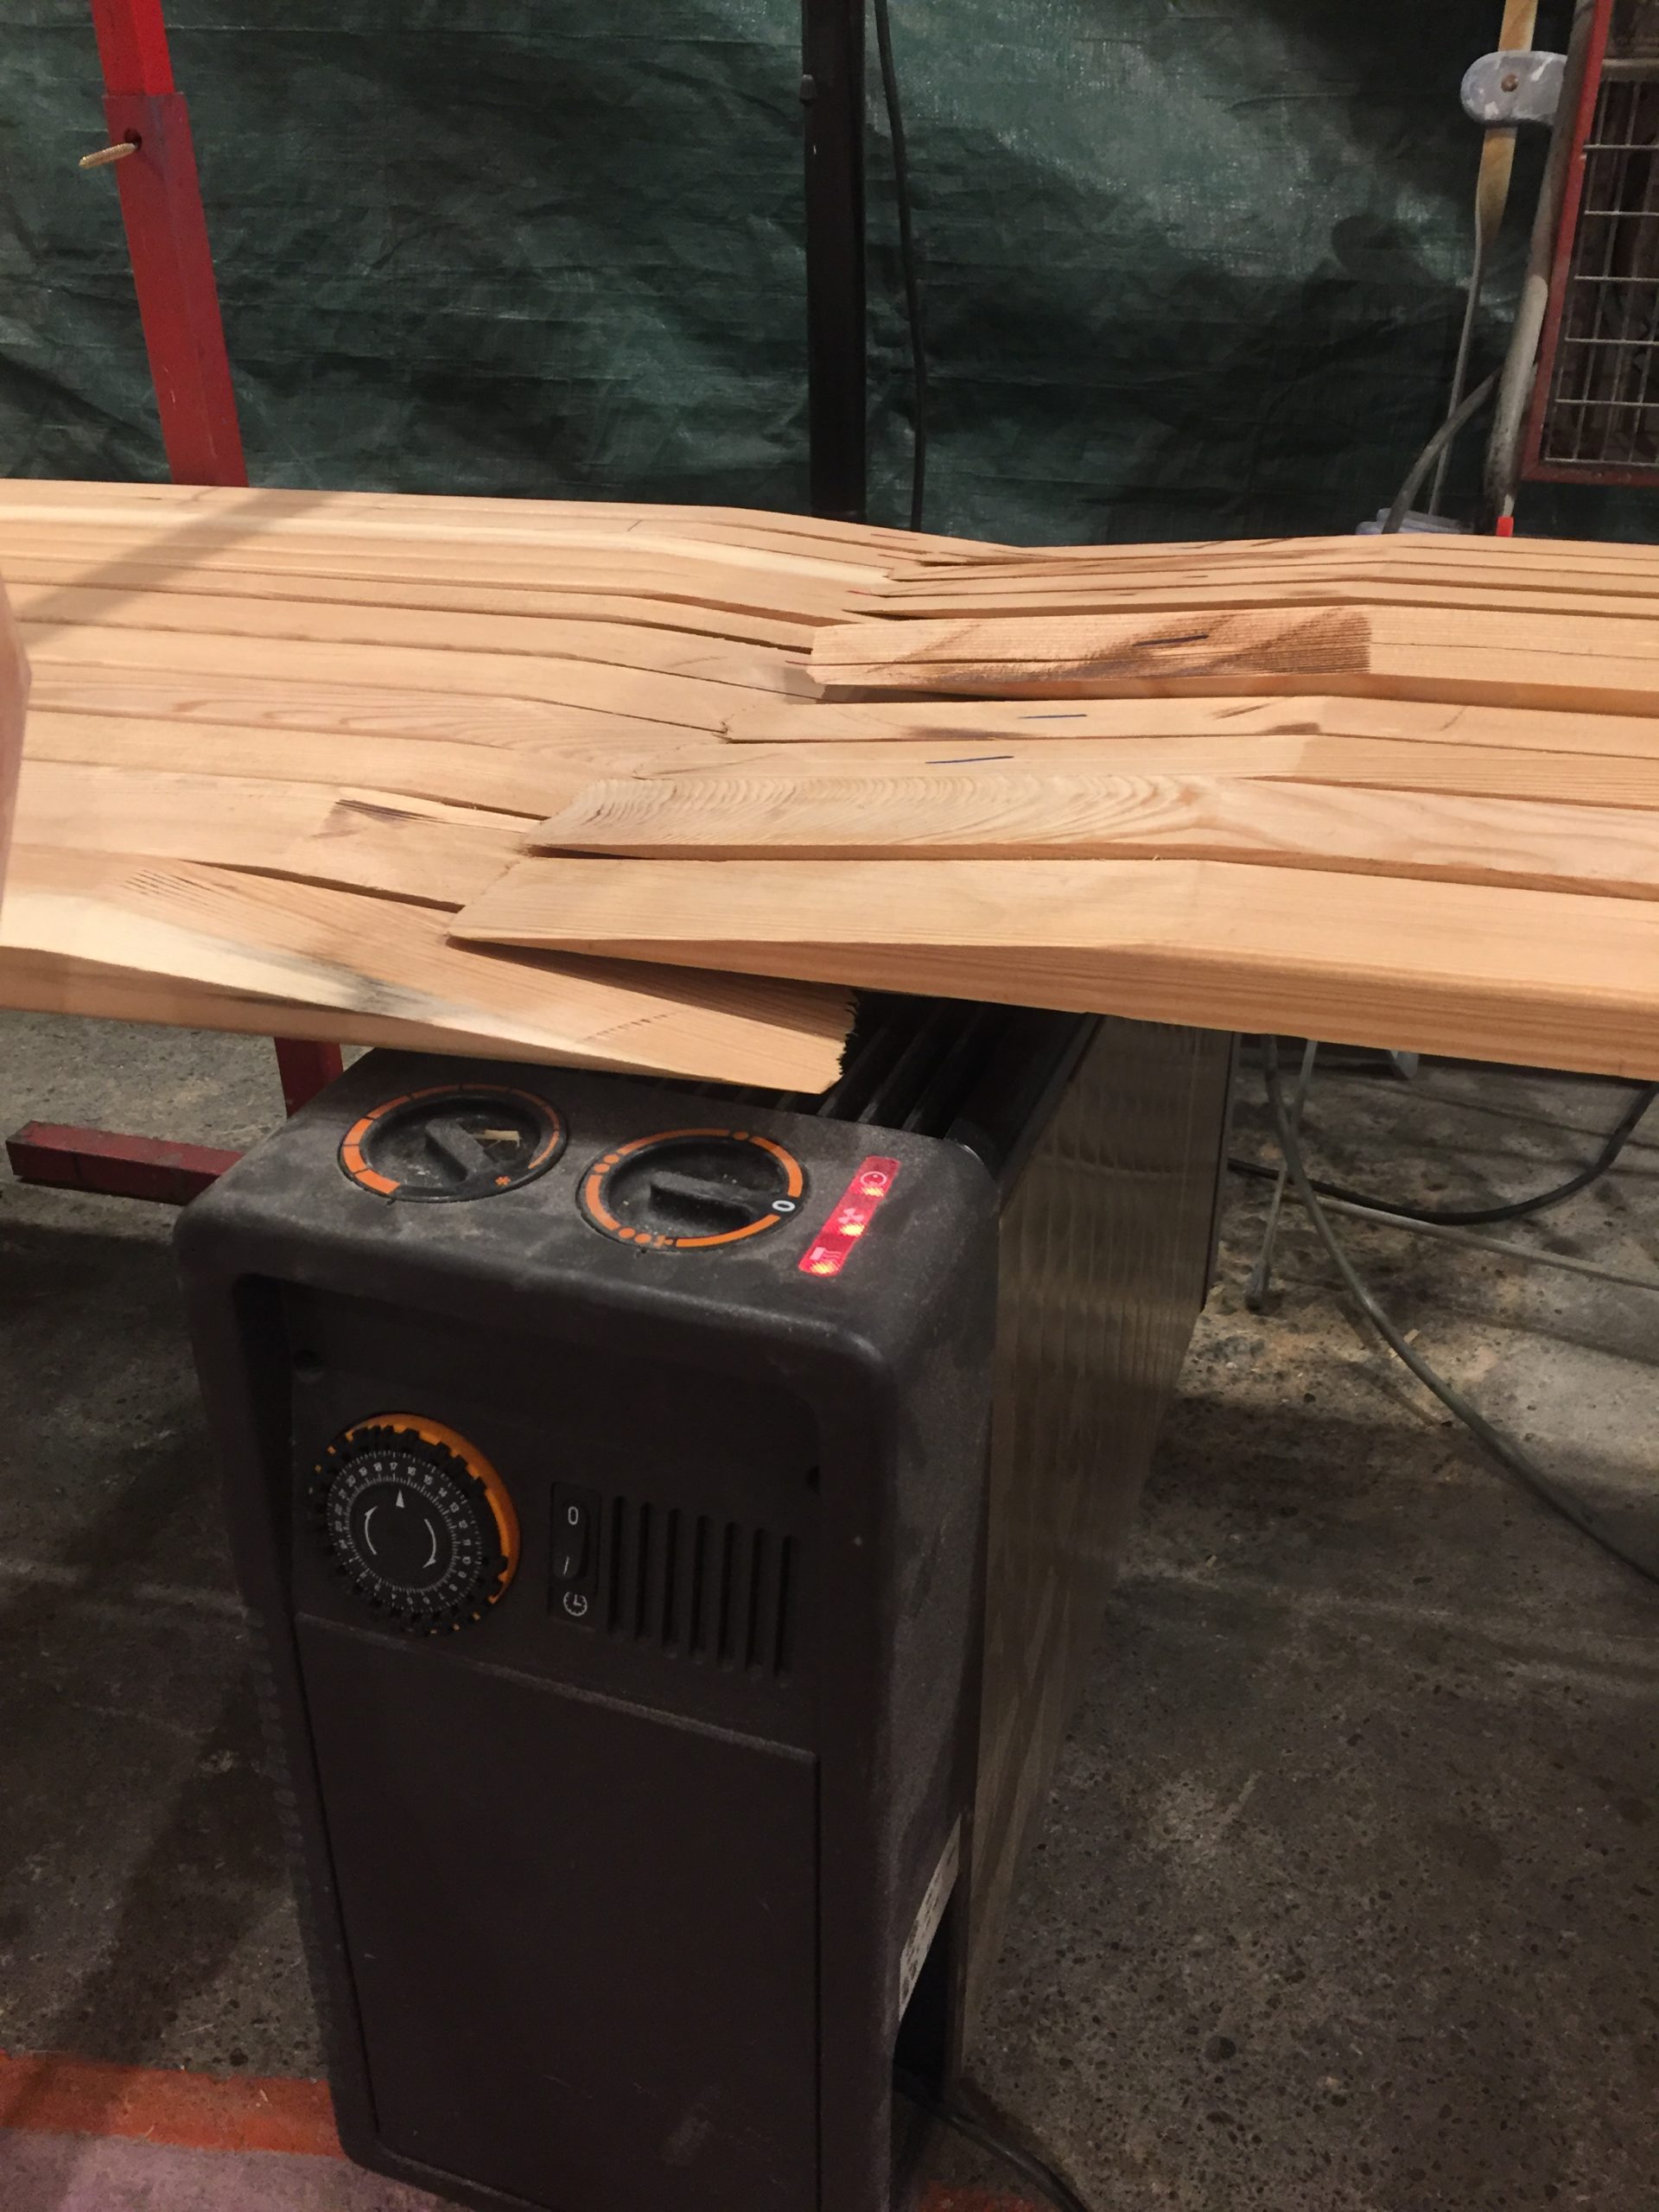
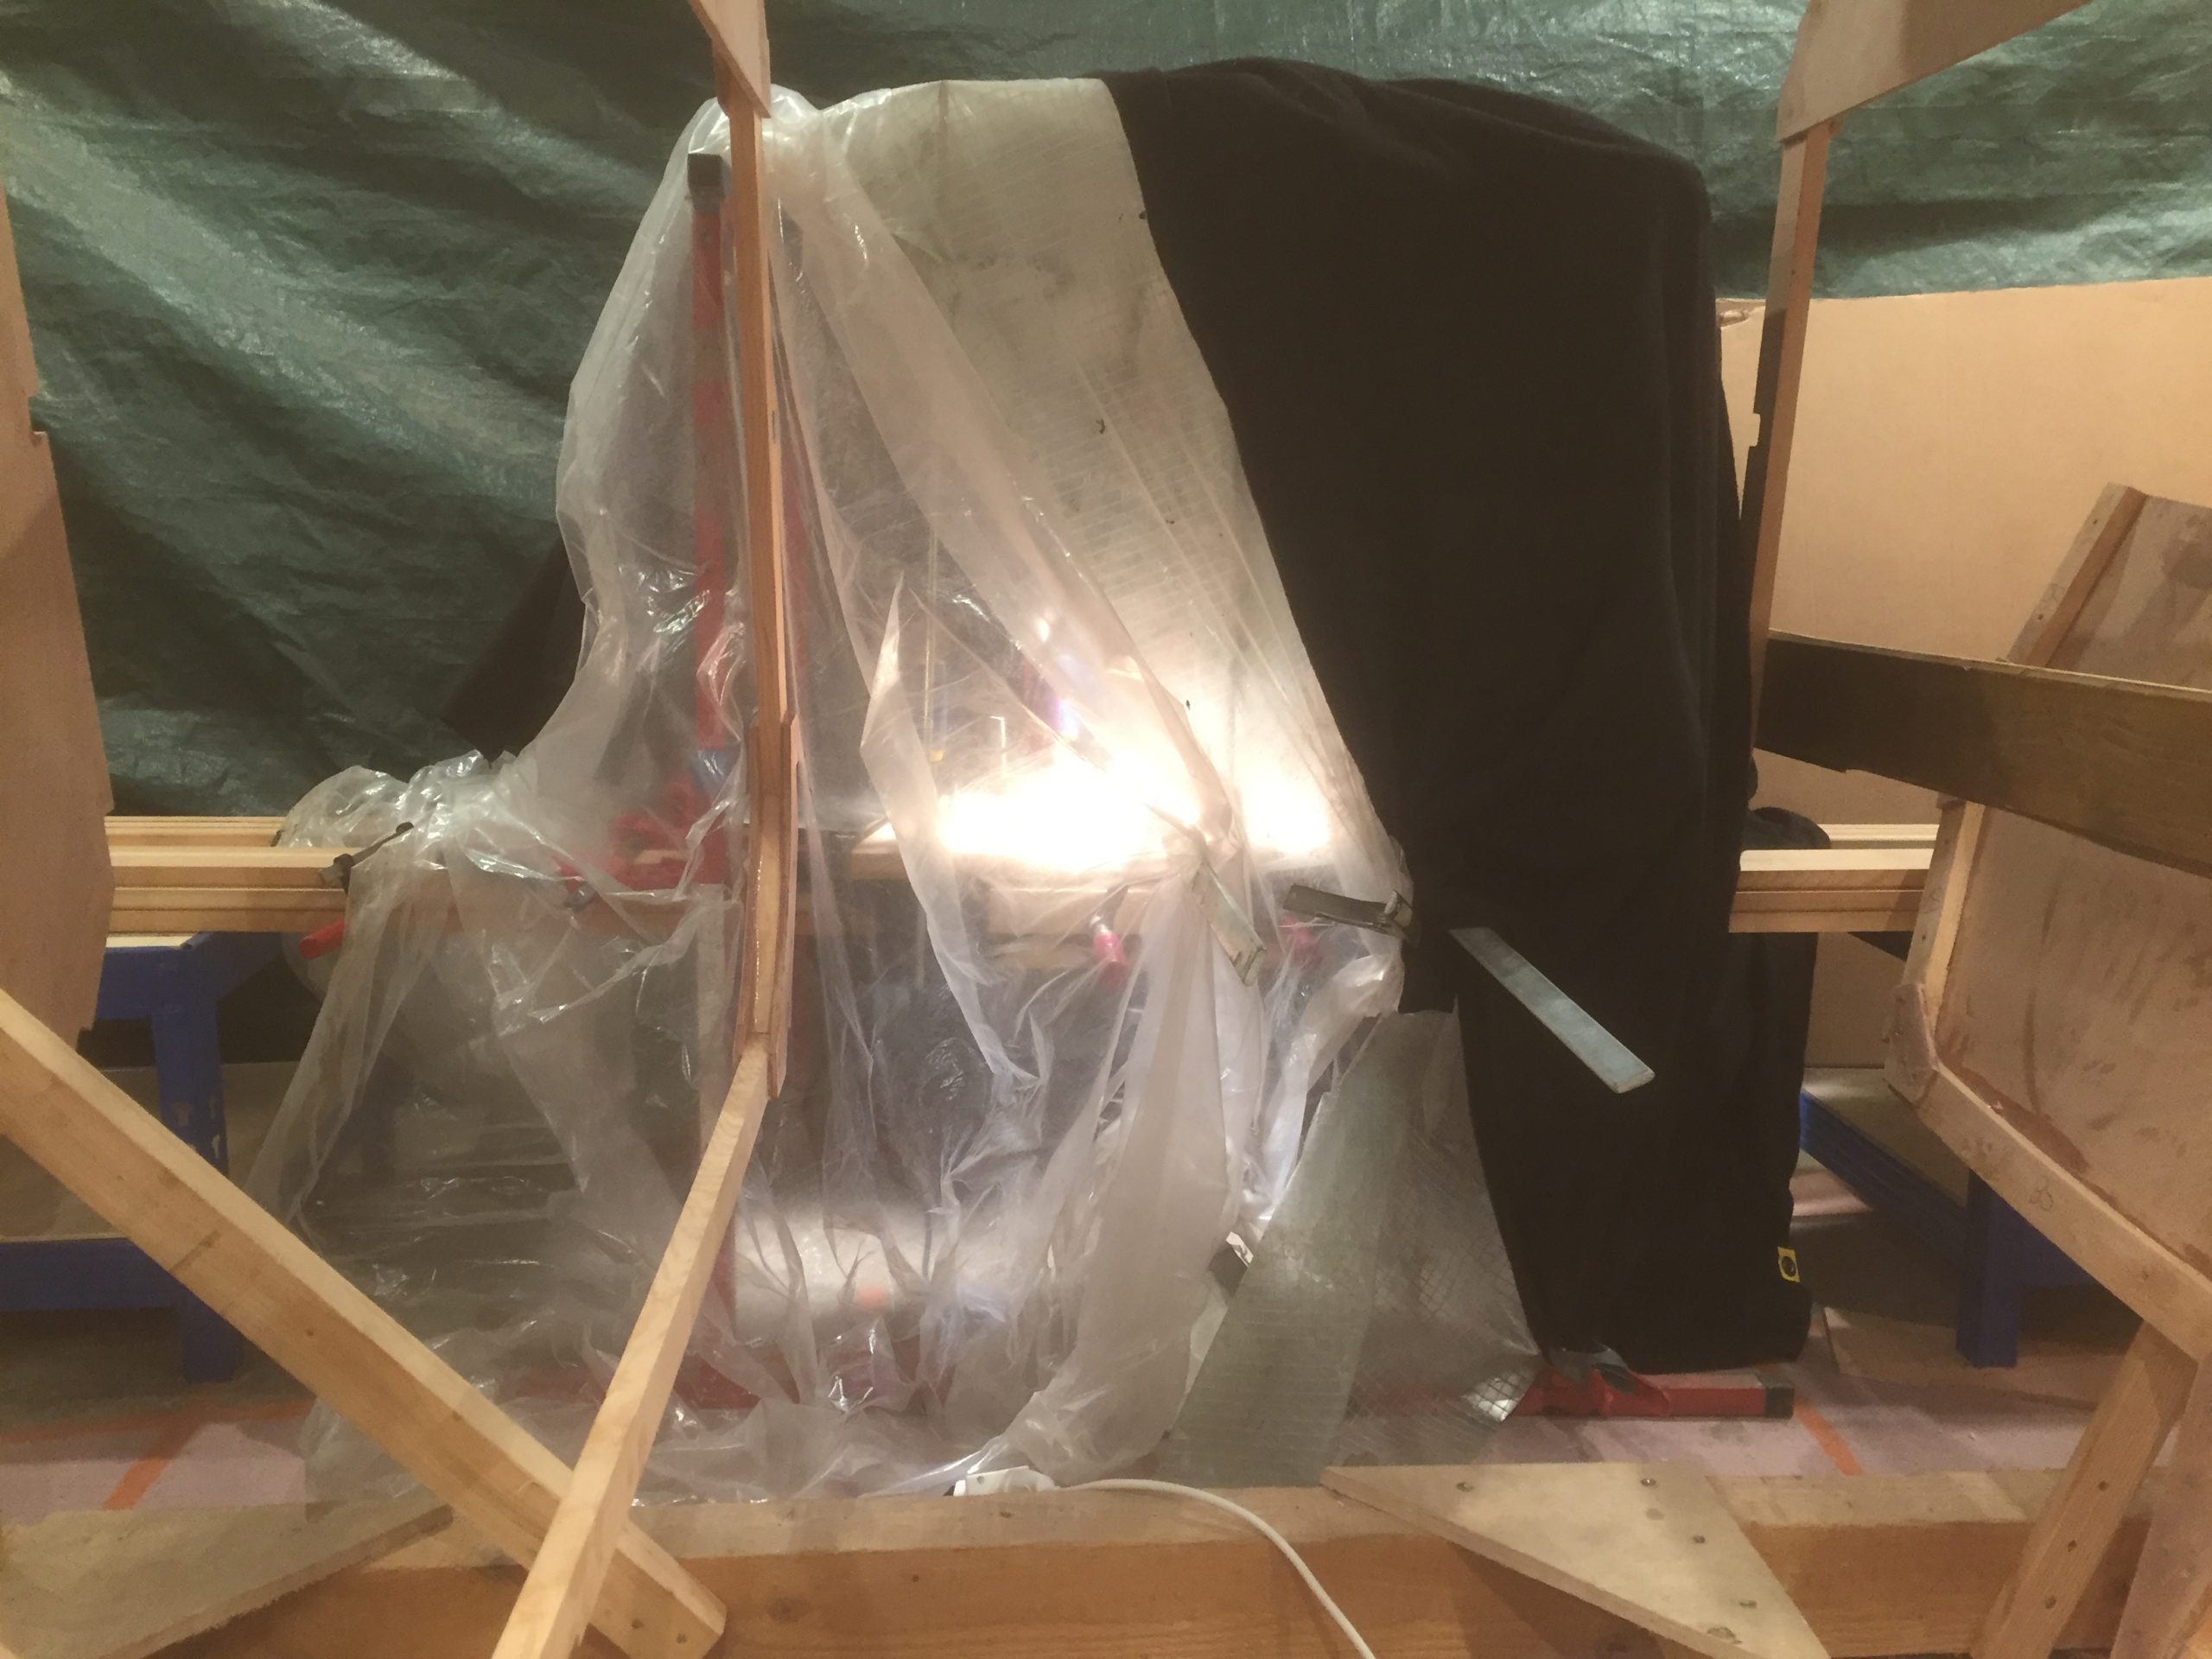
stringers warming up and cooking
Gluing all this stringers together was my next mission. Went pretty good, only one snap so far. Because the tent was to small to fit the entiry boat in it I had to remove it. So I had plenty of space to start assembling the frame puzzle on my strong back. I really have to say having a laser help a lot. The first few hours I did try without one, but luckily one of my friend had one for me and this help so much. And at the end of the day the result of seeing all this wood slowly taking shape into a small ocean cruiser is really really good. There is a boat standing in front of me.

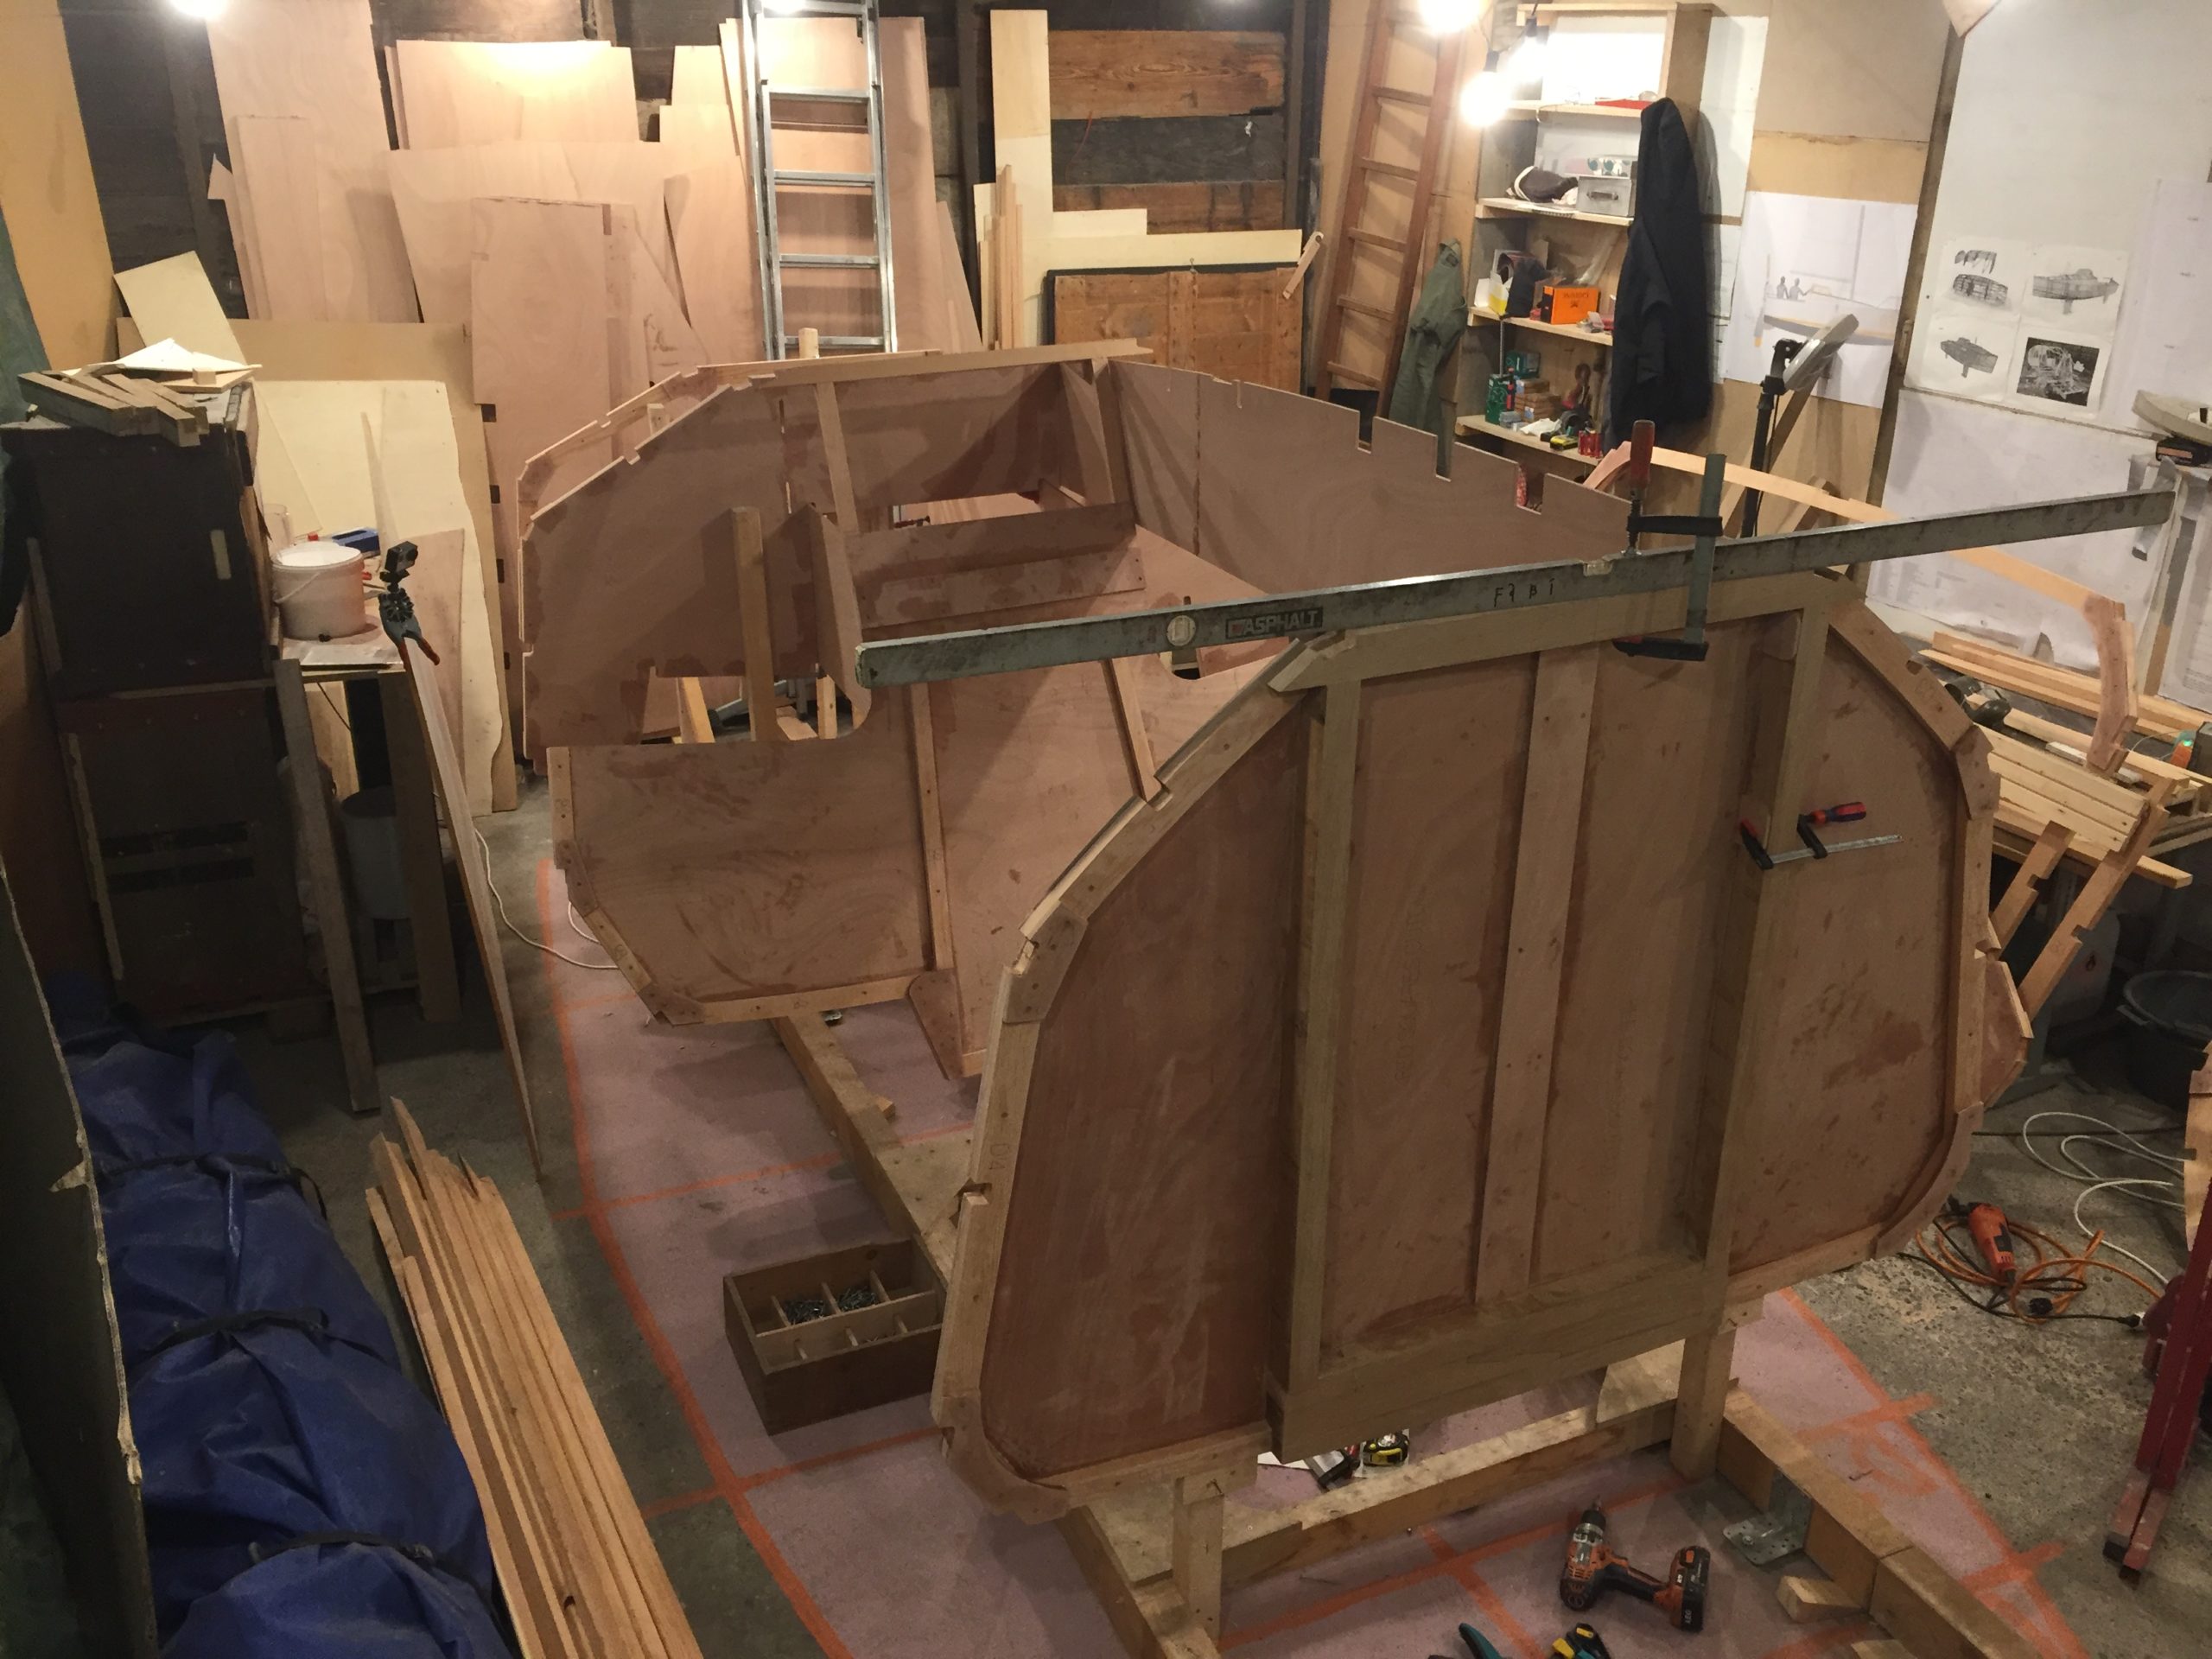
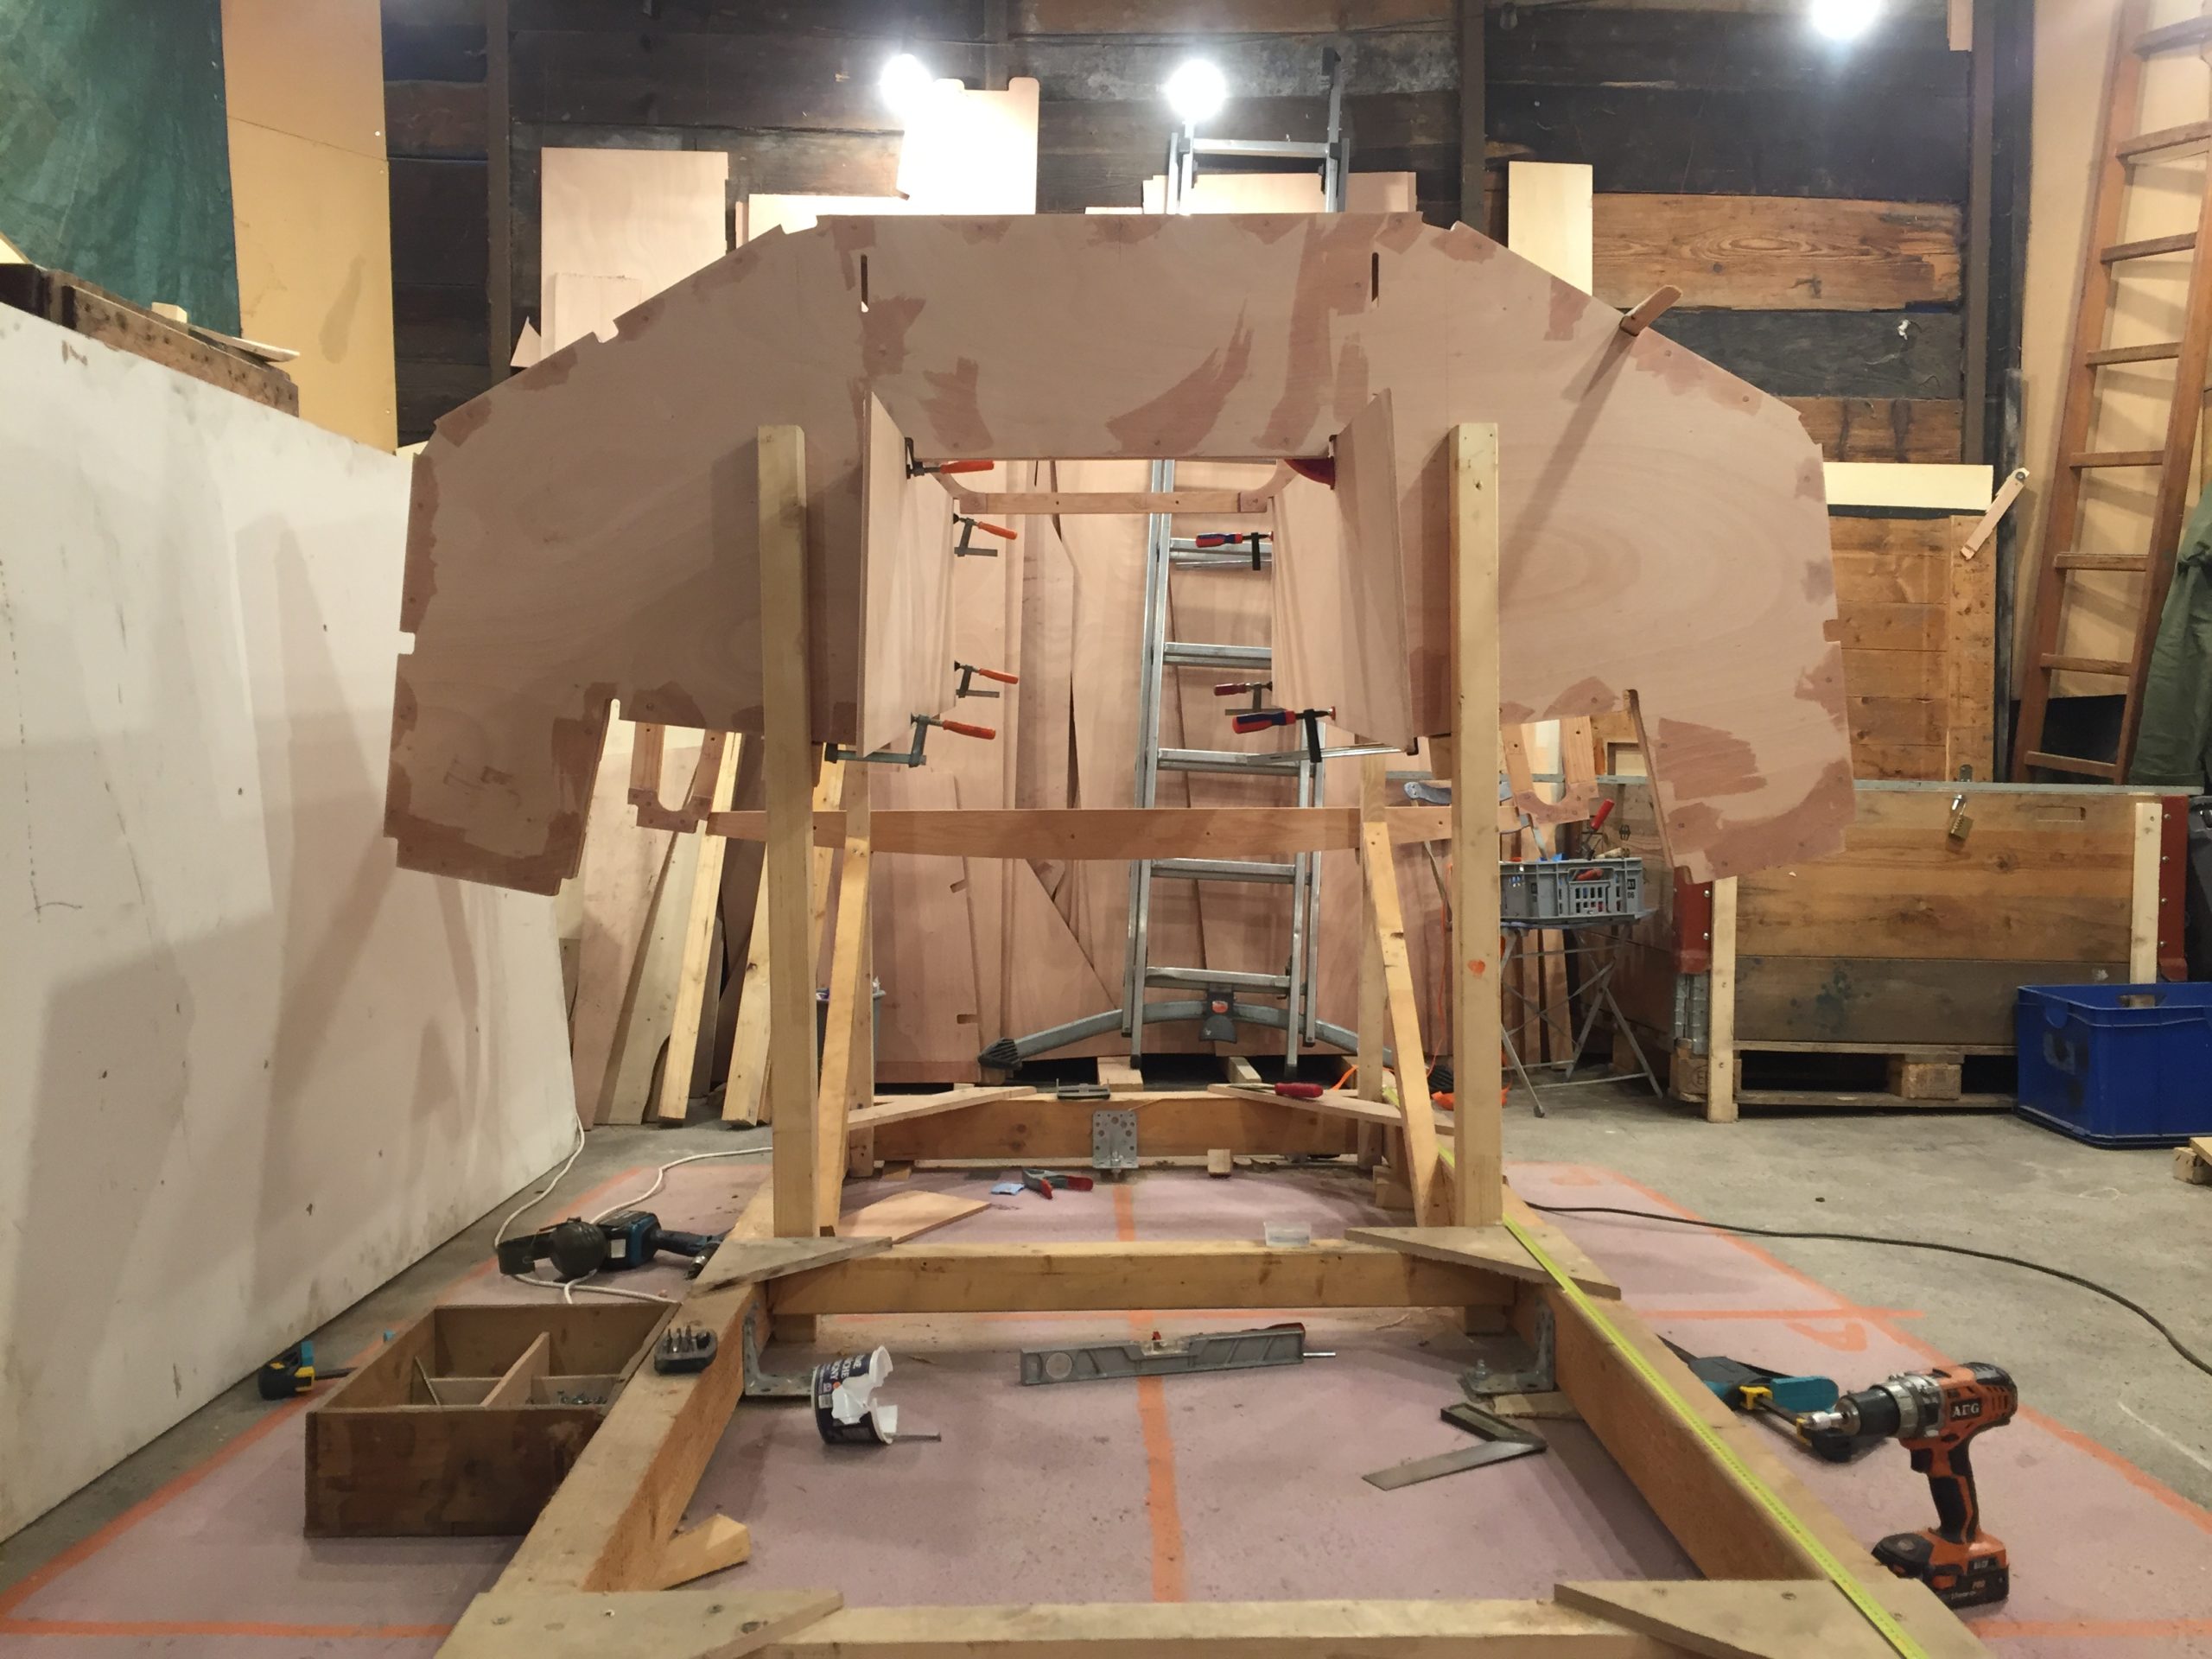
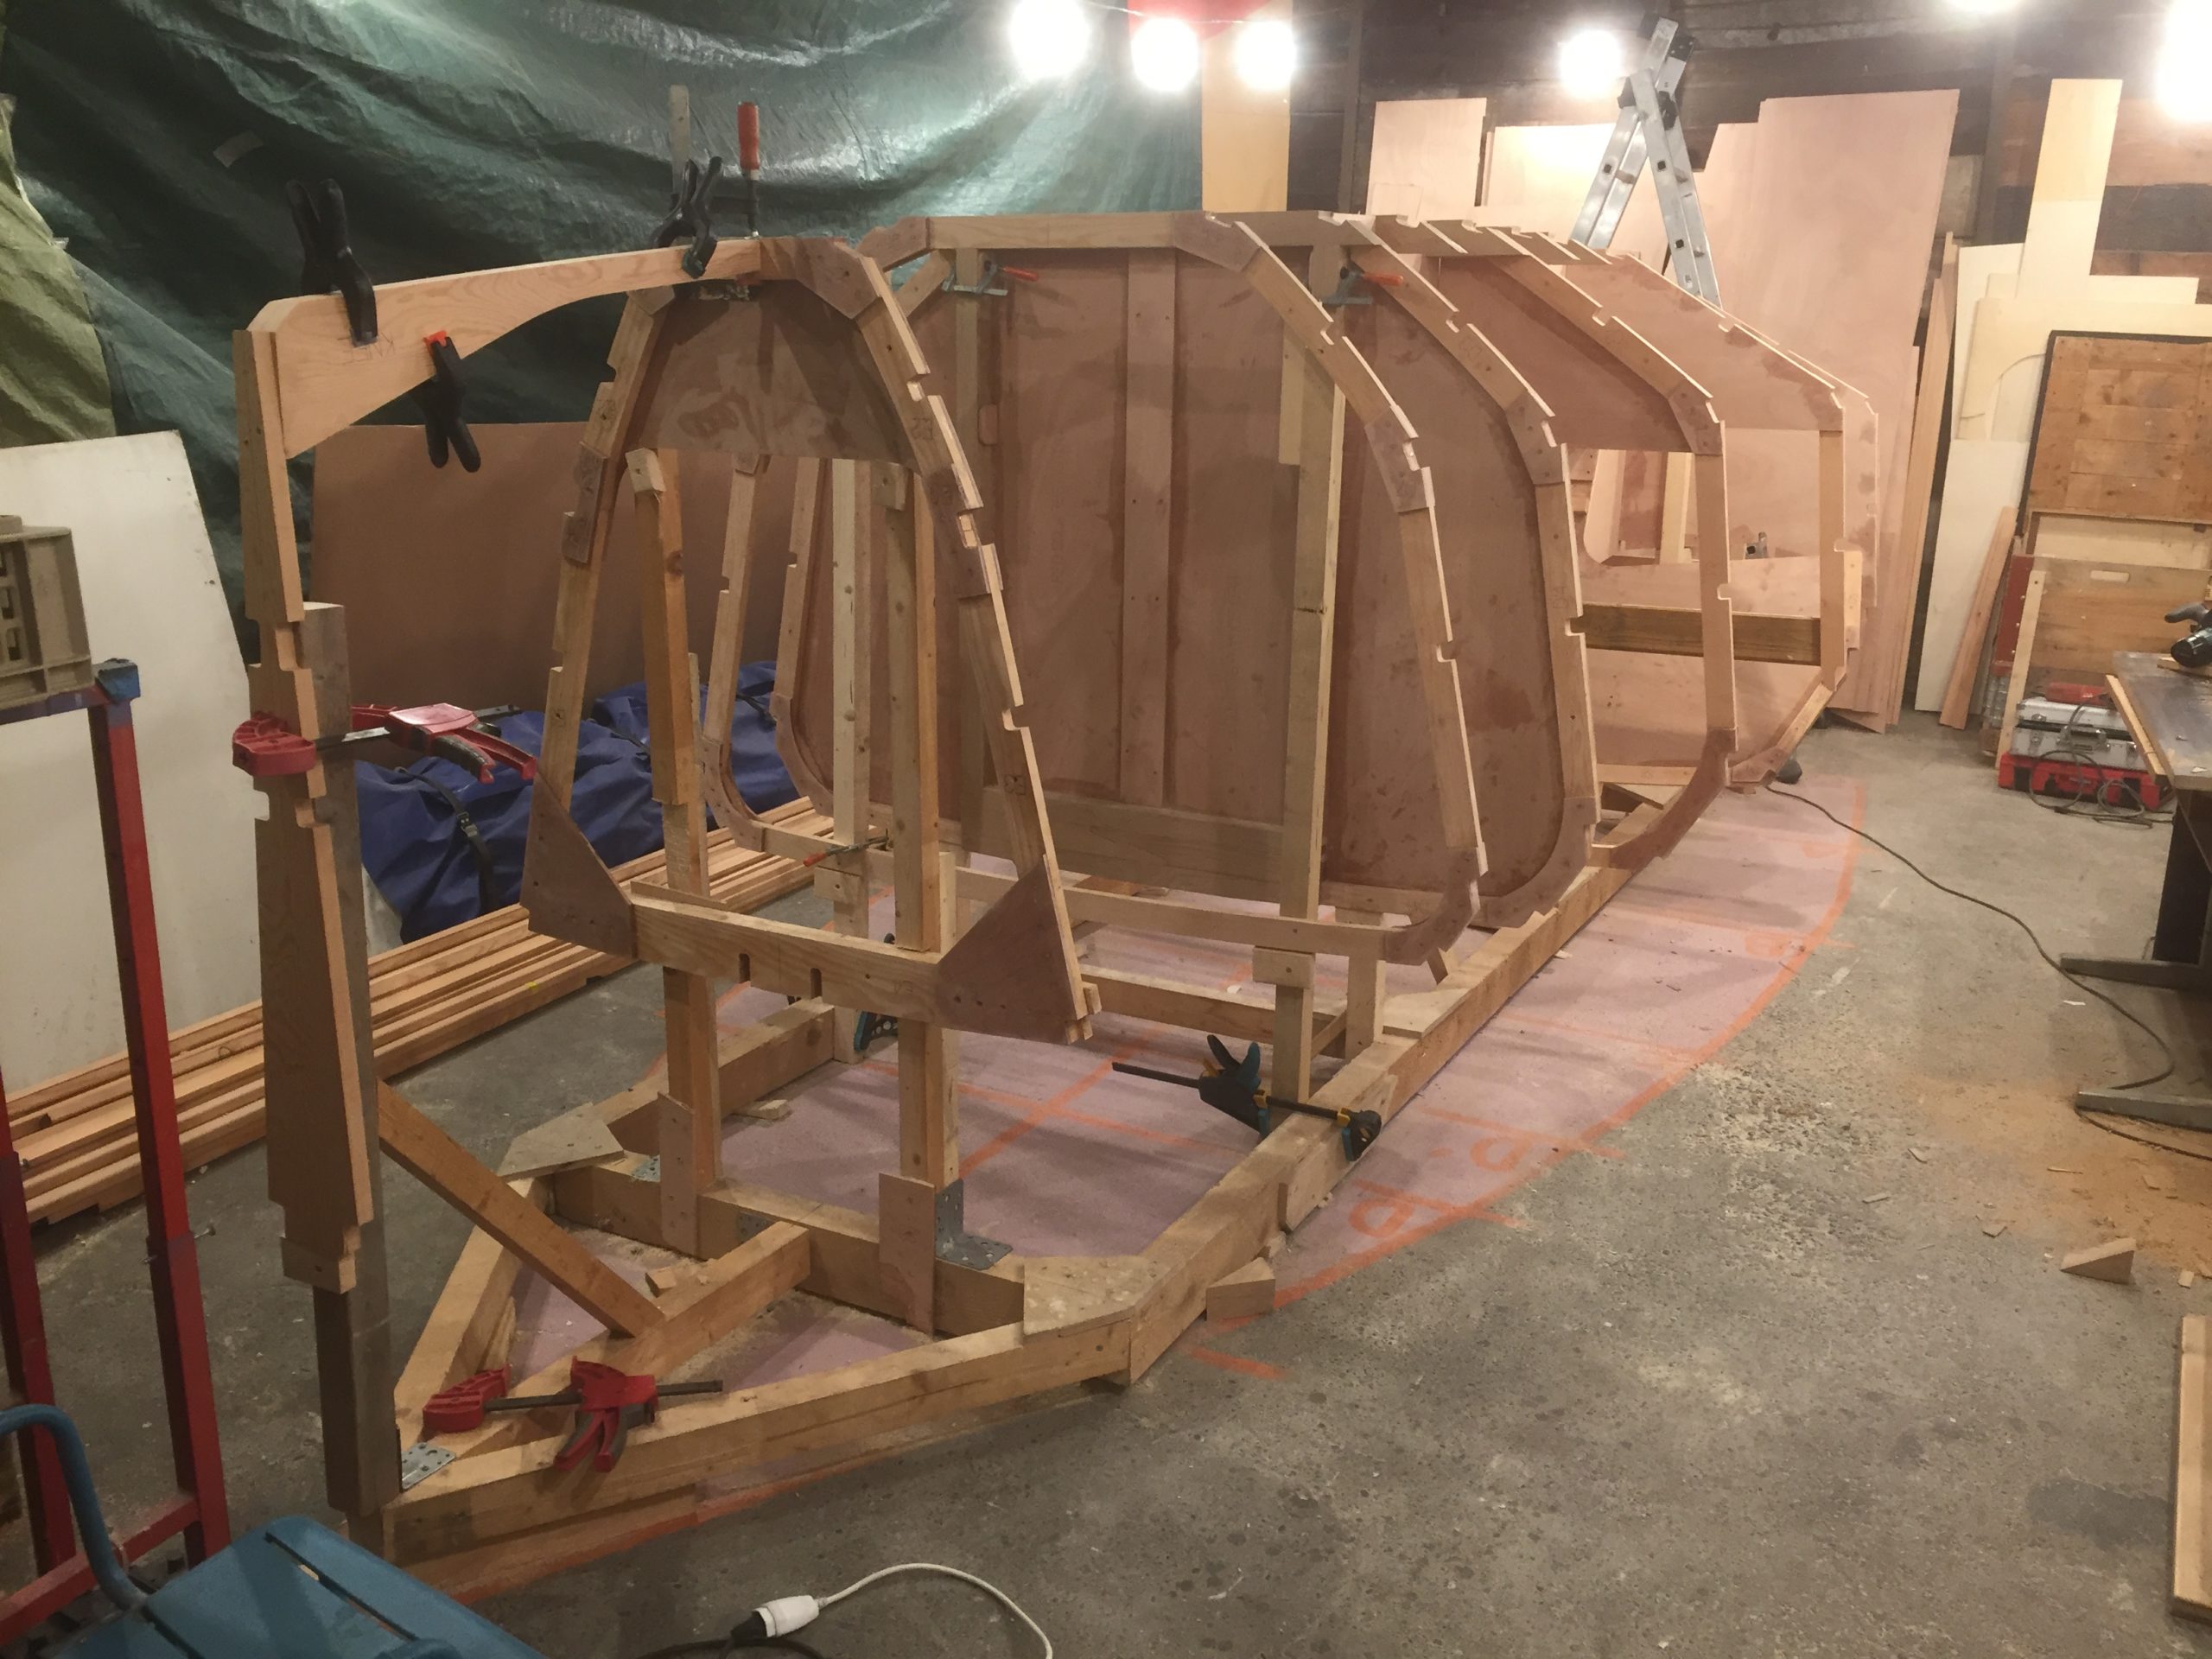
In two days I had all the frames properly aligned and secured. What a wonderful feeling it was staring at this that evening.
now it is looking like a boat

thanks Albert Einstein, pretty useful this Laser technology
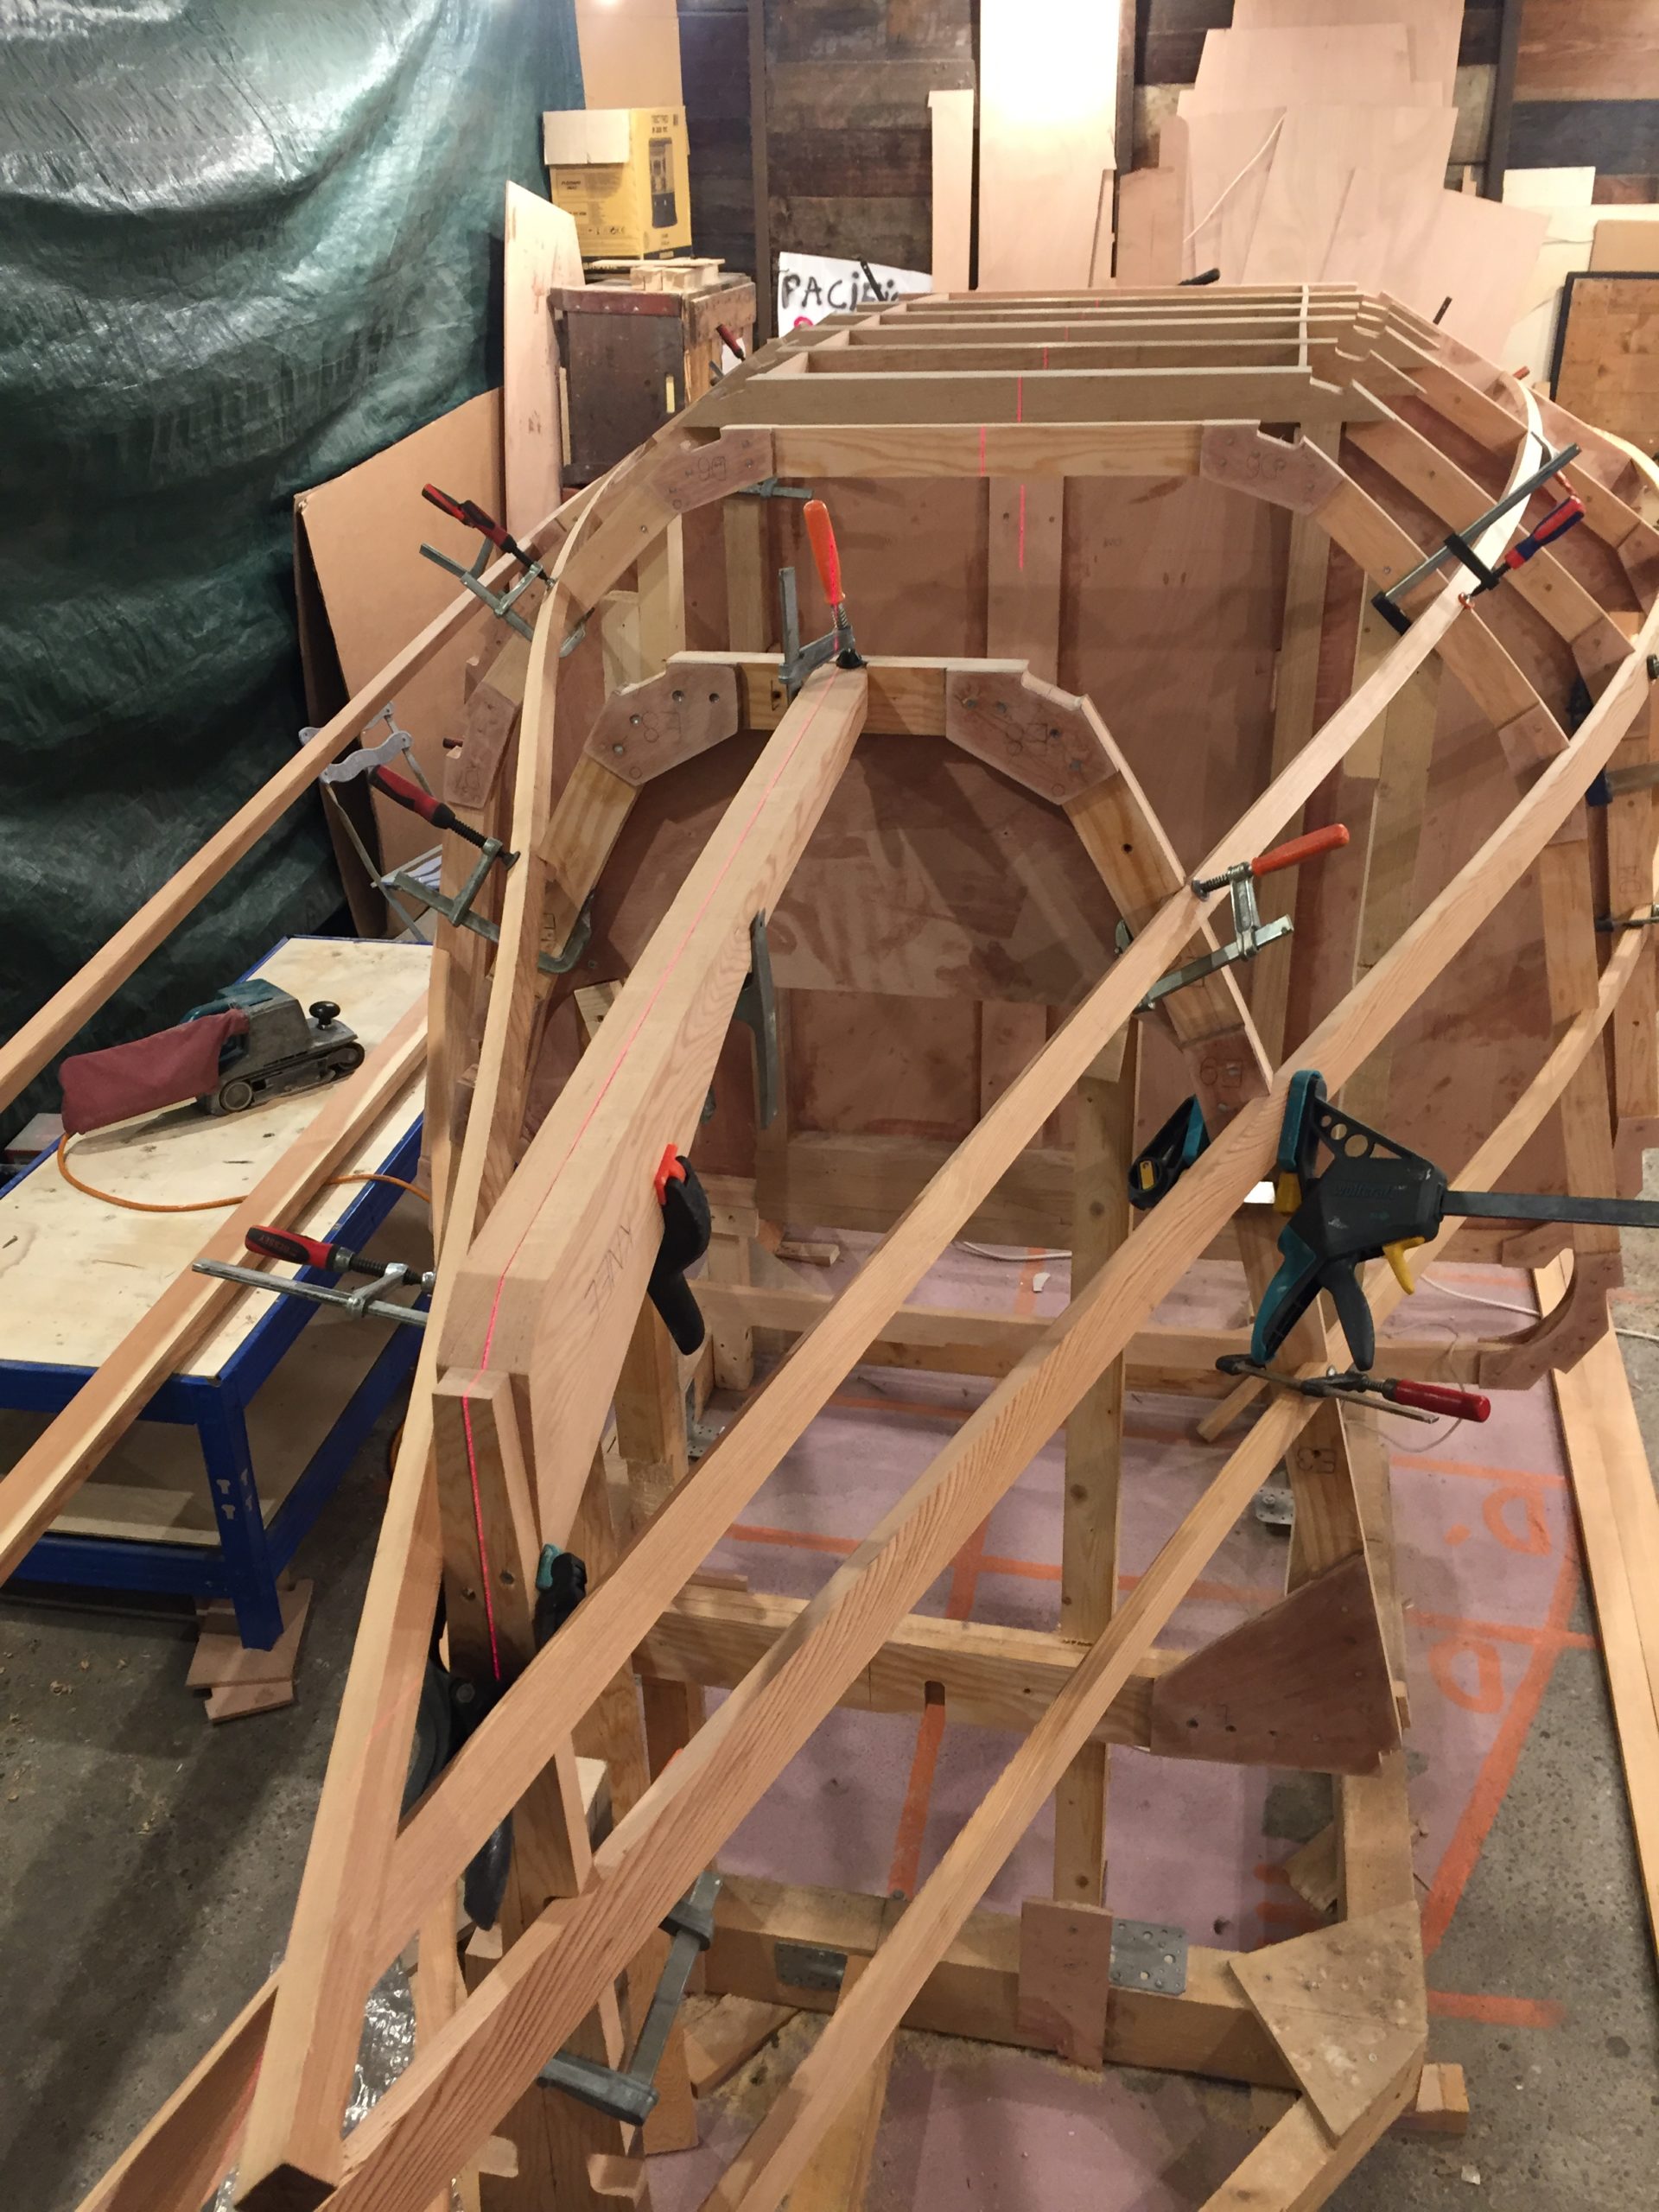
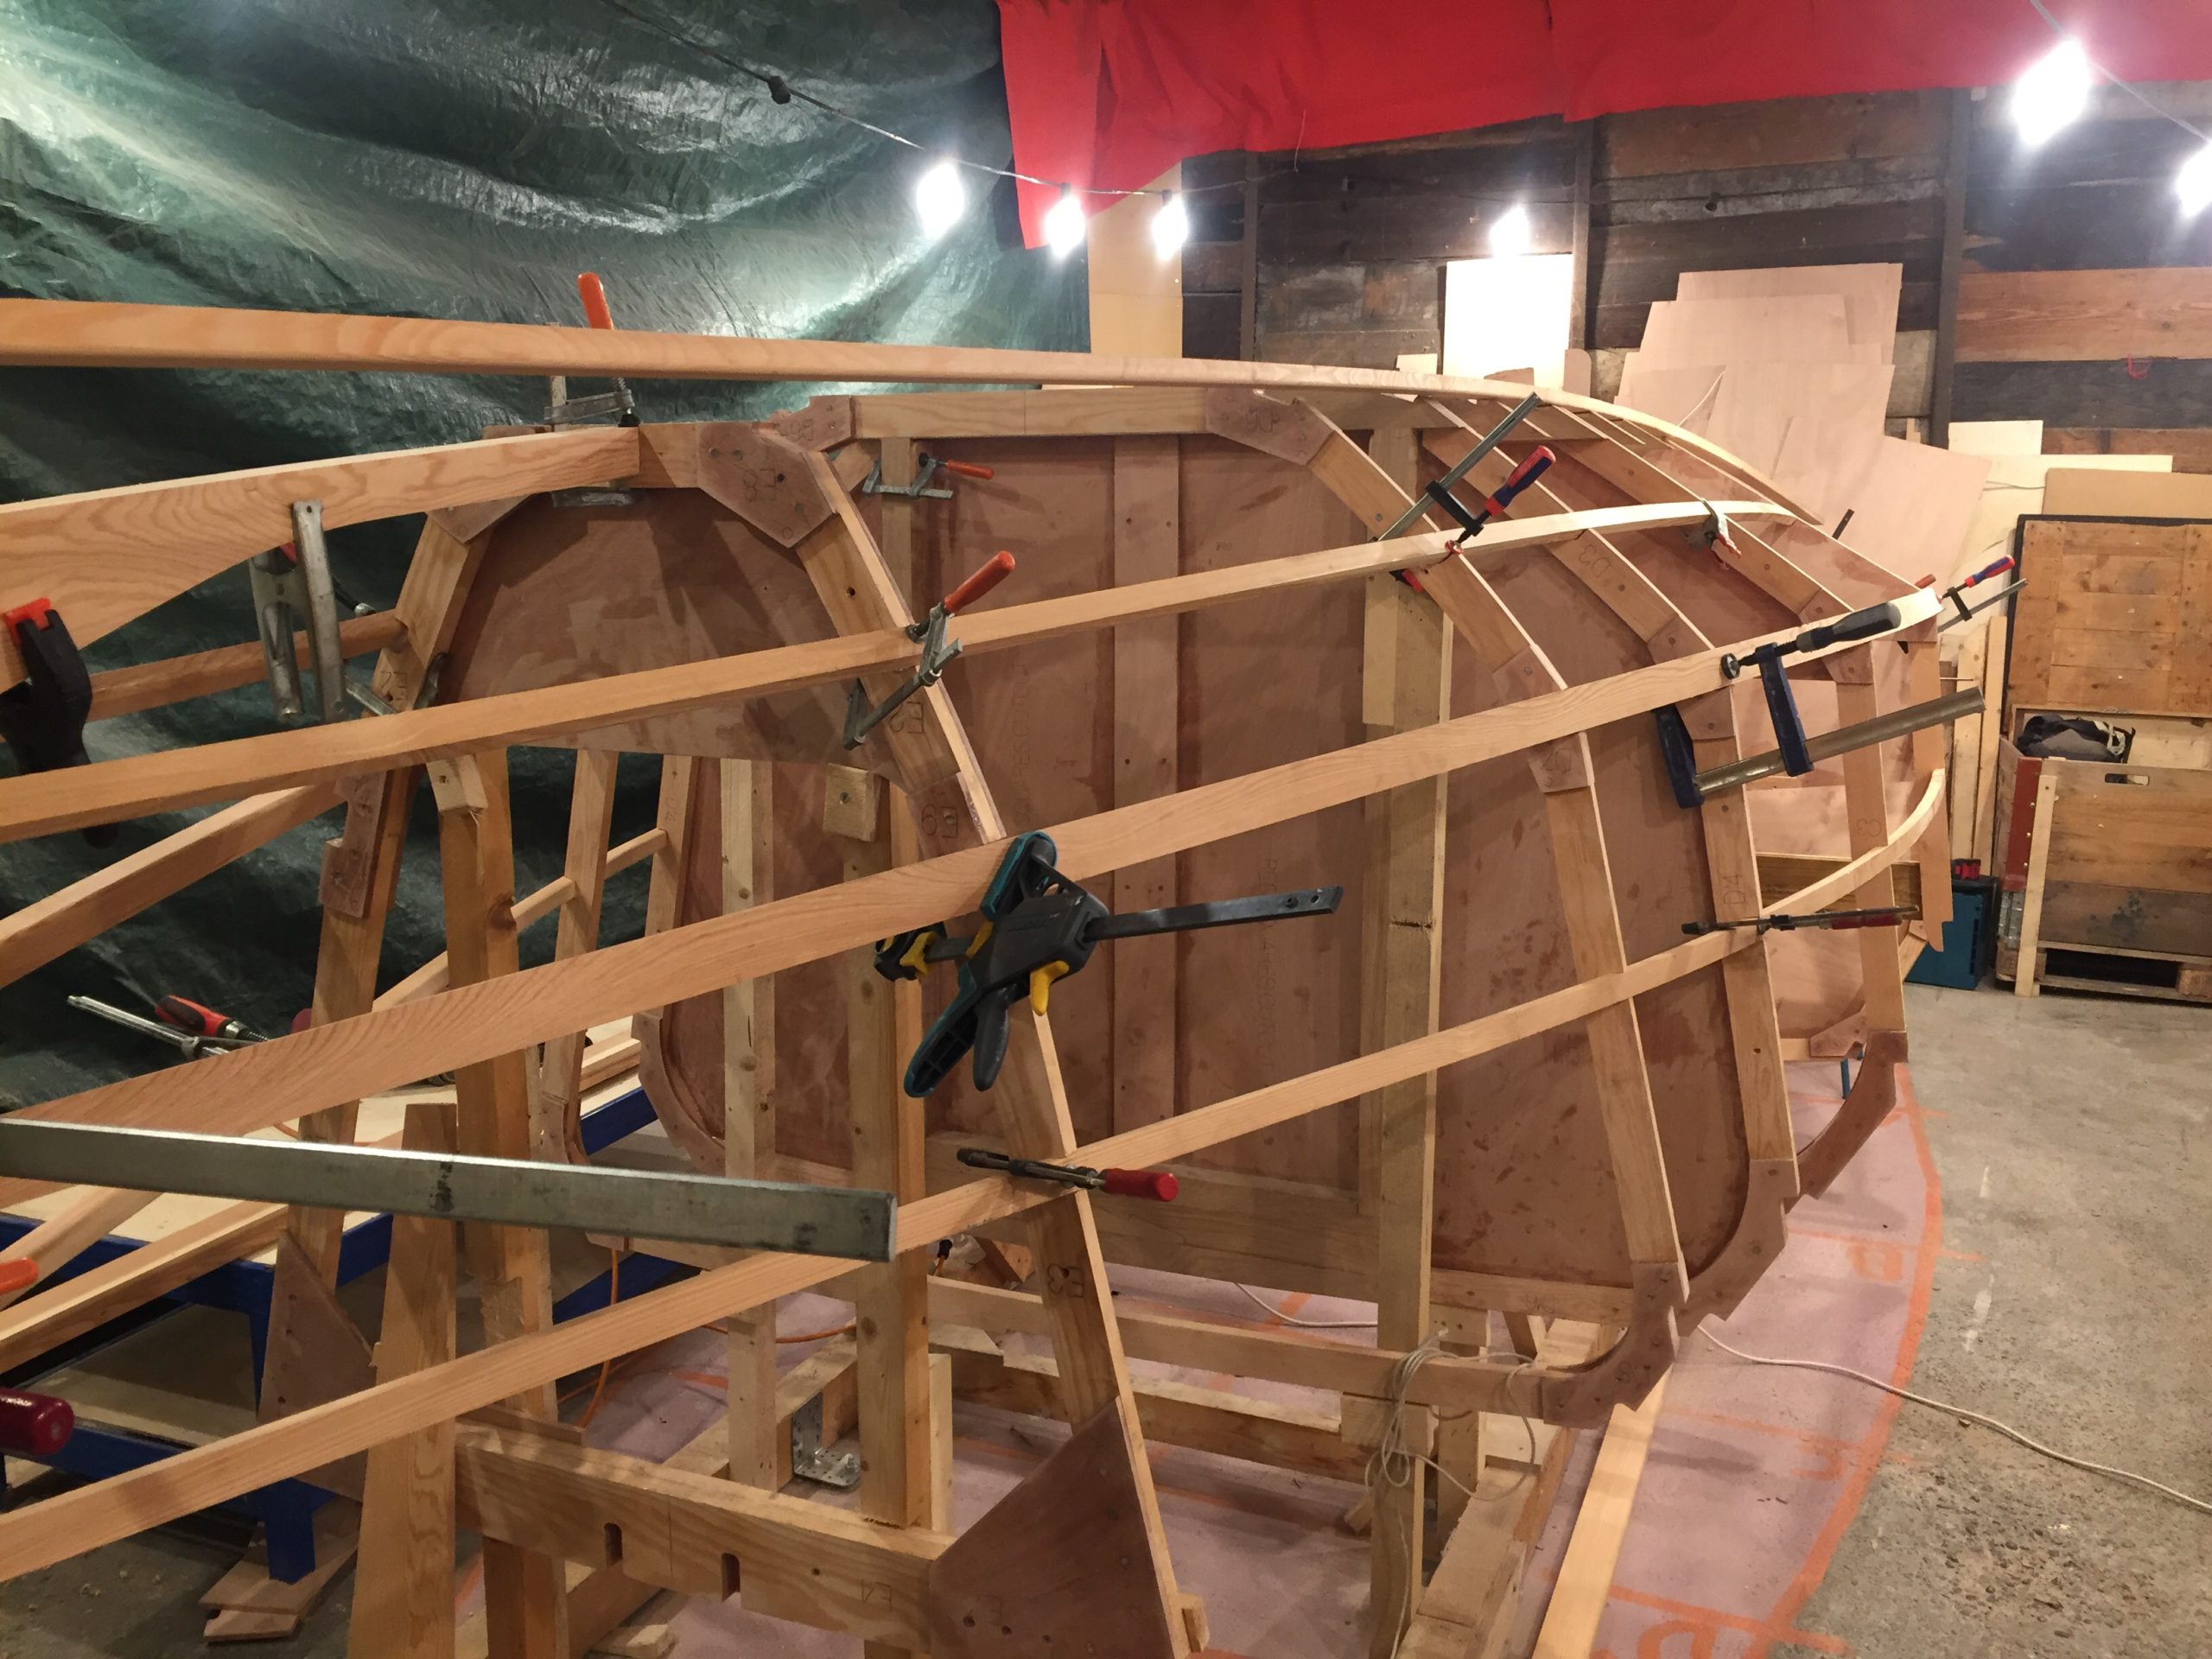
The keels posts needed some shaping and after that is was pretty straight forward. Putting everything together. Unfortunately I had to stop here because I run out of clamps. So lets call it a day.